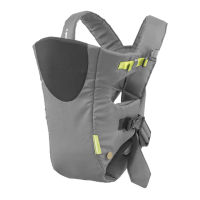
6.
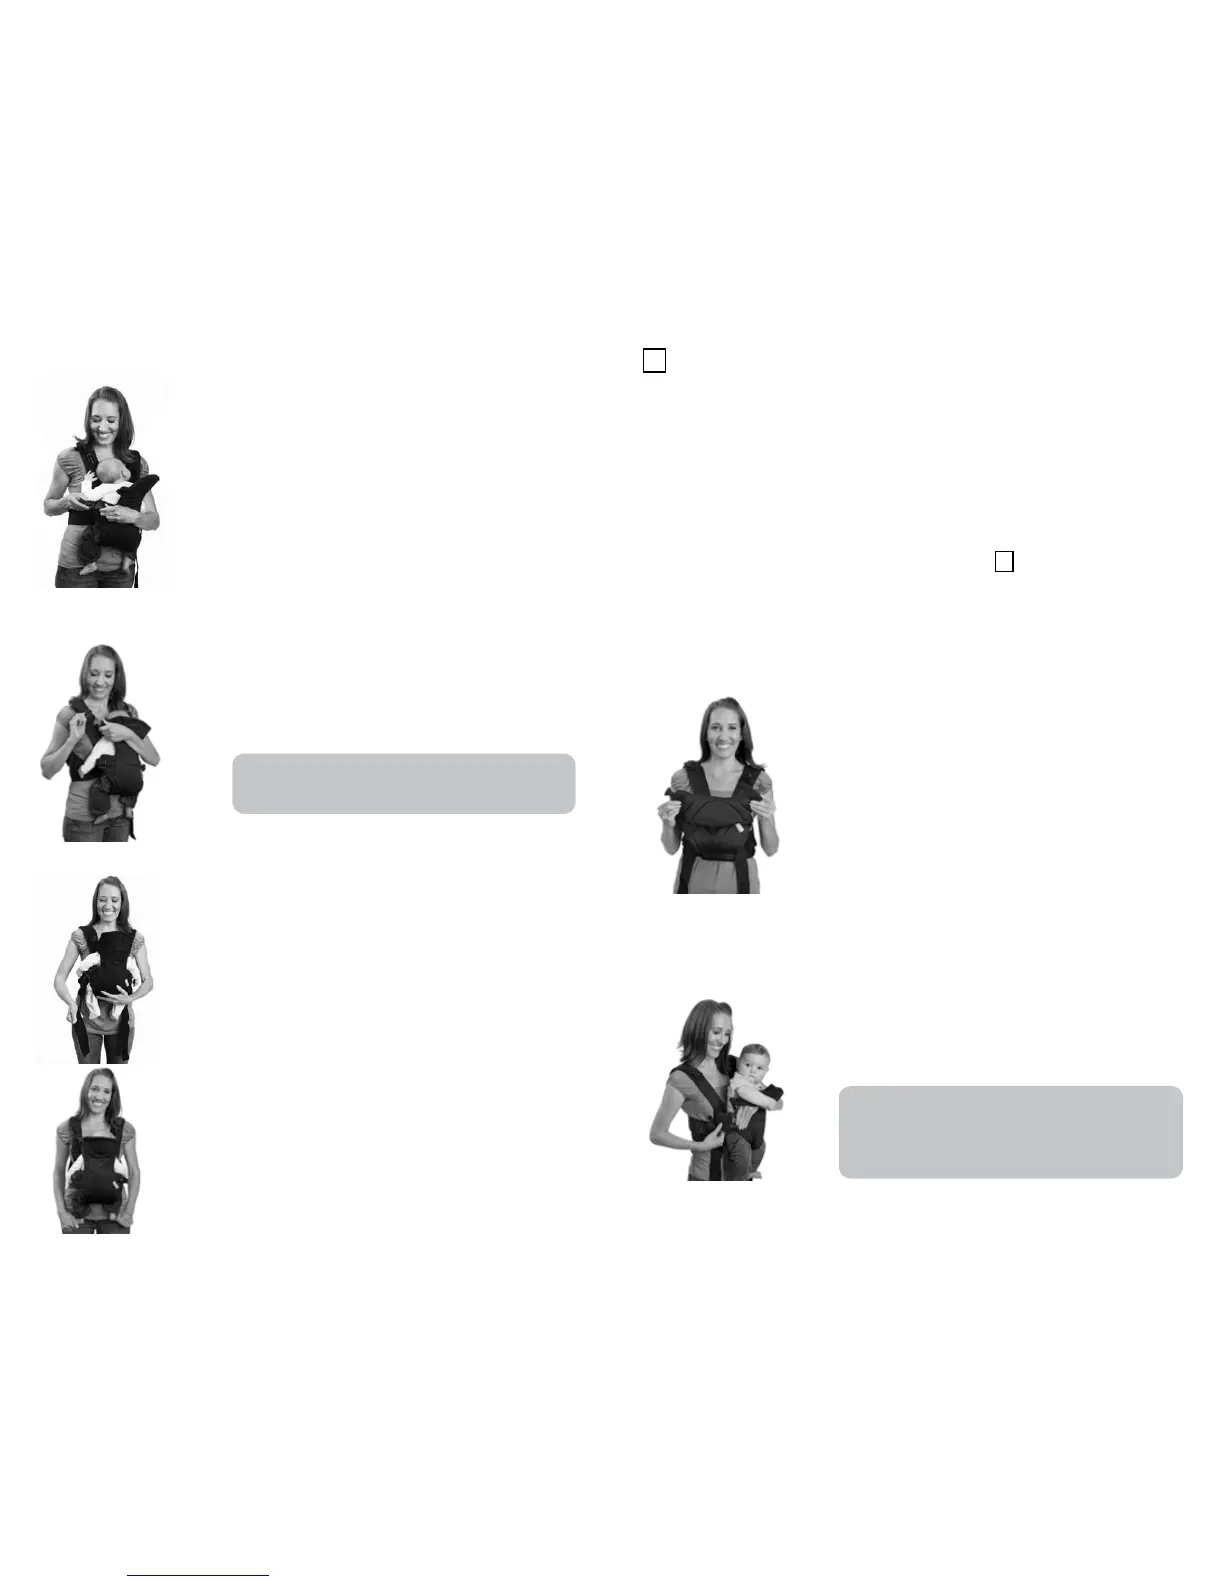
While supporting the baby with one hand, close
the open leg hole by attaching the “hook &
loop” and fastening the buckle. You will hear a
“click” when buckle is secure. Adjust both leg
hole openings to snugly t the baby’s legs.
7.
8.
To adjust how high the baby rides on your chest,
lift the baby slightly and pull the “shoulder strap
end” forward, rst on one strap, then on the other.
When the baby is properly positioned, you should
be able to tilt your head forward and kiss the top
of your baby’s head.
9.
Support the baby’s head by attaching the two
“head support buckles” above each arm. You
will hear a ‘click’ when the buckle is secure.
Adjust size of the head support by pulling both
of the “head support tighteners.”
* IMPORTANT! Always make sure there is enough
room around your baby’s face to provide a clear
source of air.
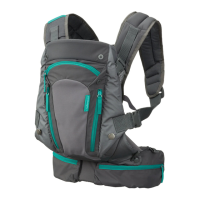
7.
Repeats steps 1-5, of 1 CARRIER USE FOR AN
INFANT: Facing-In Position.
Ensure that both head support buckles are
unfastened, then fold down head support.
* WARNING! Your baby must face toward you until he/she is able to hold their
head upright.
* When using this carrier in the facing-out position, please t it to the user before
placing the baby in the carrier.
* IMPORTANT! Keep one hand on the baby until all the buckles and straps are
properly fastened.
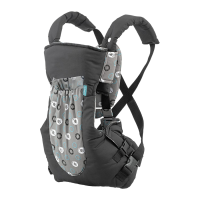
1.
2.
With the carrier open on one side and baby
facing away from you carefully slide baby into
carrier ensuring baby’s leg goes through leg
hole opening on closed side of carrier.
3.
2 Carrier use for Older Baby: Facing-Out Position
* IMPORTANT! Keep one hand on the baby until all
buckles and straps are properly fastened.
* Make sure your baby’s leg goes through the
opening on the closed side of the carrier.