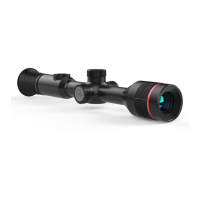
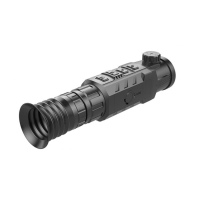
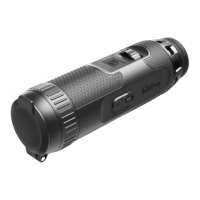
Getting Started
lPress and hold the Controller (3) for 3s to power on the
device and the startup LOGO will be displayed on the device
screen in 1 second.
lWhen an infrared image is displayed in the eyepiece, the
thermal imaging monocular enters the operating status.
lRotate the diopter adjustment (2) to adjust the resolution of
the icon on the display. The diopter adjustment is used to
adjust the eyepiece diopter for users with different degrees of
myopia.
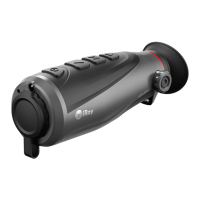
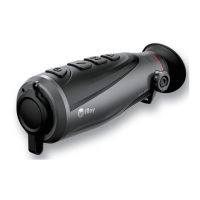
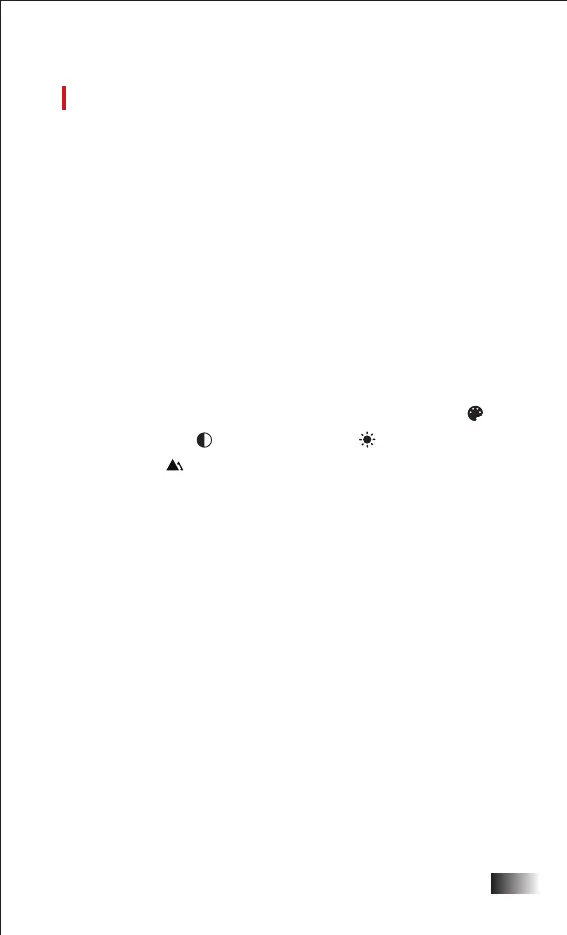
lShortcut menu: on the home screen, press the Controller
(3) to open the shortcut menu, and set the image mode ( ),
image contrast ( ), screen brightness ( ), and image
sharpness ( ). Rotate the Controller (3) to switch between
different functions on the shortcut menu, and press the
Controller (3) to set parameters.
lMain menu: on the home screen, press and hold the
Controller (3) to enter the main menu interface for more
functions. Rotate the Controller (3) to switch between
different functions on the main menu, and press the
Controller (3) to select the option.
lPhoto / Video recording: On the home screen, briefly press
the Camera button (4) to start/stop a video recording. And
long press the Camera button (4) to take a photo.
lStandby: There are two ways to standby the device. One is
to cover the lens cap (9) and then rotate the Controller (3) to
standby the device; and the other way is to briefly press the
Controller (3) + Camera button (4) at the same time on the
3
ENGLISH
 Loading...