


T
tcaseyJul 29, 2025
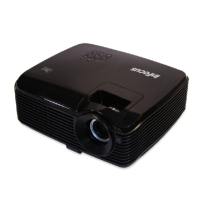
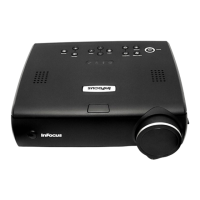
How to fix an InFocus Projector when the lamp fails to strike?
- KKatherine BlakeJul 29, 2025
If the lamp fails to ignite after several attempts to start your InFocus Projector, the thermal switch might be open, or the lamp itself could be faulty. Check the thermal switch and replace the lamp housing if necessary.