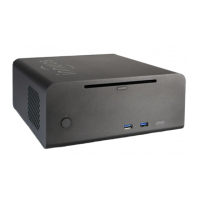
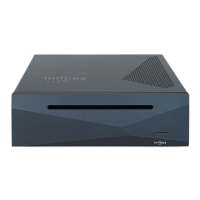
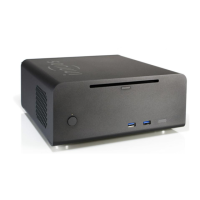
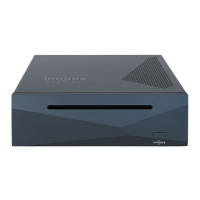
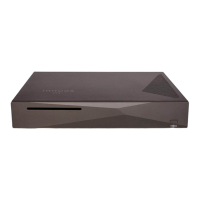
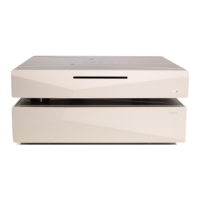
The Innuos ZEN / ZENITH Mk3 is a high-performance music server designed to store, manage, and play digital music, offering a comprehensive solution for audiophiles. This quick start guide outlines the essential steps to set up, operate, and maintain your Innuos music server, ensuring you get the most out of its advanced features.
Function Description:
The Innuos ZEN / ZENITH Mk3 serves as a central hub for your digital music collection. It functions primarily as a music server, allowing you to rip CDs, import digital music files, and access streaming services. Beyond storage and management, it can also act as a player, connecting directly to a Digital-to-Analog Converter (DAC) or amplifier via USB, or streaming music to network audio devices. The system is designed to integrate seamlessly into your home network, providing a robust and intuitive platform for enjoying high-fidelity audio.
Usage Features:
Connecting to Power and Network:
- Mains Power Connection: The device connects to mains power using the provided mains cable. Ensure the on/off switch on the rear panel is in the off position before connecting the power cable.
- Fuse Box: The rear panel includes a fuse box for protection.
- On/Off Switch: A physical on/off switch is located on the rear panel for primary power control.
- Home Network Connection (Wired): For optimal performance, connect your Innuos system to your internet router using the supplied 2m Ethernet cable. Plug one end into the "LAN" (Ethernet Input from Router) port on the Innuos device and the other end into an available Ethernet port on your router. This wired connection ensures stable network access for streaming, software updates, and remote control.
Connecting Audio Devices:
- USB DAC Output (USB 2): To use your Innuos system as a player, connect it to a DAC/Amplifier via a USB Male A to Male B cable (not included). This requires a DAC compatible with USB Audio Class 2. The USB DAC output is specifically for high-quality audio playback.
- Ethernet Streamer Port: The dedicated "STREAMER" port provides a wired network connection for streamers, wireless speakers, and other network audio products. This is an optional connection, not strictly required for server operation, but highly recommended for dedicated network audio devices to ensure optimal data flow and minimize network interference.
Initial System Startup:
- Turning On: After connecting power and network, press and release the front power button once. Do not hold it down. The system will go through a startup sequence: the front LED will glow white, then after approximately 30 seconds, it will turn blue, indicating the system is ready for use.
Accessing and Controlling Your Device:
- Innuos Sense App: The primary method for accessing and controlling your Innuos device is through the Innuos Sense app, available on iOS (iPhone/iPad) and Android devices (Google Play Store). Search for "innuos sense" in your device's app store.
- Web Browser: Alternatively, you can access your Innuos device via a web browser by navigating to
my.innuos.com or www.my.innuos.com. This provides a desktop interface for managing your system.
Software Updates:
- Updating innuOS Software: Regularly updating the innuOS software ensures you have the latest features, improvements, and security patches.
- Access the system via
my.innuos.com in a web browser or through the Innuos Sense app.
- From the home page, navigate to "Server" and then "Settings."
- Select "System Update" and follow the on-screen instructions to install the latest version.
Adding Music to Your System:
- Rip CDs (Option A): The Innuos ZEN / ZENITH Mk3 features an integrated CD drive for ripping your physical CD collection directly onto the server.
- Gently insert a CD into the slot. The system will automatically draw it in.
- The ripping process typically takes 3-5 minutes.
- Once ripping is complete, the CD will automatically eject.
Caution: Do not push the CD while it is being drawn in, as this may cause jamming or damage to the optical drive.
- Import Digital Music (Option B): You can import existing digital music files from external storage or network locations.
- Access the system via
my.innuos.com or the Innuos Sense app.
- From the home page, navigate to "Server" and then "Import."
- Select your preferred import method and follow the on-screen instructions.
Streaming Services and Integrations:
- Accessing Streaming Services: The Innuos system supports various streaming services.
- Access the system via
my.innuos.com or the Innuos Sense app.
- From the home page, navigate to "Server" and then "Settings."
- Select "Streaming Services" (A) to configure and integrate services like Qobuz and TIDAL.
- Integrations: The system also offers integrations with other audio platforms.
- Access the system via
my.innuos.com or the Innuos Sense app.
- From the home page, navigate to "Server" and then "Settings."
- Select "Integrations" (B) to configure integrations with systems like SONOS and UPnP.
Maintenance Features:
Backup Drive (USB 3):
- The "BACKUP" port (USB 3) is provided for connecting an external USB drive to perform backups of your music library. This is crucial for protecting your valuable digital music collection. Regular backups are highly recommended.
Turning Off Your System:
- To safely turn off your Innuos system, press and release the front power button once. Do not hold it down. The front LED will turn blue, then after approximately 5 seconds, it will turn off, indicating the system is safely shut down. For complete power disconnection, you can then use the on/off switch on the rear panel.
HDMI Output (Service Only):
- The HDMI output is designated for "Service Only" purposes, meaning it is not intended for user display or audio output in typical operation. It is used for diagnostics or specific service procedures by authorized personnel.
General Advice:
- Always refer to the latest version of the quick start guide and detailed manual available on the Innuos website (
innuos.com/support) for the most up-to-date information and troubleshooting.
- If you encounter any problems, contact Innuos support at
support@innuos.com for assistance.