V1 ENGLISH 16-1095
USING YOUR PORTABLE AIR CONDITIONER
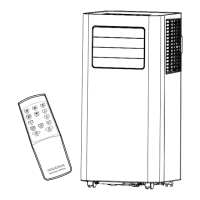
Inserting the batteries in the remote control
• Insert two AAA batteries (provided) into the remote control.
TURNING YOUR AIR CONDITIONER ON AND
SELECTING THE MODE
1 Press Power ( ) to turn your air conditioner on.
2 Press Mode ( ) to select Cool, Fan, or Auto mode.
• In Cool or Fan modes, press Fan ( ) to set the fan speed.
• In Auto mode, the air conditioner function is determined
by the ambient temperature. If the temperature is higher
than 77° F (25° C), the air conditioner runs in cooling
mode. If lower than 77° F (25° C), the air conditioner runs
in fan mode.
Switching between Celsius and Fahrenheit
• Press °C/°F on the remote control.
Setting a timer
Set your air conditioner to turn o or turn on after a delay of up
to 24 hours.
• Automatic o–press or while the air conditioner is
running.
• Automatic on–press or while the air conditioner is o.
See your online User Guide for more information on using your
air conditioner.
TROUBLESHOOTING
For troubleshooting information see your online User Guide.
SPECIFICATIONS
For specications see your online User Guide.
ONEYEAR LIMITED WARRANTY
Visit www.insigniaproducts.com for details or see your online
User Guide.
CONTACT INSIGNIA:
For customer service, call 1-877-467-4289 (U.S. and Canada)
or 01-800-926-3000 (Mexico)
www.insigniaproducts.com
INSIGNIA is a trademark of Best Buy and its aliated companies
Distributed by Best Buy Purchasing, LLC
7601 Penn Ave South, Richeld, MN 55423 U.S.A.
©2016 Best Buy. All rights reserved.
Made in China
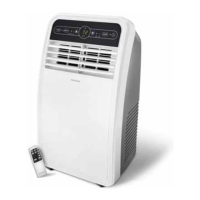
INSTALLING YOUR AIR CONDITIONER
1 Screw the exhaust hose to the air outlet on the back of your
air conditioner, then screw the hose adapter to the other
end of the hose.
2 Measure the window size.
3 Adjust the length of the window sealing plate to t the
window opening.
4 Install the window sealing plate in the window opening
and secure it with the screws provided.
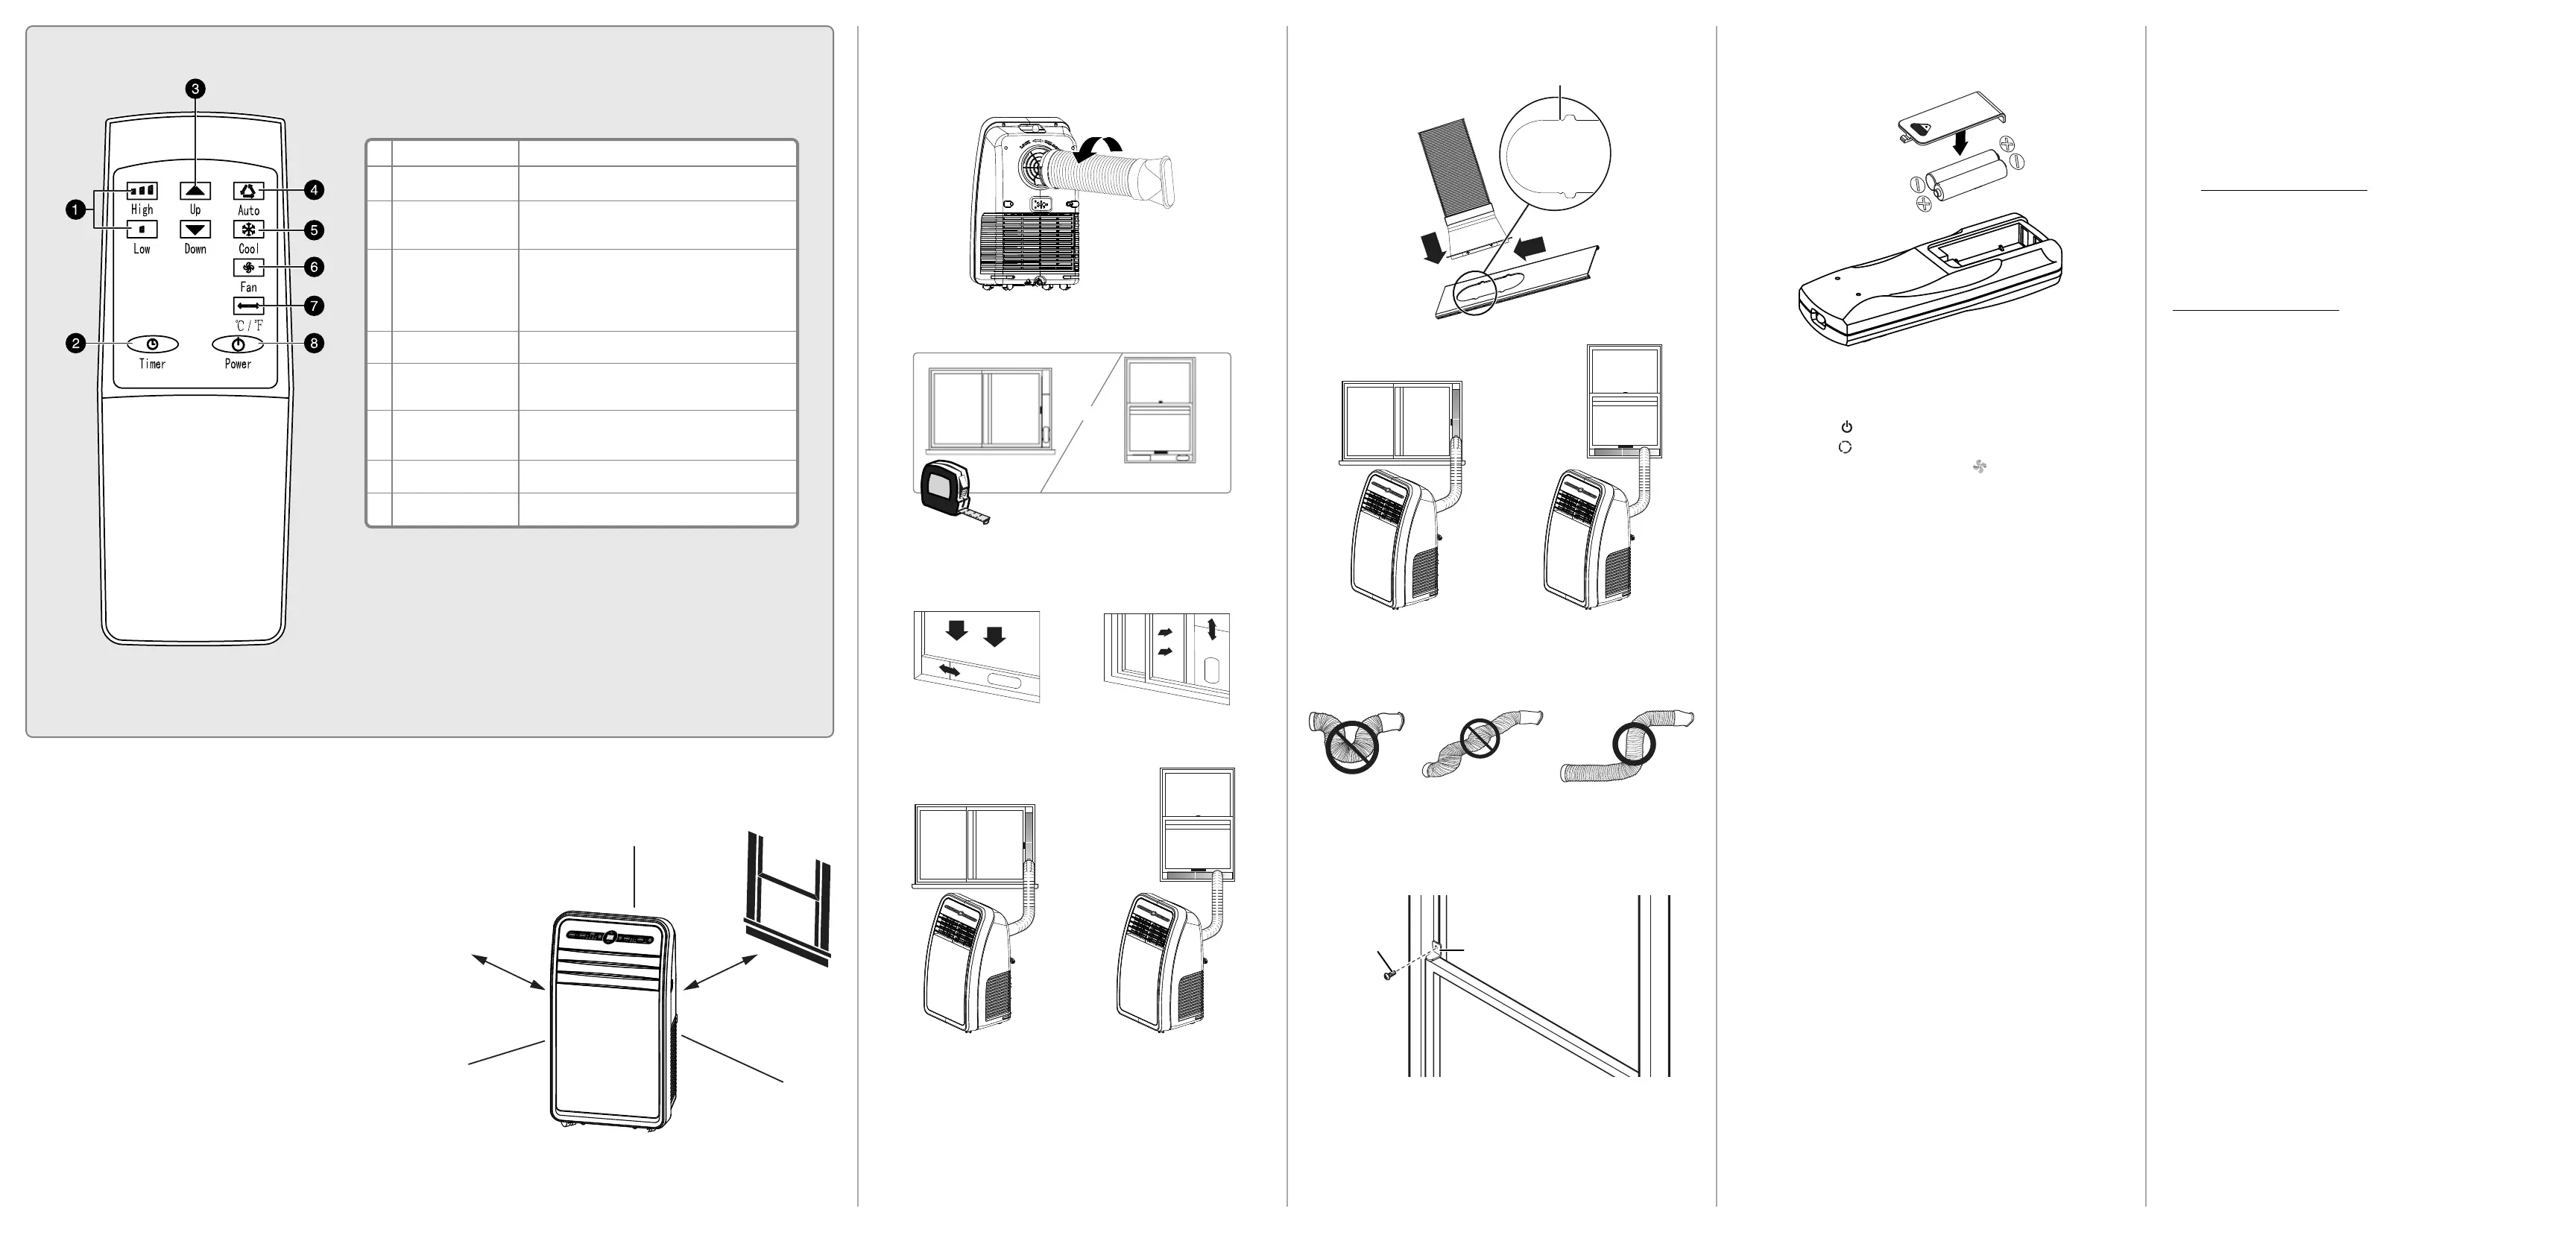
Remote control
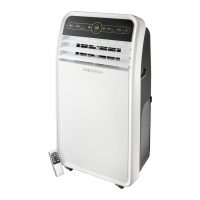
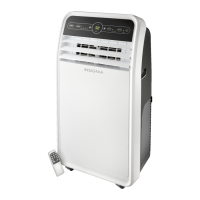
SETTING UP YOUR PORTABLE AIR CONDITIONER
Before using your portable air conditioner
• Remove and store (optional) packing materials for reuse.
• Remove any shipping tape before using the air conditioner.
• Remove tape residue with liquid dish soap and a damp cloth.
Do not use sharp tools, alcohol, thinners, or abrasive cleaners to
remove adhesive, which could damage the nish.
Placing your air conditioner
• Place the unit on a at, dry area near a window, so you can use
the hose and diuser to connect the air conditioner to the
window installation kit in order to vent the exhaust air outside.
• To maintain good air circulation and optimum machine
performance, leave a 20 in. (50 cm) space around it.
# ITEM
1 Speed settings
2 Timer button
3 (up) and
(down) buttons
4 Auto button
5 Cool button
6 Fan button
7 °C /°F button
8 Power button
DESCRIPTION
Press to raise or lower settings.
Press to set the air conditioner to on or o
automatically.
Cooling mode: Press to raise () or lower ()
the temperature setting.
Timing mode: Press to turn the timing on ()
or o ().
Press to set the air conditioner to Auto mode.
Press to set the air conditioner to Cooling
mode.
Press to turn on the air conditioner fan only
(no cooling).
Press to switch between Celsius and Fahrenheit.
Press to turn the air conditioner on or o.
20 in. (50 cm)
20 in. (50 cm)
OR
Small gap
First insert
Second slide
5 Insert the hose adapter into the vent panel, then slide it
down or left until it clicks into place.
• For optimum performance, do not twist the venting hose.
For better eciency, shorten the hose, if possible.
Caution: The exhaust duct is designed especially for this air
conditioner. Replacing or lengthening the duct could result in
damage to your unit.
6 If desired, install the security bracket with the type B screw.
Type B screw
Security bracket
Note: 8,000 model is shown in these illustrations.
Make sure that you orient the
batteries correctly (+ and –)
when you install them.
NS-AC8PWH8_16-1095_QSG_V1_EN.ai 2 12/19/2016 11:15:13 AMNS-AC8PWH8_16-1095_QSG_V1_EN.ai 2 12/19/2016 11:15:13 AM
 Loading...