Clean the interior surface with a damp, warm cloth.
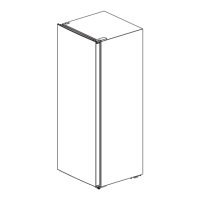
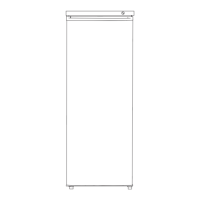
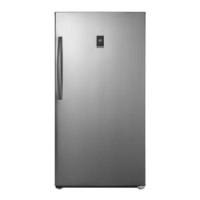
Finding a suitable location
This cooler is designed to be free standing only, and it should not be recessed or built into a
countertop or wall.
Place your cooler on a floor, counter top, or cabinet that is strong enough to support the cooler
when it is fully loaded.
Allow 1.6 in. (4 cm) of space on all sides of the cooler to allow for proper air ventilation.
Place the cooler away from direct sunlight and sources of heat (stove, heater, radiator, etc.).
Direct sunlight may affect the acrylic coating and heat sources may increase electrical
consumption. Ambient temperature below 50° F (10° C) or above 86° F (30° C) will hinder the
performance of this cooler. This cooler is not designed for use in a garage or any other outside
location.
Avoid placing the cooler in moist areas.
This unit is not designed to be installed in an RV or used with an inverter.
Do not stack your cooler.
For your cooler to operate normally, avoid placing it in areas with high magnetic fields or high
humidity.
Leveling your cooler
It is very important for the cooler to be level in order to function properly. If the cooler is not
leveled during installation, the door may not close or seal properly, causing cooling, frost, or
moisture problems.
To level your cooler, you may turn either leveling foot clockwise to raise that side of the cooler or
turn it counter-clockwise to lower that side.
Reversing the door
You will need a 10 mm socket wrench and a Phillips screwdriver. Have someone available to assist you
in the process. Make sure that you keep all of the parts you remove to reuse them later.
CAUTION: Do not lay the beverage cooler completely flat as that could damage the coolant system.
1. Make sure that your beverage cooler is unplugged and empty.
2. Adjust the leveling feet to their highest position.
3. Use a blade to remove the rivets and hole cap.
 Loading...