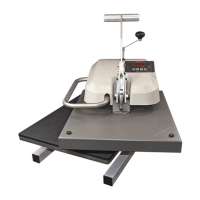
6
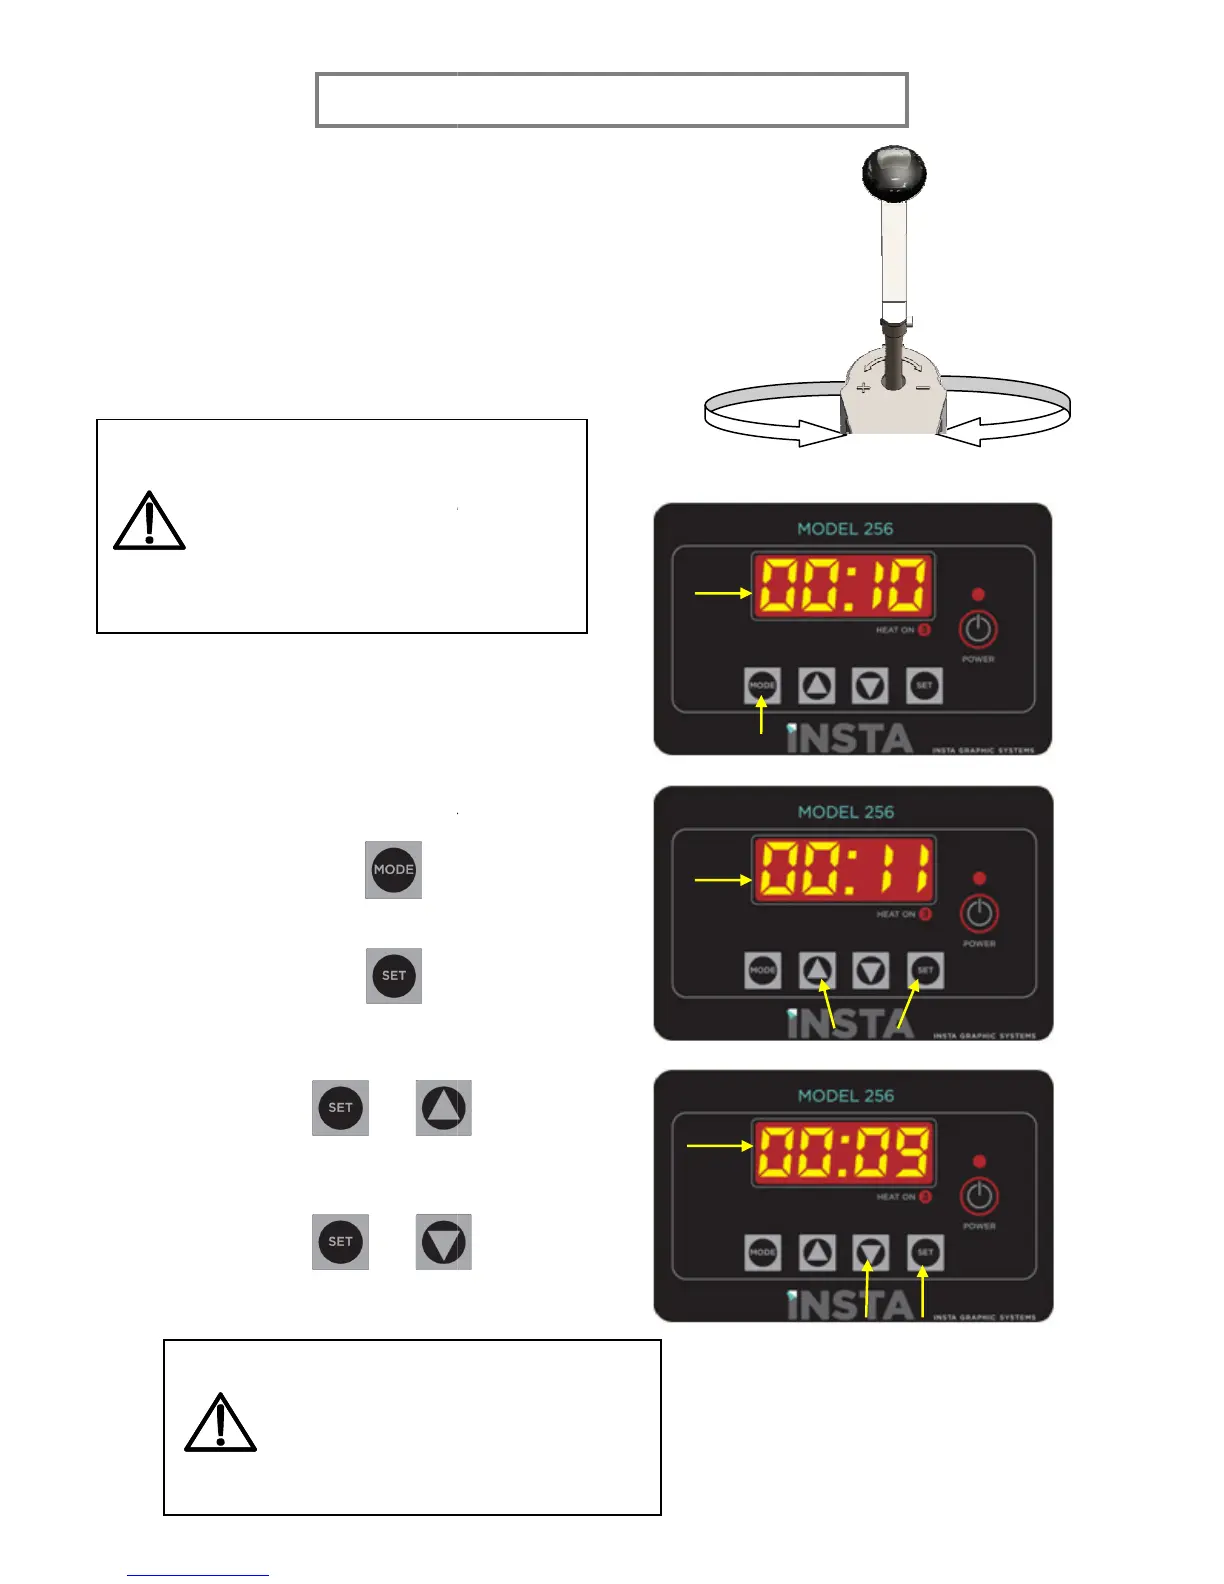
FOR USE BY QUALIFIED PERSONNEL ONLY
behind the top housing.
the pressure.
INCREASE the pressure.
In
creasing the pressure increases the
force required to close the platens. To
avoid user injury or damage to the
machine, do not attempt to force the
platens closed at very high pressure
levels.
To increase the application time, hold
SET and UP.
+
To decrease the application time, hold
SET and DOWN.
+
When lifting the handle, there might
be a popping noise. This is normal and
is caused by suction created between
the platen surfaces. During r
transfers, the noise will diminish.
FOR USE BY QUALIFIED PERSONNEL ONLY
creasing the pressure increases the
force required to close the platens. To
avoid user injury or damage to the
machine, do not attempt to force the
platens closed at very high pressure
To increase the application time, hold
To decrease the application time, hold
Increase pressure
When lifting the handle, there might
be a popping noise. This is normal and
is caused by suction created between
the platen surfaces. During r
egular
transfers, the noise will diminish.
Decrease pressure