Do you have a question about the Insta360 ONE R and is the answer not in the manual?
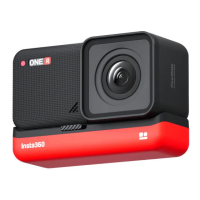
Insert lens and positioning posts into camera body holes, then tighten both parts.
Align installed lens and body with battery metal slots and press firmly to secure.
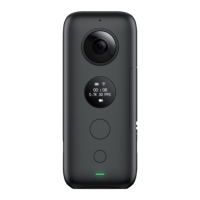
Place SD card with gold-red side into slot on camera's non-screen side.
Press cover firmly until the yellow color on the button is no longer visible.
Press and hold the power button for 2 seconds to turn the camera on/off.
Blue light flash indicates SD card not recognized; green light means it's read.
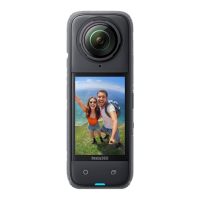
Display shows photos/video length and battery level. Switch modes at bottom left.
Click bottom right for resolution/frame rate; power button for normal modes.
Access calibration via the '50Hz' icon in the second page menu for anti-shake.
Camera indicator flashes blue/green; it restarts automatically upon completion.
Perform gyro calibration after firmware upgrade (version 0.0.17 or later) for anti-shake.
Restart camera after firmware upgrade for normal operation and anti-shake.
1080P high frame rate and 1" lens picture quality may be poor in low light.
Device complies with FCC Rules Part 15, subject to interference conditions.
Complies with FCC radiation exposure limits for uncontrolled environments.
| Material | Fabric |
|---|---|
| Case type | Hard shell case |
| Product color | Gray |
| Depth | 142 mm |
|---|---|
| Width | 220 mm |
| Height | 74 mm |
| Weight | 242 g |