2928
Overview of Pressure Control Features Introduction to Pressure Cooking
Install the Float Valve
Drop the narrow end of the oat valve into the oat valve hole on the top of the
lid. Place one nger on the at top of the oat valve, then turn the lid over. Firmly
attach the silicone cap to the bottom of the oat valve.
Do not attempt to operate the pressure cooker without the oat valve and/or
silicone cap properly installed in the pressure cooking lid.
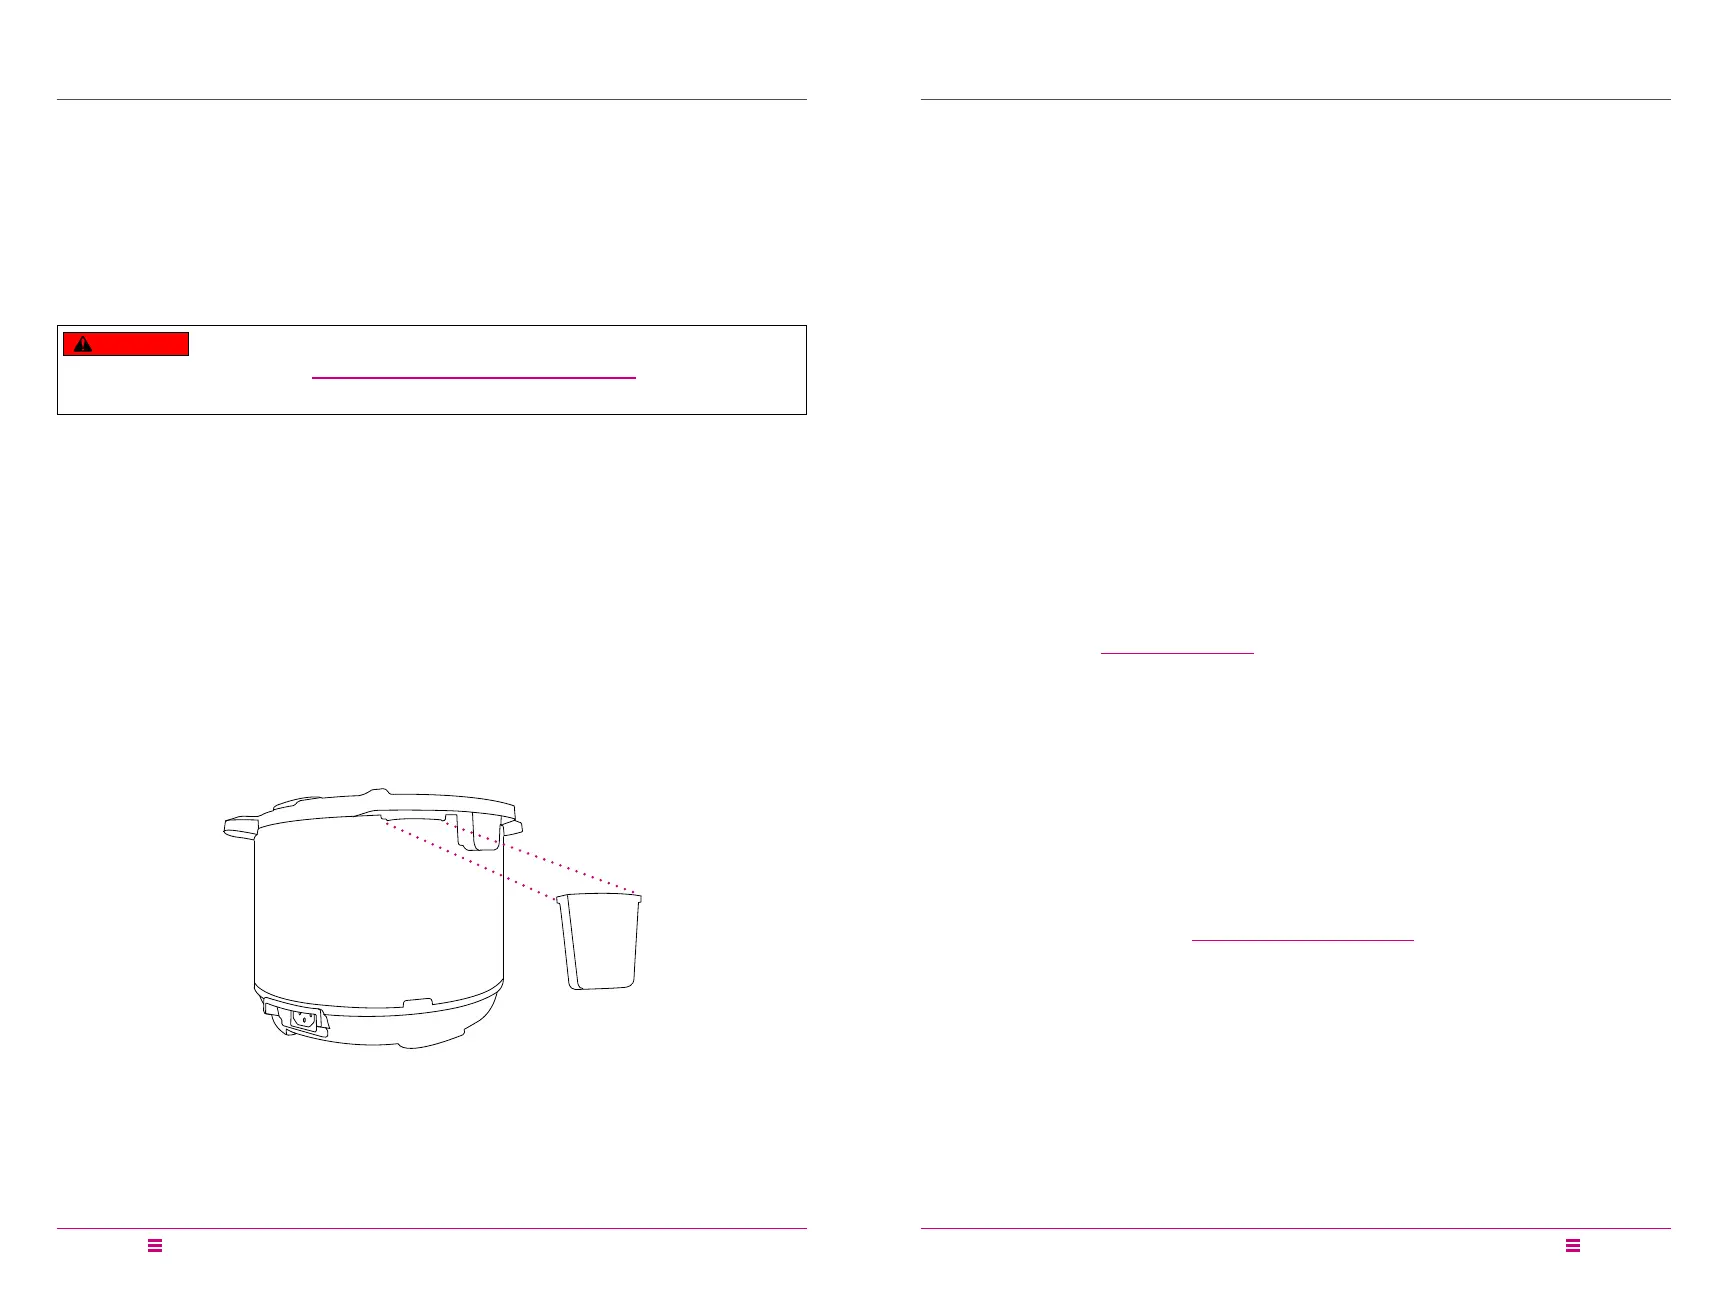
Condensation Collector
The condensation collector sits at the back of the cooker base and accumulates
overow moisture from the condensation rim. It should be installed before
cooking, then emptied and rinsed out after each use.
Remove the Condensation Collector
Pull the condensation collector away from the cooker base; do not pull down.
Note the tabs on the cooker base and the grooves on the condensation collector.
Install the Condensation Collector
Align the grooves on the condensation collector over the tabs on the back of the
cooker base and slide the condensation collector into place.
DANGER
While the oat valve is up, contents of cooker are under extreme pressure. Do not
attempt to remove the lid. All pressure must be released, and oat valve must be
down. Refer to Depressurizing the Cooker (Venting Methods) for information on
releasing pressure. Failure to follow these instructions may result in property
damage and/or personal injury.
Introduction to Pressure Cooking
Pressure cooking uses steam pressure to raise the boiling point of water
above 100ºC/212ºF. This energy-efcient cooking method is the fastest way to
thoroughly cook a variety of your favorite meals.
Pressure cookers go through 3 stages when pressure cooking:
1. Pre-Heating and Pressurization
The cooker waits 10 seconds to ensure you have nished inputting your selections,
then displays On to indicate it has begun pre-heating. While the cooker pre-heats,
it vaporizes liquid in the inner pot to create steam. Once enough steam has built
up inside the inner pot, the oat valve pops up and locks the lid of the cooker in
place for safe pressure cooking.
When the oat valve pops up, the silicone cap attached to the bottom of the oat
valve (on the underside of the lid) seals the steam inside the cooking chamber (the
inner pot) and allows the pressure to rise even higher. A higher pressure means a
higher cooking temperature.
While it is normal to see some steam escaping through the oat valve during
Pre-Heating, if you see steam escaping from around the sides of the lid, press
Cancel and refer to Troubleshooting.
Note: The time it takes your cooker to pressurize is determined by a variety of factors,
including food and liquid volume.
2. Cooking
After the oat valve pops up, the cooker needs a few minutes to nish building
pressure. When the required pressure level is reached, cooking begins. The
display switches from On to the cooking countdown timer, displayed in HH:MM
(hours : minutes) format.
Smart Program settings (e.g., cooking time, temperature and/or pressure level,
and whether Keep Warm will come on automatically or not) can be adjusted at any
time during cooking. Refer to Smart Program Settings for details.
 Loading...