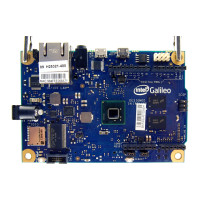
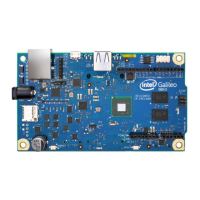
Hardware 16
Hardware
This reads a value from pin A0. However, it doesn’t do anything with the value.
We have to create a variable, which we can later do something with. A variable is something that can hold
a value. In this case it is a number and can be changed and used later in the program.
The microcontroller has to be told what the name of the variable is, and what it will be used for. That is done
by writing something called a declaration. In this case our declaration will look something like this, which
will go at the beginning of the loop routine:
intmyVariable;
This tells the Galileo that you want a variable which is named ‘myVariable’ and you will use it as a inte-
ger, which is any whole number, including zero, positive, and negative numbers.
You can name your variable anything, you just have to make sure you type it the exact same way every time.
For example, ‘myVariable’ is not the same as ‘myvariable’. Also, the microcontroller won’t understand
spaces in the variable.
After we tell the microcontroller that we have a variable, we have to assign it a value. This can be done by us-
ing the value from analogRead. You can tell the Galileo to assign a value to a variable using an equal sign:
myVariable=analogRead(A0);
So, the whole program would look like this:
voidsetup(){
pinMode(A0,INPUT);//analoginput
}
voidloop(){
intmyVariable;//declarevariable
myVariable=analogRead(A0);//assign
variable
}
Now, each time the loop goes through, myVariable will be assigned whatever the analog pin is sensing.
myVariable will be a high number (around 1000) if the sensor is at one extreme (turned all the way, in a
very bright environment, pushed down) and around 0 if the sensor is at the other extreme.
3.6: Using analogWrite
The simplest thing that can now be done with myVariable is to control the brightness of an LED. The wir-
ing for this is the same as in Lesson 2.
Controlling an LED requires us to use pinMode to tell the microcontroller we are using same pin as an out-
put, and to use analogWrite to write to the LED.
 Loading...