Hardware 27
Hardware
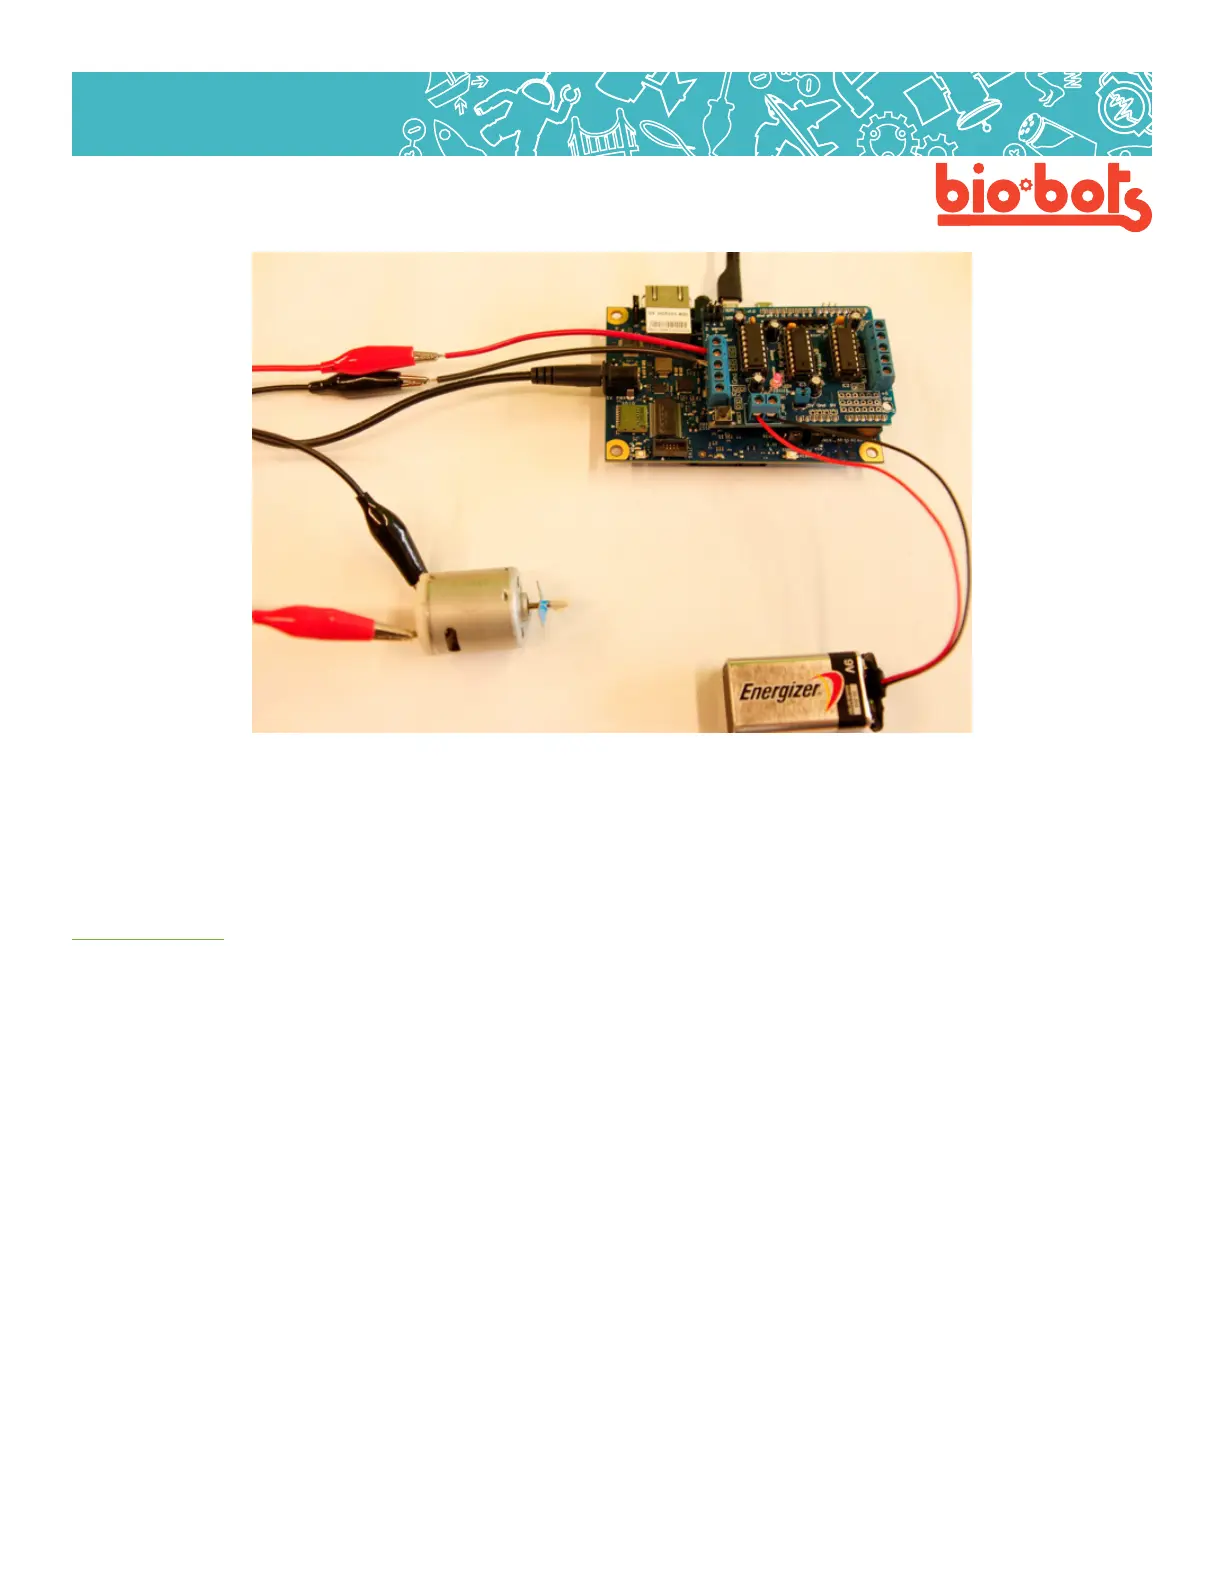
For your robot, you can use inputs to control the speed of the motor, and how long the motor runs for, using
any of the techniques you used in Lesson 3. You can also have your motor control your robot using a speci-
ed pattern, just by controlling speeds and delay times. Experiment!
4.5: Wiring a Servo Motor
Servo motors are good motors to use for creating robots for several reasons. One being that they can be
small, inexpensive and require less power than a DC motor, and two because they are very easy to control
using the Galileo. Unlike the DC motor which is able to continually rotate for 360 degrees, most servos only
rotate 180 degrees but are able to be controlled and programmed very easily to move in very precise ways.
So, if you are looking to give your robot more specic or detailed movements, the servo motor is your better
bet.
When connecting the servo motor notice that there are three wires. These can be various colors (my servo
has a red, black and yellow wire) but each color is important to note and goes to a specic spot on the Galileo
board. Just like with the DC motor there is a positive (+) and negative (-/GND) but with the servo there is one
extra wire, that is the signal or command wire. Typically the power or positive wire is red, which will connect
to the 5V or Vin pin. The GND wire will usually be black or brown and you will connect that wire anywhere on
the Galileo board marked GND. The signal wire can be yellow, orange or white. This wire will need to be con-
nected to any of the digital pins numbered 0 to 13 (remember not the pins starting with A which are analog).
When connecting to the Galileo board you may have to play around with the conguration to nd out the
correct placements. If you want to test to see if your servo is working you can place your GND pin in the cor-
rect place and put your power pin in 5V, the servo should ‘jump’ rotating a degree or two just for a second.
This means it has power and wants to move, now you just need to tell it what to do. If there is a plug at the
end of the three wires on your servo motor, don’t worry. Just plug in a wire into each pin in the plug and con-
nect that wire to the appropriate pin on the Galileo board. (Lesson 4, Figure 5)
Lesson 4, Figure 4
 Loading...