Hardware 4
Hardware
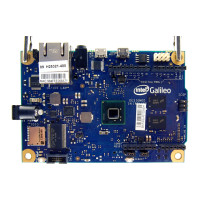
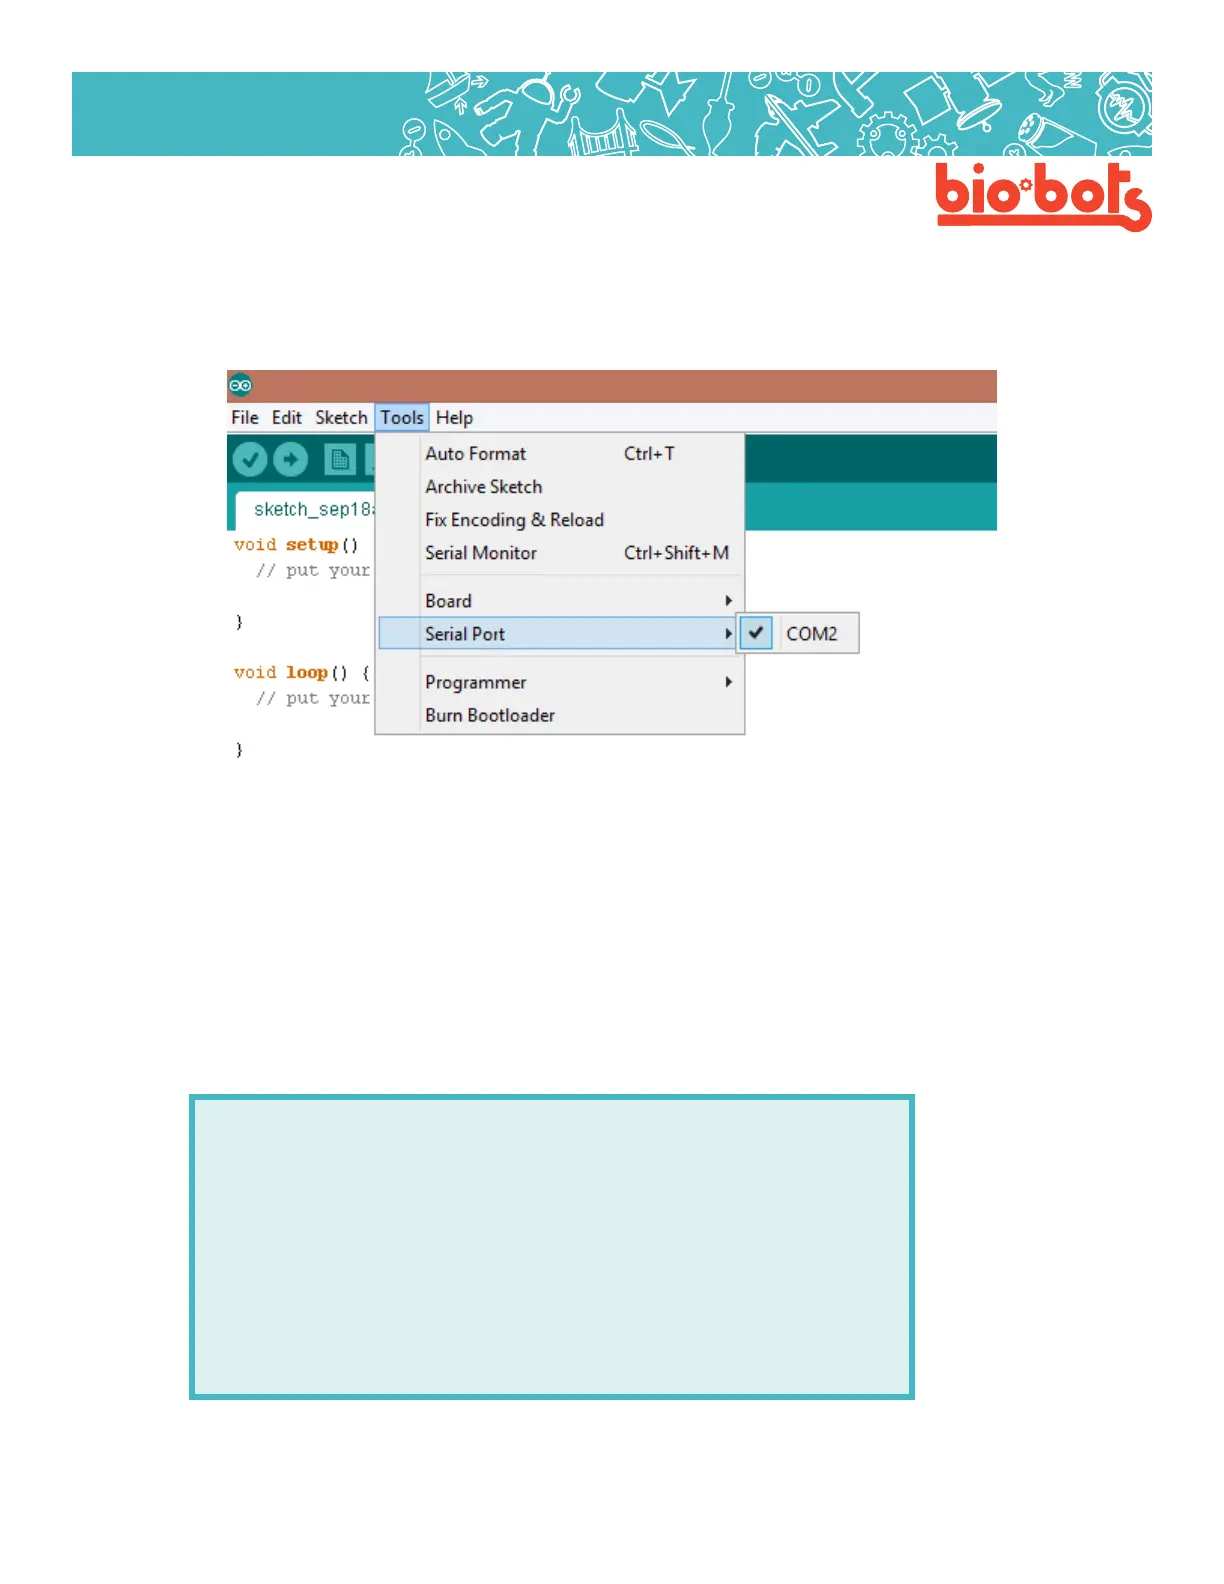
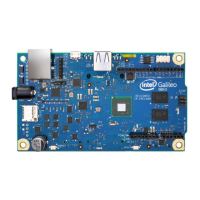
In order to program your Galileo, we are going to use the Arduino program (which can also communicate
with your Galileo board). Open the Arduino program. On the top bar go to tools -> board and select Intel Gali-
leo (Gen 2 if you are using Gen 2), this tells your computer what type of microcontroller you are using. Then,
go to tools -> serial port and make sure something is selected.
Lesson 1 Figure 2
1.3: Basic Programming Structure
Now that your Galileo and computer are ready to go, we can start thinking about programming. The Arduino
program is something called an IDE or Interactive Development Environment. It is a software that
is meant to help you program. Interactive means that you, the user, can interact or use it. Develop-
ment is a word which can mean ‘to program’. The Environment means the stu around your program
which can help you. The IDE oers an easier way to connect to the Galileo, highlighting, example codes
(Under le->examples) and a lot of other nice things. For our Galileo, we are going to use Arduino IDE. Lets
get started!
When you opened this program you should see the following code already written for you:
voidsetup(){
//putyoursetupcodehere,torunonce:
}
voidloop(){
//putyourmaincodehere,torunrepeatedly:
}