10
NUC8i7INHX, NUC8i7INHP, NUC8i7INHZ, NUC8i5INHX, NUC8i7INHP
User Guide – April 2019
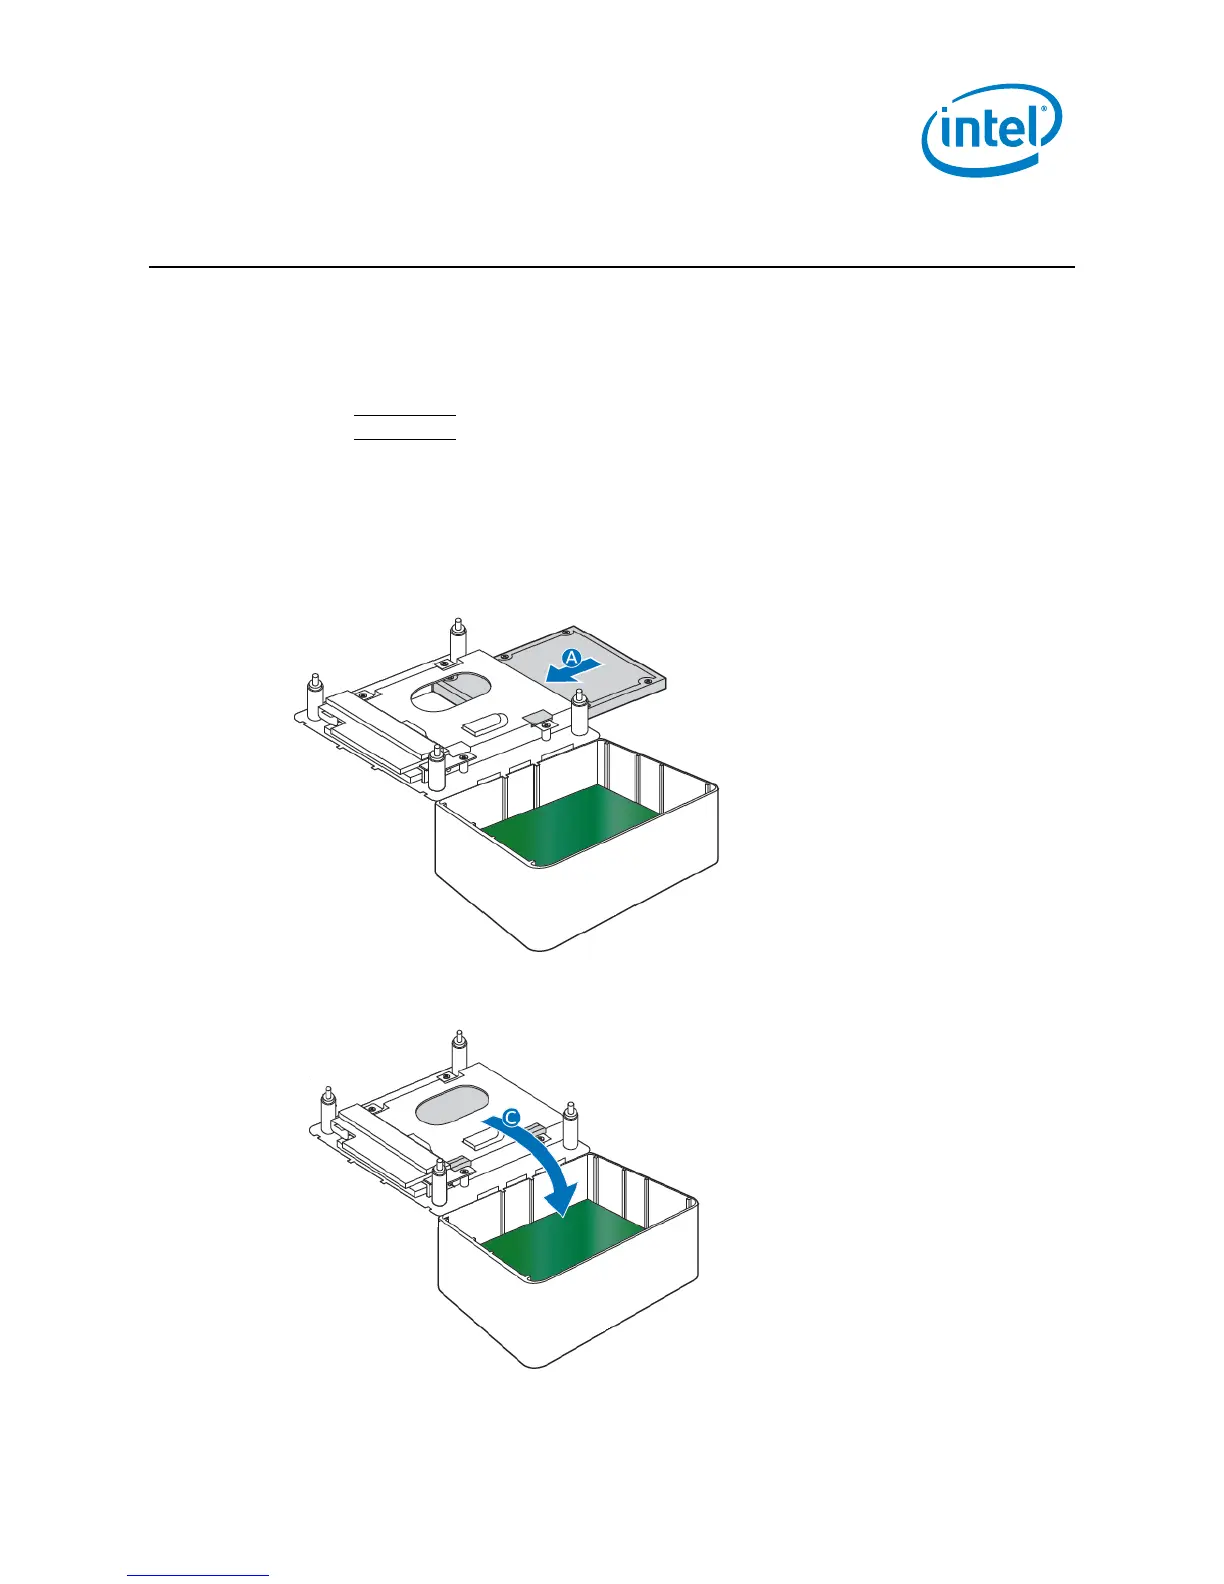
5.0 Install a 2.5” SSD or Hard Drive
The Intel NUC kits NUC8i7INH and NUC8i5INH support an additional 2.5” Solid State
Drive (SSD) or Hard Disk Drive (HDD).
Find compatible 2.5” drives in the Intel Product Compatibility Tool:
• NUC8i5INH
• NUC8i7INH
1. Unscrew the four screws holding the current drive in the bay.
2. Remove the pre-installed drive from the drive bay.
3. Slide the new 2.5” drive into the drive bay, ensuring the SATA connectors are fully
seated into the connectors of the SATA daughter card (A).
4. Secure the drive into the drive bay with the four screws that were used in step 1.
Set the drive bay bracket down inside the chassis (C).
 Loading...