3
General Installation Process
8
Run the Intel® RAID BIOS
Configuration Utility
Run the Intel
®
RAID BIOS Configuration Utility to
configure the groups and the virtual drives. When the
message about the configuration utility appears on the
screen, immediately press Ctrl+C to run the utility.
NOTE: Refer to the Intel
®
RAID Software User
Guide for detailed steps on configuring drive
groups and virtual drives.
5
Configure and Install the
SAS/SATA Devices
Configure and install the SAS devices, SATA devices, or
both in the host computer case.
Refer to the documentation for the devices for any
preinstallation configuration requirements.
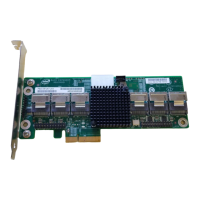
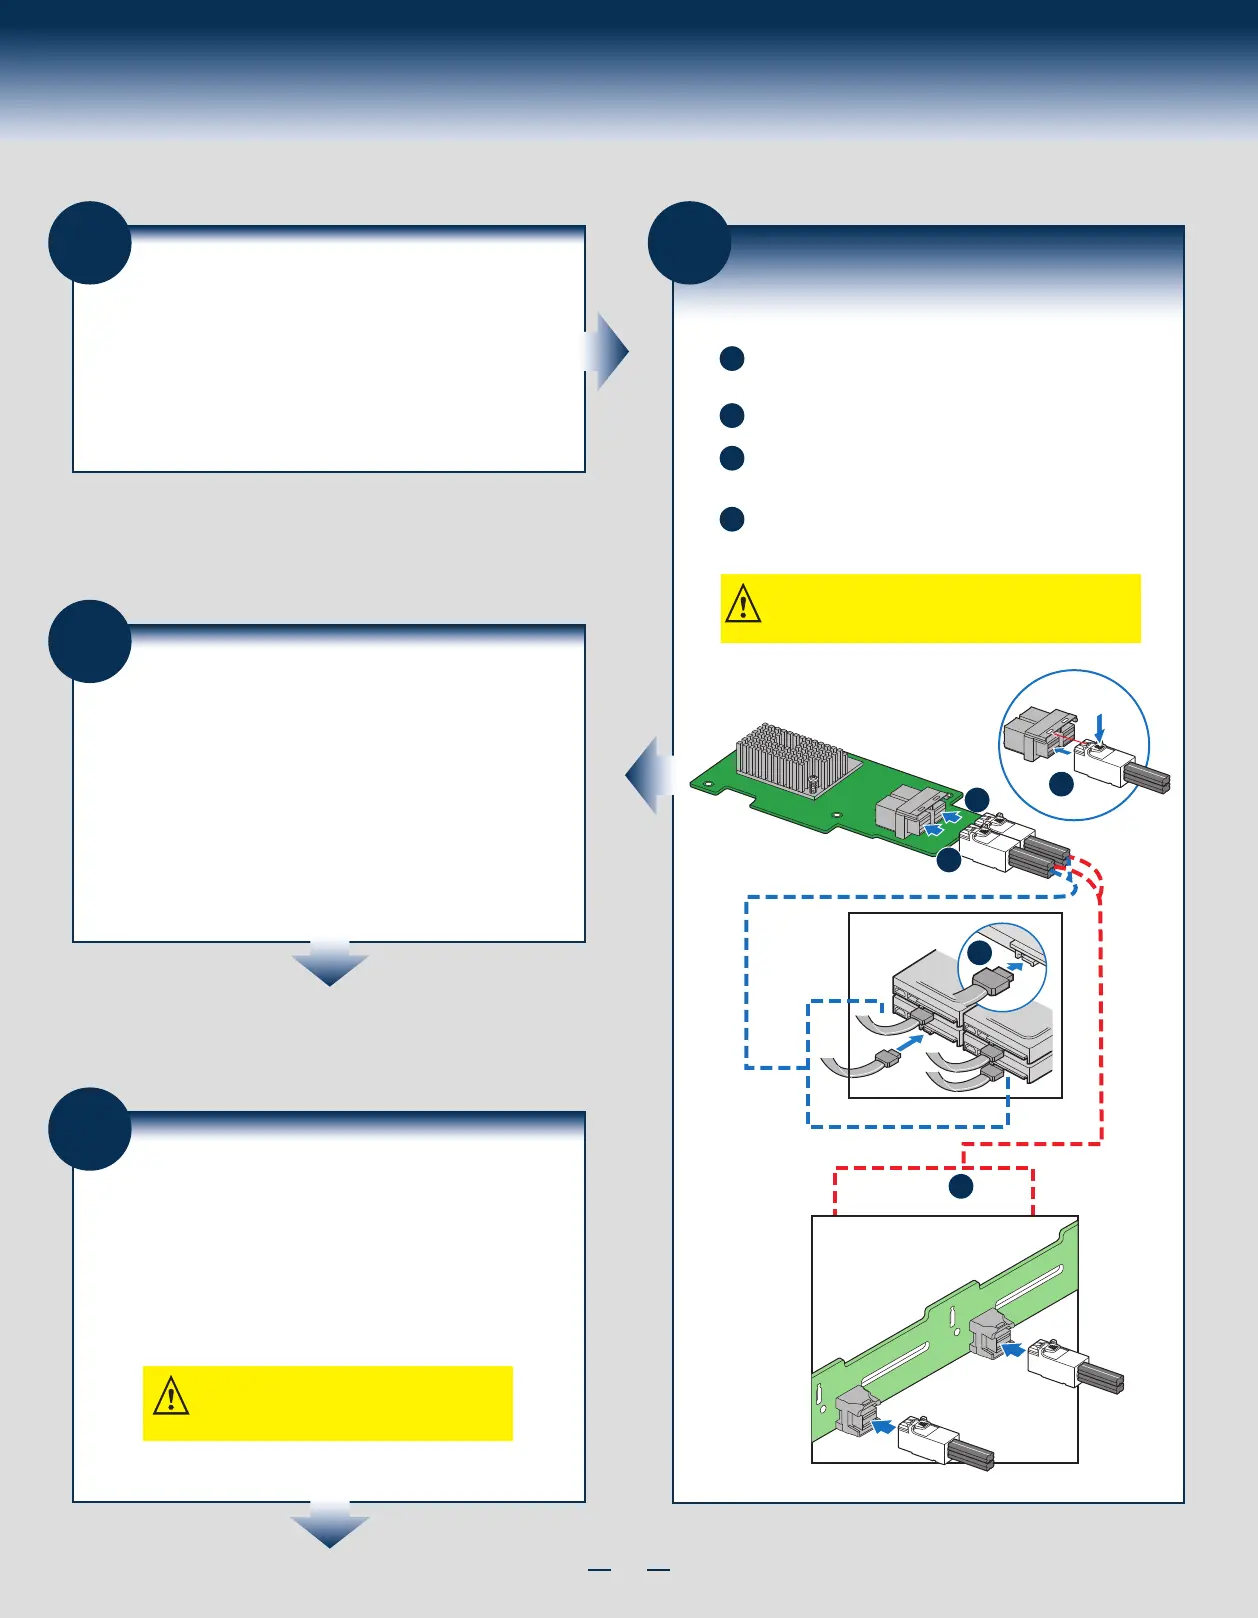
6
Connect the RAID Module to
the SAS/SATA Devices
NOTE: Both non-expander backplanes (one cable per drive)
and expander backplanes (one or two total cables) are
supported. Drive power cables (not shown) are required.
A
Connect the wide end of the provided cable to the up SFF-8643
connector (ports 0-3).
B
Push the cable into the SFF-8643 connector until it makes a slight
C
If using more than four drives, connect the wide end of the second
cable to the down SFF-8643 connector (ports 4-7).
D
Connect the other ends of the cables to SATA drives or to the ports
on a SATA or SAS backplane.
C
A
D
D
AF006534
B
7
Power up the System
Reinstall the computer cover, and reconnect the power cords. Turn on
the power to the host computer. Make sure that the power is turned on
to the SAS devices and the SATA III devices before or at the same time
that the power to the host computer is turned on. If the power is
turned on to the host computer before it is turned on to the devices,
the host computer might not recognize the devices.
The firmware takes several seconds to initialize. During this time, the
RAID module scans the ports.