4 // tazer user manual INTENSE CYCLES // 5
setup
Preface //
Before you can get out there and rip up the trails,
we need to get your bike unpacked and built up.
This is a good chance for you to become familiar
with your bike and to ensure the performance and
ride characteristics of the Tazer is optimised for you.
Tools needed
• shock pump
• small ruler or measuring device
• torque wrench
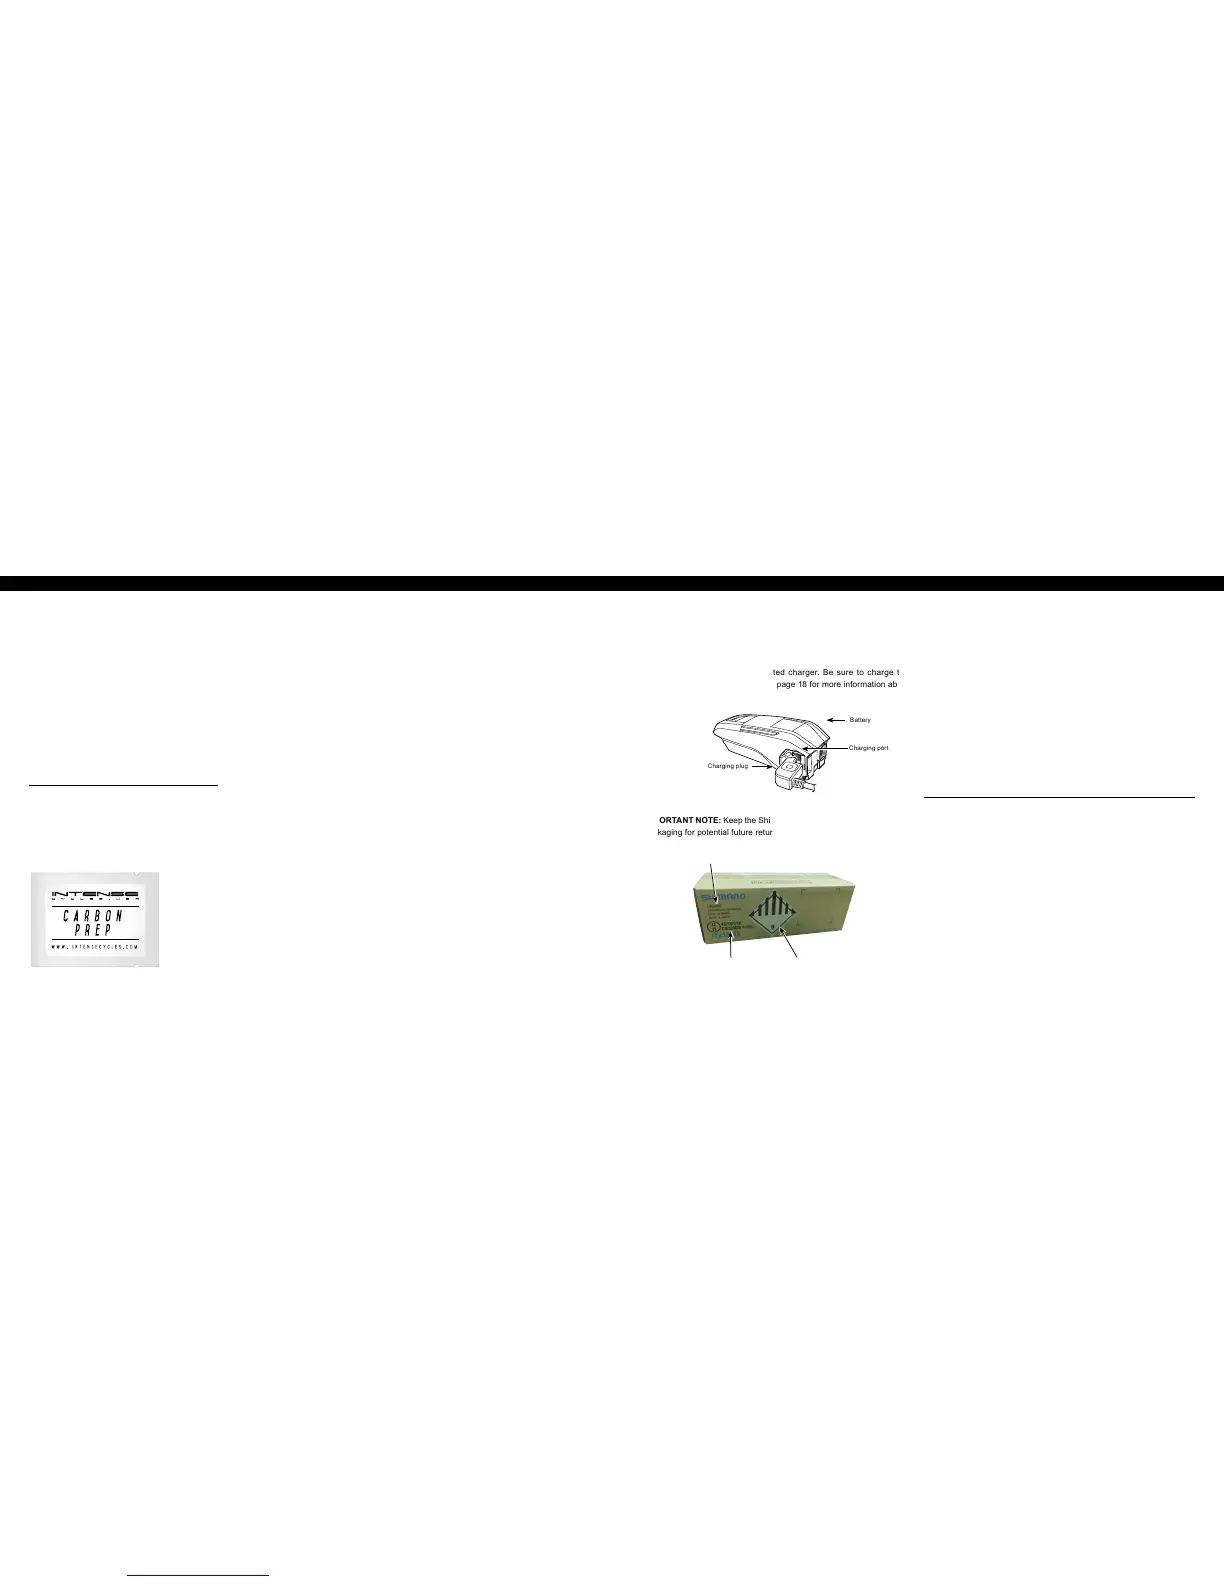
• Intense Carbon Paste
Unboxing your tazer //
Careful attention has been given to the packaging of your Intense Tazer
to not only ensure that it arrives safely and undamaged, but also that
you are able to re-use the packaging for situations in which you need to
safely transport your bike.
1. Rest the box on the ground or stable surface
with the top side facing up.
2. Pull the aps and open the top lid.
3. Remove the INTENSE accessory box, which contains
your user manual, torque wrench, and shock pump.
4. Everything in the box is numbered. Remove the inserts
in chronological order taking care not to rip or tear the
cardbard so that they can be reused in the future.
5. After removing the handleba r and control protector (#7), raise the
dropper post by activating the trigger located on the handlebar.
6. Mount the frame onto a bike stand using the seatpost as your
clamping surface. WARNING: Do not clamp onto any of the carbon
surfaces of the frame as this could severely damage the frame.
7. Continue by removing the remaining protectors from the bike.
Get charged //
The battery is not fully charged at the time of purchase, so before you start
building your Tazer, take a moment to unpack and charge the supplied
Shimano battery using its dedicated charger. Be sure to charge the
battery until it is fully charged. See page 18 for more information about
charging the battery.
Charging plug
Battery
Charging port
IMPORTANT NOTE: Keep the Shimano battery box and original internal
packaging for potential future returns to Shimano.
packaging identifiers
1. Frame spacer
2. Wheel stabilizer (front wheel)
3. Wheel stabilizer (rear wheel)
4. Rear wheel cover
5. Front wheel cover
6. Cassette cover
7. Handlebar and
control protector
8. Fork cover
9. Downtube / toptube protector
building your tazer //
Once all the protectors have been removed from the bike, we can begin
the process of mounting the components onto the frame.
Handlebar Installation
1. Spin the stem around so that the faceplate is facing forward.
2. Using a 4 mm allen key, remove the faceplate from the stem.
3. Making sure that all the cables are oriented properly, place
the handlebar into the stem and reinstall the faceplate.
With the handlebar centered, torque the faceplate bolts to
6 Nm / 54 in-lbs. NOTE: Take your time when installing the
faceplate bolts to prevent any type of cross threading.
p r o t i p
When installing the faceplate, always tighten the stem bolts in a cross
pattern (top left – bottom right, bottom left – Top right).
Mounting the Derailleur
1. Using a knife or scissors, carefully remove the bubble wrap
and zipties from the rear derail leur, chain, and B-screw.
2. With a 5mm allen key, mount the rear derailleur onto the
derailleur hanger being careful to avoid cross threading.
3. Using a torque wrench, tighten the derailleur
bolt to 8-10 Nm / 70-90 in-lbs.
UN number
Hazardous goods labelPackaging code


 To Next Page