Setting Astro On/Off Events
Access the Astro Events screen to congure Astronomic ON/OFF events for days of the week and circuits. The time switch enables one
Astronomic ON (at sunset) and one Astronomic OFF (at sunup) per day of the week for each load. Follow this procedure to set Astro ON/
OFF Events.
1. Press MODE to scroll to SET ASTRO ON/OFF EVENTS.
2. Press DAY. The screen displays SUNSET (or SUNUP), the days of the week, and the load number.
NOTE: If you are creating an Astro event as directed in Setting Astronomic and Fixed Events, press ENTER/NEXT to adjust be-
tween SUNSET or SUNUP.
3. Press DAY to select the days (MON-SUN, MON-FRI, SAT-SUN), or a user-congured group of days) you want the Astro event to
occur.
4. The screen displays the congured days under SUNSET or SUNUP. Press DAY to add or remove a group of days. To select indi-
vidual days, press DAY and scroll through options until ON and MON ash on the screen.
5. Take one of these actions.
If you select... Then...
MON-SUN, MON-FRI, SAT-SUN, Press ENTER/NEXT to save.
Go to step 6.
NOTE: If you are performing the procedure Setting Astronomic and
Fixed Events, return to step 2 of the procedure.
Individual days, (ON and MON), Press + or - to select Astro event ON or -- (OFF) for the flashing day
of the week and press DAY. Go to step 5.
6. Repeat the process for each day of the week. When all the individual days are congured, press ENTER/NEXT to save.
NOTE: If you are performing the procedure Setting Astronomic and Fixed Events, return to step 2 of the procedure.
7. Repeat steps 3 through 5 to congure SUNUP OFF. When both SUNSET and SUNUP are set, go to step 7.
8. Take one of these actions:
If... Then...
You want to configure an Astro event for another load, Press ENTER/NEXT. Repeat steps 3 through 6.
All the required Astro events are set, Press MODE to exit. The procedure is complete.
Users can congure Astro events, xed timed events, or a combination of Astro and xed timed events.
Perform the applicable instructions below.
- To set Astro events only, perform the procedure Setting Astro On/Off Events
- To set xed timed events only, perform the procedure Setting Fixed Timed Events
- To set a combination of Astro and xed events, perform the procedure Setting Astronomic and Fixed Events
Setting Astro and Fixed Events
5. Repeat steps 2 through 4 as needed to congure times for additional loads.
6. When all the loads are set, press MODE to save the settings. The time switch displays SET SUNSET at the top of the screen and
LOAD 1.
7. Repeat steps 2 through 6 as necessary to set sunset times.
8. When all the sunup and sunset times are congured, press MODE to save.
Setting Sunup and Sunset Times
Multiple sunrise and sunset offsets can be congured for different areas in a facility. For example, a user can congure a sunrise offset for
the lights in a parking lot to turn off one hour after normal sunrise.
Follow this procedure to set sunup and sunset times.
1. Press MODE and scroll until SET SUNUP appears at the top of the screen. The default time for the LOAD appears.
2. Press + or - to adjust the time for the sunup or sunset and press ENTER/NEXT. The OFFSET screen appears, followed by the
offset time digit (in minutes).
3. Press + or - to adjust the offset and press ENTER/NEXT to save.
NOTE: Offsets can be set to a maximum of 2 hours (120 minutes) before or after a sunup or sunset time. A minus sign (-) appears
before the digit to indicate minutes before the sunup or sunset time.
4. If applicable, press the next ON/OFF button in sequence for the next load.
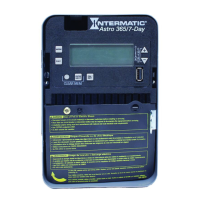
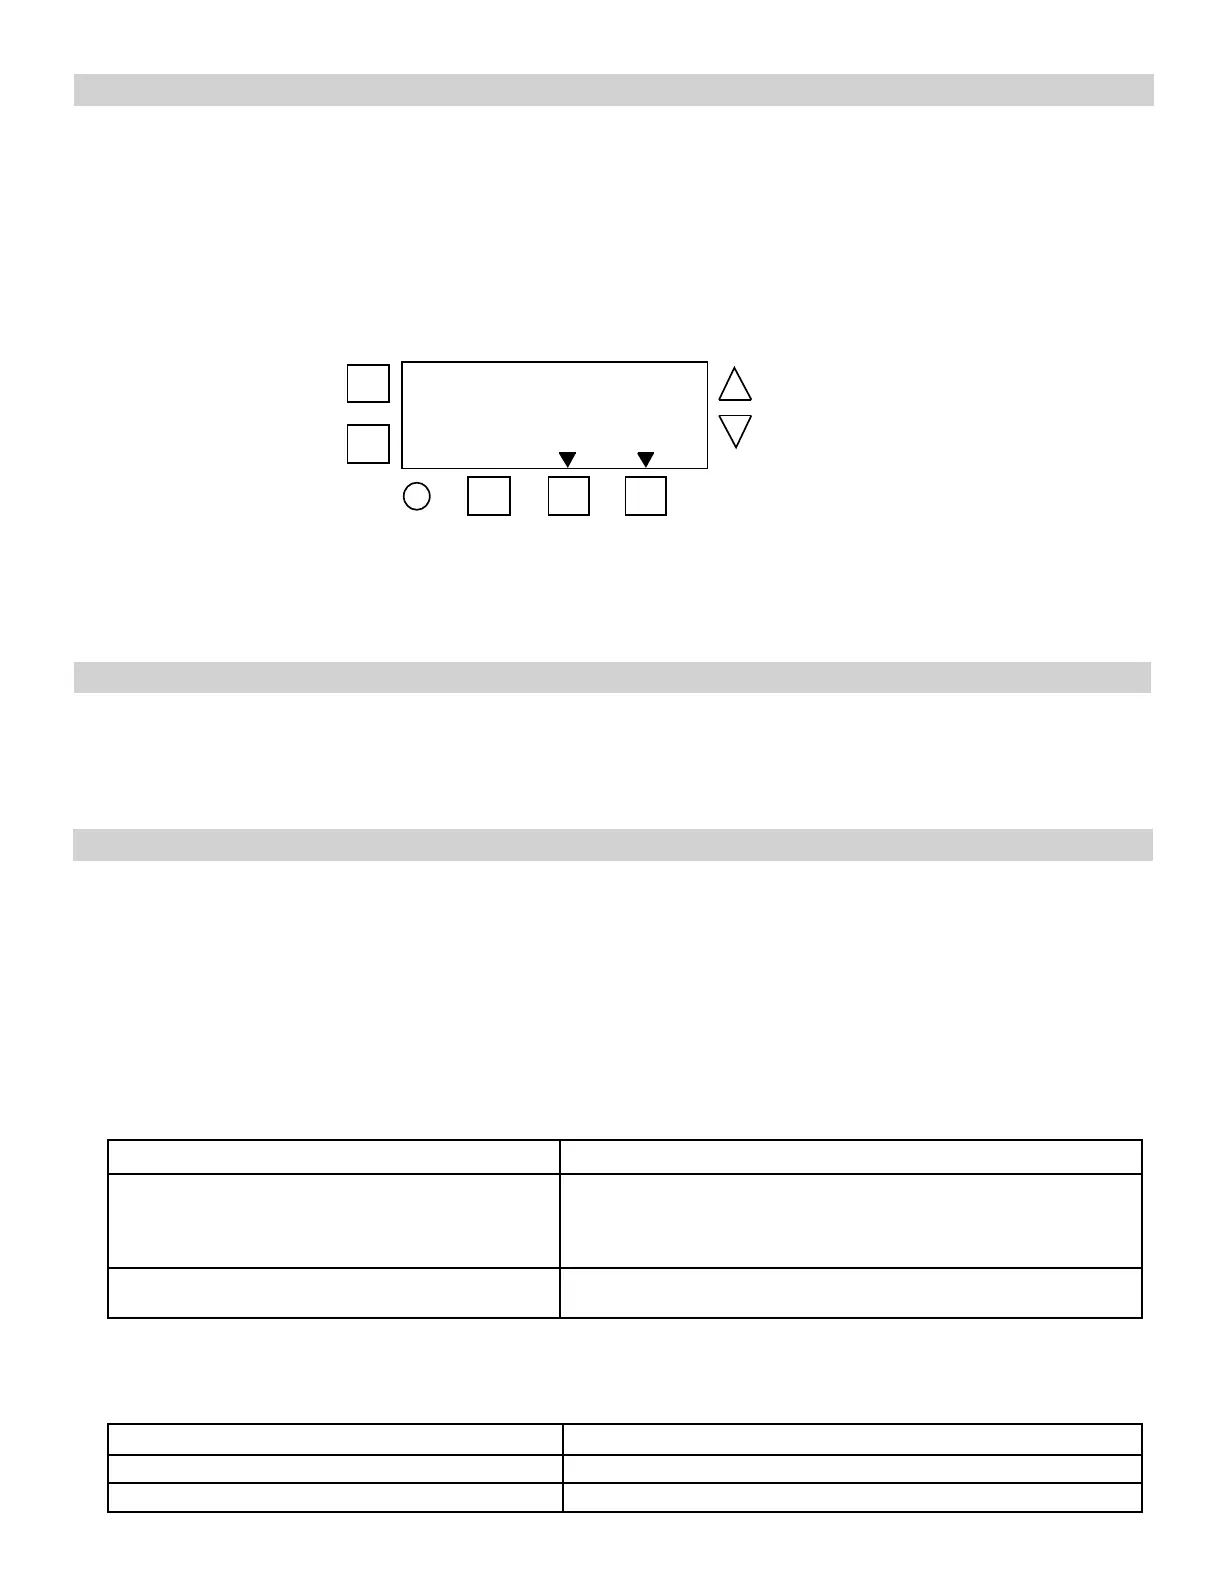
+
-
ENTER
NEXT
ON/
OFF
ON/
OFF
MODE
DAY
LOAD LOAD
 Loading...