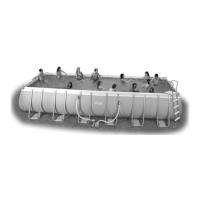
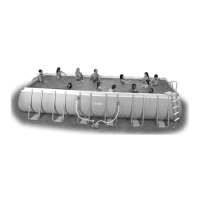
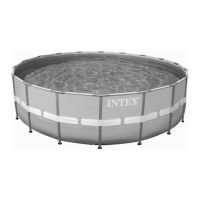
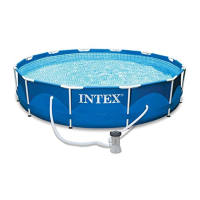
87PO
SAVE THESE INSTRUCTIONS
Page 10
(87PO) ROUND METAL FRAME POOL ENGLISH 7.5” X 10.3” PANTONE 295U 05/21/2009
English
SETUP INSTRUCTIONS
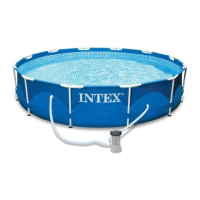
POOL SETUP (continued)
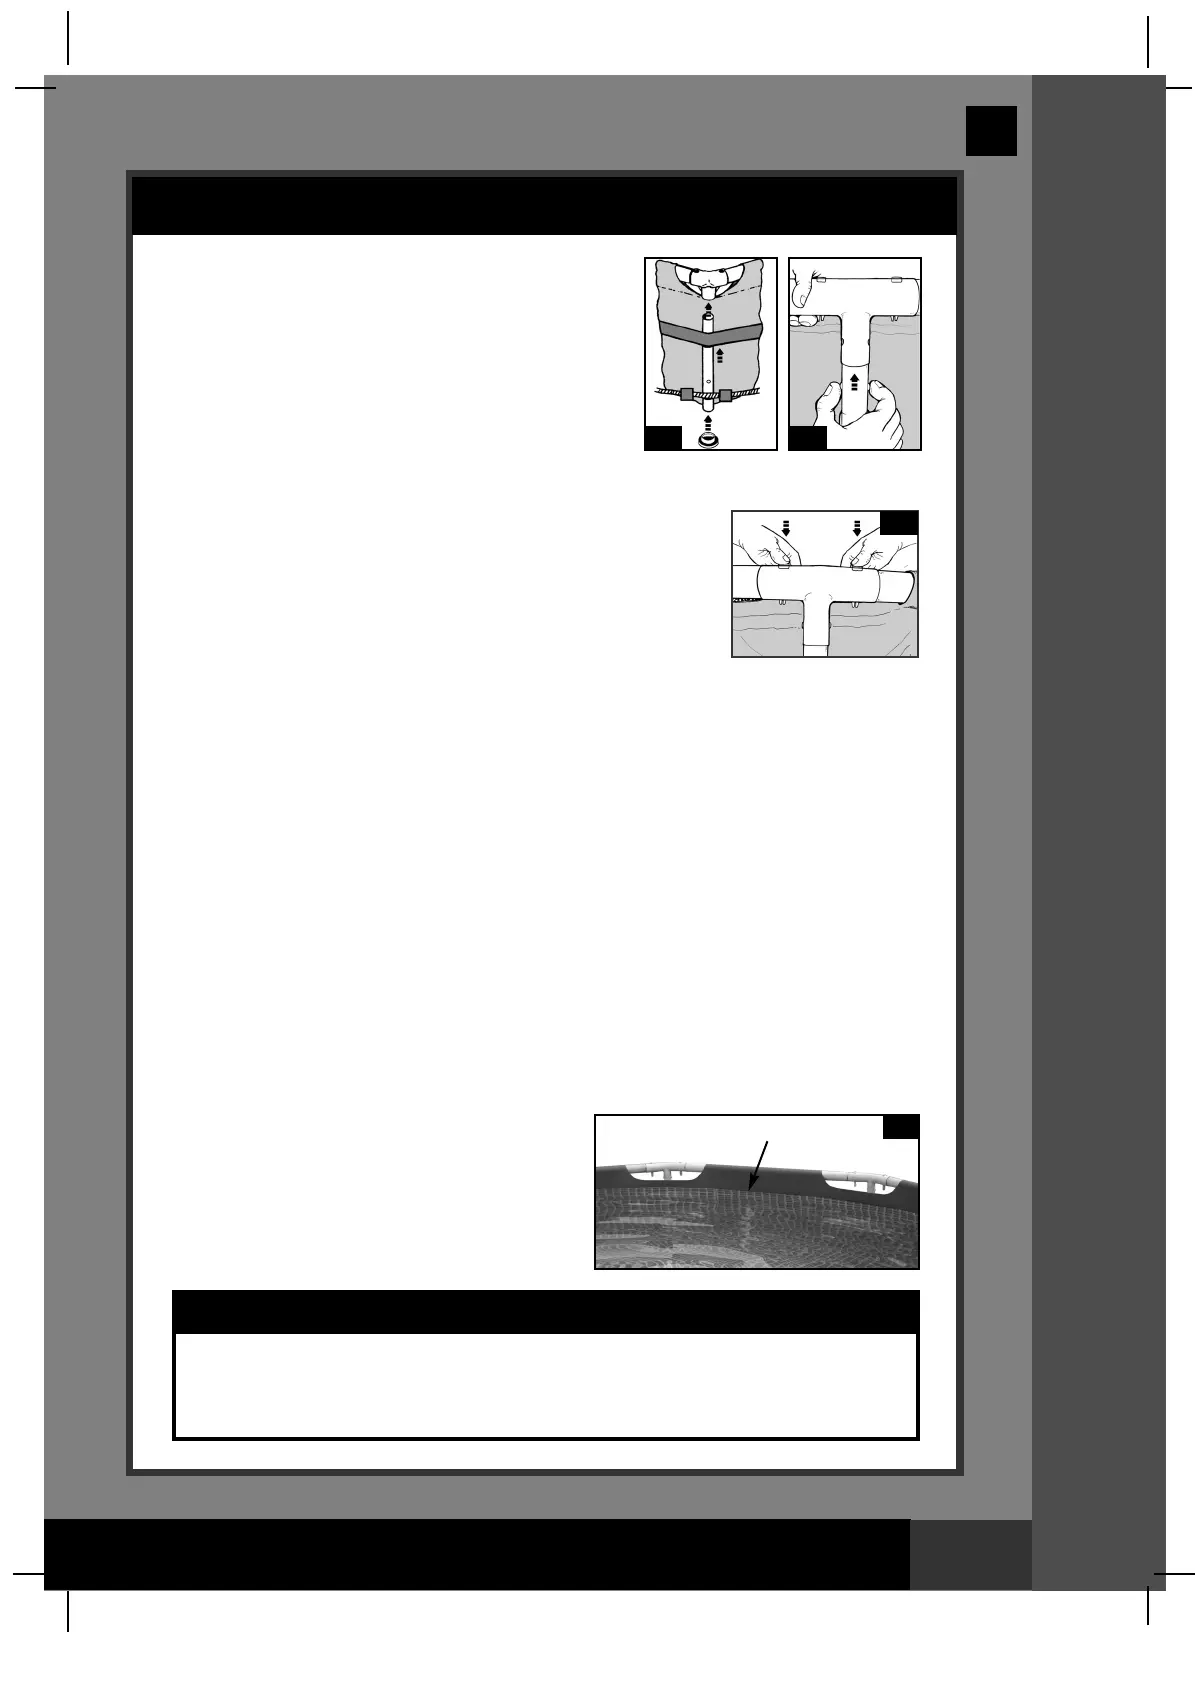
3. Next slide the vertical legs into the belt loop
located in the middle of the pool liner.
The bottom of the leg should be inside the white
restraining rope (9) located near the liner’s bottom
edge. Exceptions are the 10' (305cm) and 12' (366cm)
size pools. Carefully slide the leg into the belt loop and
place the leg’s bottom inside the rope and then insert
the top of the leg into the bottom of the joint. Snap this
leg into joint’s holes by aligning the holes and the
spring-loaded pin. Attach the leg’s end cap (5) to
the bottom of the leg (see drawings 3.1 & 3.2).
4. • Grab hold of the frame pool’s top beams in 2 – 3 locations.
Shake the pool to be sure that all the joints, legs and beams fit
into each other. Ensure that all pins are in position by pushing
them downwards through the holes (see drawing 4.1).
• Pull gently, in an outward direction, at the bottom of the leg;
making sure the leg is inside the restraining rope.
5. The following applies to pool liners with hose connectors
(16' (488 cm) & below pools). If the pool was purchased without a filter pump, stick two
plugs (11) into the black filter pump outlets. Do this from the inside of the pool so that
water will not run out when filling it.
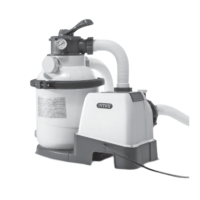
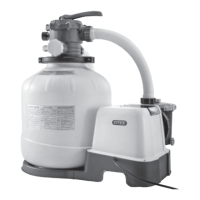
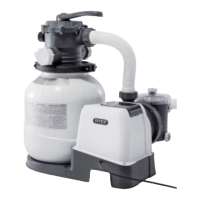
If the pool was purchased with a filter pump, consult the Krystal Clear™ Filter Pump
Manual first and then go to step #6.
6. • Before filling the pool with water, ensure that the drain plug inside the pool is closed and
that the drain cap on the outside is screwed on tightly. Fill the pool with no more than 1
inch of water. Check to see whether the water is level.
IMPORTANT: If the water in the pool flows to one side, the pool is not completely
level. Setting up the pool on unlevel ground will cause the pool to tilt resulting in
the sidewall material bulging. If the pool is not completely level, you must drain the
pool, level the area or move the pool to a different area that is level, and re-fill the
pool.
• Smooth out the remaining wrinkles (from inside the pool) by pushing out where the pool
floor and pool sides meet. Or, (from outside pool) reach under the side of the pool,
grasp the pool floor and pull it out. If the ground cloth is causing the wrinkles, have 2
adults pull from either side to remove all wrinkles.
7. Fill the pool with water up to just below the
sleeve line. (see drawing 4.2).
8. Aquatic Safety
Select a highly visible area near the pool to
post the Danger No Diving or Jumping sign
included later in this manual.
3.1
3
8
9
5
3.2
4
4.1
4.2
IMPORTANT
Before allowing anyone to use the pool, hold a family meeting. Establish a set of
rules that include, at a minimum, the important safety rules and general aquatic
safety information in this manual. Review these rules on a regular basis and with
all users of the pool, including guests.
WATER LEVEL