PAGE 38
Charging System
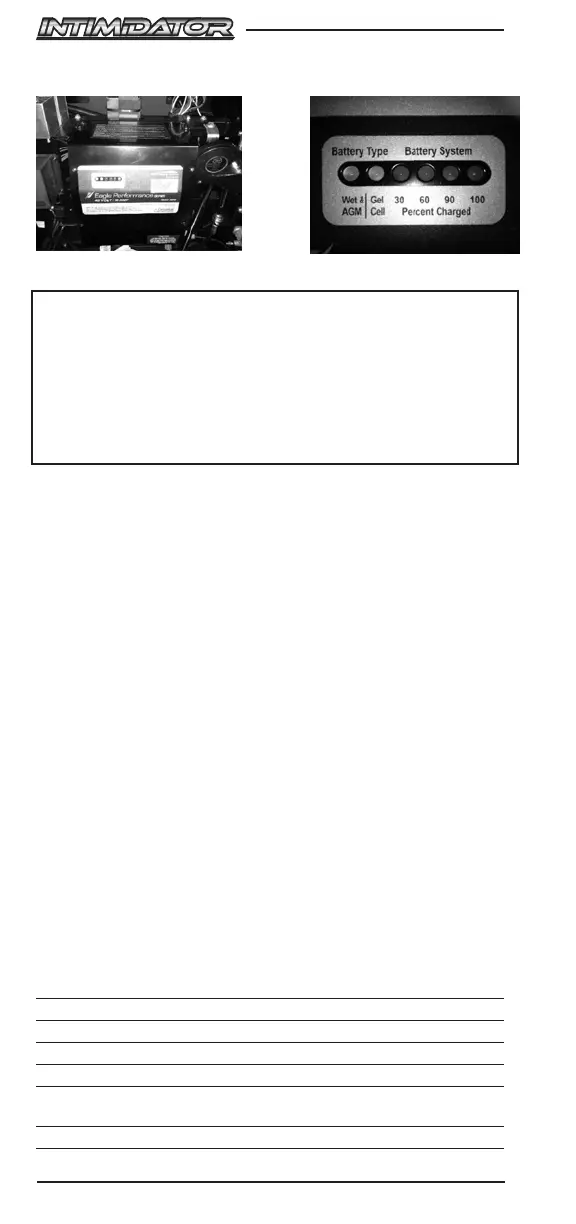
On-board battery charger located under hood Battery Charger meter
WARNING:
The Battery Charger will become hot when in use. Always leave the hood
open when the battery charger is plugged in. Keep any debris clear from
the charger and keep the charging area well ventilated. Always use a
3-prong (with ground) 12-gauge extension cord, plugged into a 15-amp
circuit breaker. Do not overload circuit by having two Intimidator EV’s, large
appliances or tools plugged into the same circuit breaker. Never allow the
charger to get wet while charging or plugged into an outlet.
NOTICE: The on-board charger is splash resistant but not waterproof. Do
not submerge the charger. Do not leave the vehicle in the rain with the hood
open. When washing the vehicle, do not directly spray water on charger.
The on-board battery charger is located under the front hood. The charger
plug-in is located under the seat on the passenger side of the vehicle. It
is okay to leave the charger plugged into an outlet for an extended period
of time. The charger will automatically turn on and off as needed. It will
take around 8-10 hours to charge your batter from 0% to 100%. When the
charging is complete, the meter on the battery charger, pictured above, will
illuminate a steady green LED light. See the Charging Indication Lights chart
below.
To charge your vehicle:
1. Park the vehicle in a well-ventilated, indoor area.
2. Locate an outlet on a circuit with a 15-amp circuit breaker and no other
major appliances plug into.
3. Open the front hood and make sure the charger is free of debris. Keep
the hood open.
4. Plug in the vehicle using a 3-prong, 12 gauge extension cord.
5. Keep the vehicle plugged in until the charger automatically turns off
and the full charge light on the charger is illuminated. If the charger
does not automatically turn off in twelve hours, unplug the charger
and notify your authorized dealer.
For charging system troubleshooting, see page 50.
Charging Indication Lights
1st Amber LED Illuminated configured for Wet Cell and AGM batteries
2nd Amber LED Illuminated configured for Gel Cell batteries
1st Red LED Charging – Initial Charging up to 30%
2nd & 3rd Red LED Charging – 60% Complete
1st, 2nd & 3rd Red LED Charging – 90% Complete
Blinking Green LED Finishing Stage
(Note: Battery type indicator ill blink during this stage)
STEADY GREEN LED Charge Complete