Action
3
Junior
Annex of Action
3
user’s guide
Spécific adjustments for Action
3
Junior W/C
1. Hangers
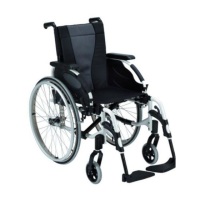
1.1. Removable and swing away (photo 1) : Standard footrest
supports are swing away during transfers and can be removed during
transport.
Operate lever (A) by pushing sideways and swivelling towards outside or
inside in case there is not enough space. To return to the initial position,
align the footrest support it locks automatically.
To remove the footrest support, simply pull up after unlocking
the assembly.
Reverse the procedure to reassemble, while still in the unlocked position.
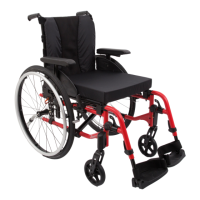
1.2. Height adjustable (photo 1-2) : Remove the hexagonal screw (B)
and adjust the footplate to the desired height, based upon preset holes.
Align the two holes and reposition the hexagonal screw, then tighten the
assembly without forcing.
1.3. Indexed to 0°or 30° (photo 2) : Remove the hexagonal screw (C)
and position the indexed plate(D) to 30° on the vertical upright
(preset hole). Align the two holes and reposition the hexagonal screw,
tighten the assembly rmly.
Note : the Action
3
Junior always is delivered with hangers adjusted to 0°.
2
1
B
D
C
3
A
B
C
D
A
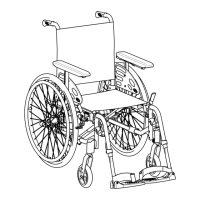
2. Legrests
Note : the leg rest is specic to Action
3
Junior w/c and cannot be tted
on Action
3
.
2.1. Removable and swing away :
To remove the leg rest, just pull
it up. To swing it away, slightly pull up (about 2 cm) and swivel towards
outside or inside.
2.2. Adjustable : (photo 3) Angle is adjustable through tooth plate :
loosen the knob (A), adjust to the desired angle based upon notches
and tighten rmly.
The calf pad is height adjustable by sliding : loosen the knob (B), adjust
to the desired height, tighten rmly.
The footplate is height adjustable : loosen the knob (C), adjust to the
desired height based upon the preset holes and tighten rmly.
The footplate is angle adjustable by tooth plate : loosen the knob (D),
adjust to the desired angle based upon notches and tighten rmly.