11
Installing The Batteries Into The Scooter (FIGURES 9, 10, 11 AND 12) - Continued
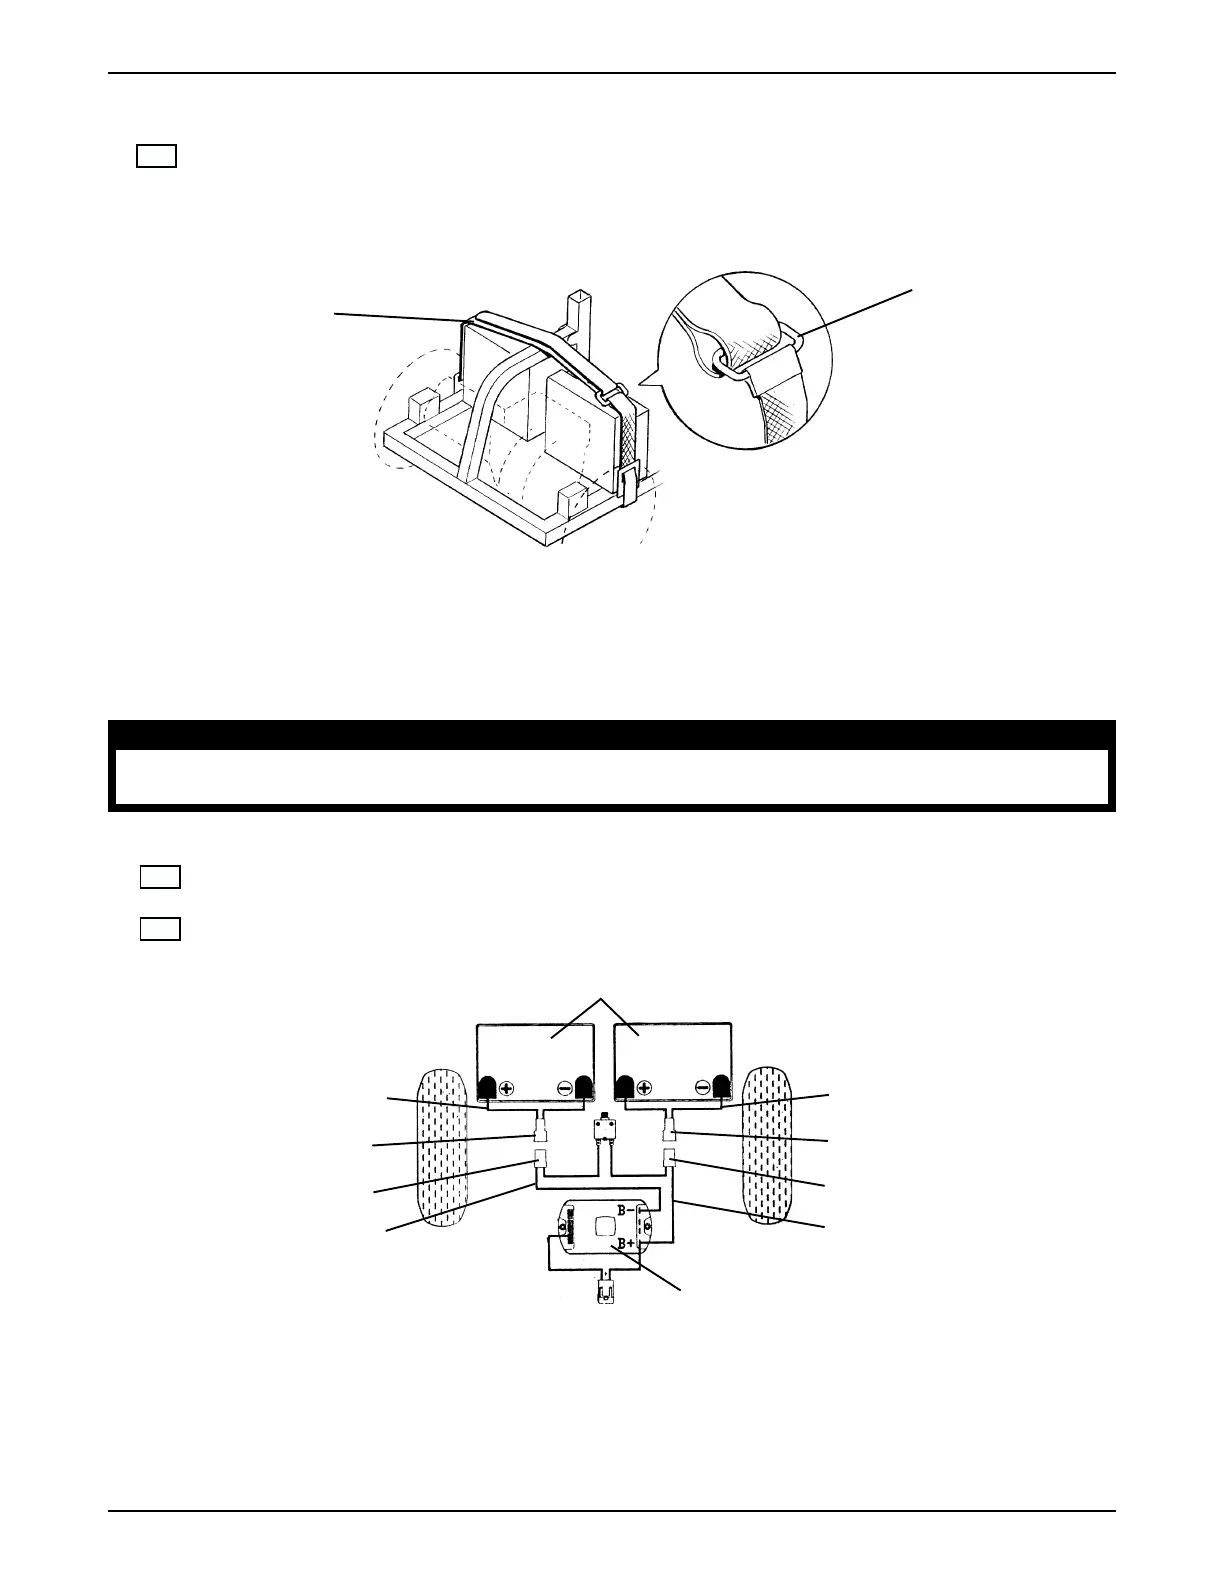
11. Reconnect the battery fastening strap by pulling the loose end though the retaining ring and tighten-
ing the strap (FIGURE 12).
NOTE: Ensure that none of the wiring harnesses are under the strap (between the strap and the battery).
Connecting The Battery Wiring Harness (FIGURE 13)
To properly install the batteries into the scooter, perform the following steps:
WARNING
NEVER allow any of your tools and/or battery cables to contact BOTH terminal(s) post(S) at the same
time. An electrical short may occur and injury or damage may result.
Check Box When
Completed
1. Connect the BLACK connector of the battery wiring harness to the BLACK connector of the controller
wiring harness. Push together until the connectors lock together (FIGURE 13).
2. Connect the RED connector of the battery wiring harness to the RED connector of the controller
wiring harness. Push together until the connectors lock together (FIGURE 13).
FIGURE 13 - CONNECTING THE BATTERY WIRING HARNESS
Black Connector
Battery Wiring Harness
Black Connector
Controller Wiring Harness
Controller
Red Connector
Battery Wiring Harness
Red Connector
Controller Wiring Harness
Batteries
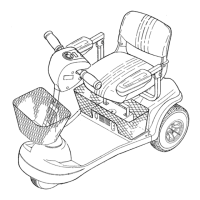
FIGURE 12 - INSTALLING THE BATTERIES INTO THE SCOOTER
Battery
Fastening
Strap
Retaining
Ring
BATTERY INSTALLATION

 Loading...