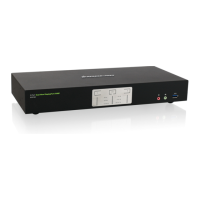
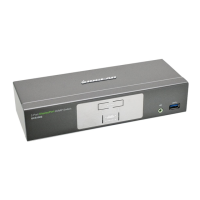
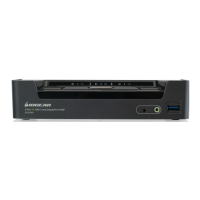
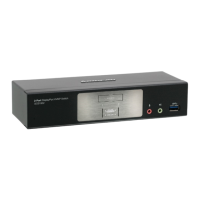
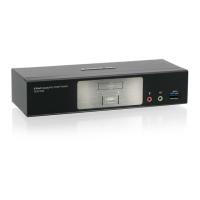
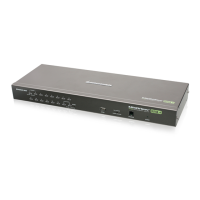
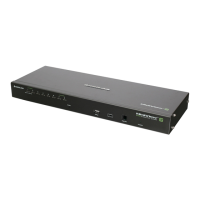
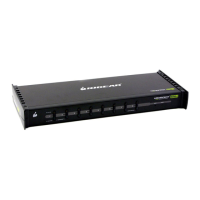
Hardware Installation 3
1. Connect the USB keyboard and mouse to the GCS1942/GCS1944
console ports
2. Connect the two DisplayPort monitors to the GCS1942/GCS1944
console ports
3. Turn the monitor power to ON
4. Connect the main microphone and speakers into the
GCS1942/GCS1944 microphone and speaker jacks located on the
front side panel.
5. Connect the secondary microphone and speakers into the
GCS1942/
GCS1944 microphone and speaker jacks located on the rear side
panel.
6. Connect the DisplayPort connectors into any available DisplayPort
ports in the KVM Port section. Connect the USB, microphone, and
speaker connectors into the GCS1942/GCS1944. Connect the other
end of the KVM cables to their respective DisplayPort, USB,
microphone, and speaker ports on the computers.
7. Connect up to 2 USB peripherals into the USB 3.0 Type-A ports (front
and rear panel of the GCS1942/GCS1944)
8. Connect the power adapter to an AC power source. Then, connect
the power adapter cable to the GCS1942/GCS1944 power jack.
9. Turn all connected computers power to On