3
14140 NE 200th St.
Woodinville, WA 98072
1.425.398.8282
www.ioline.com
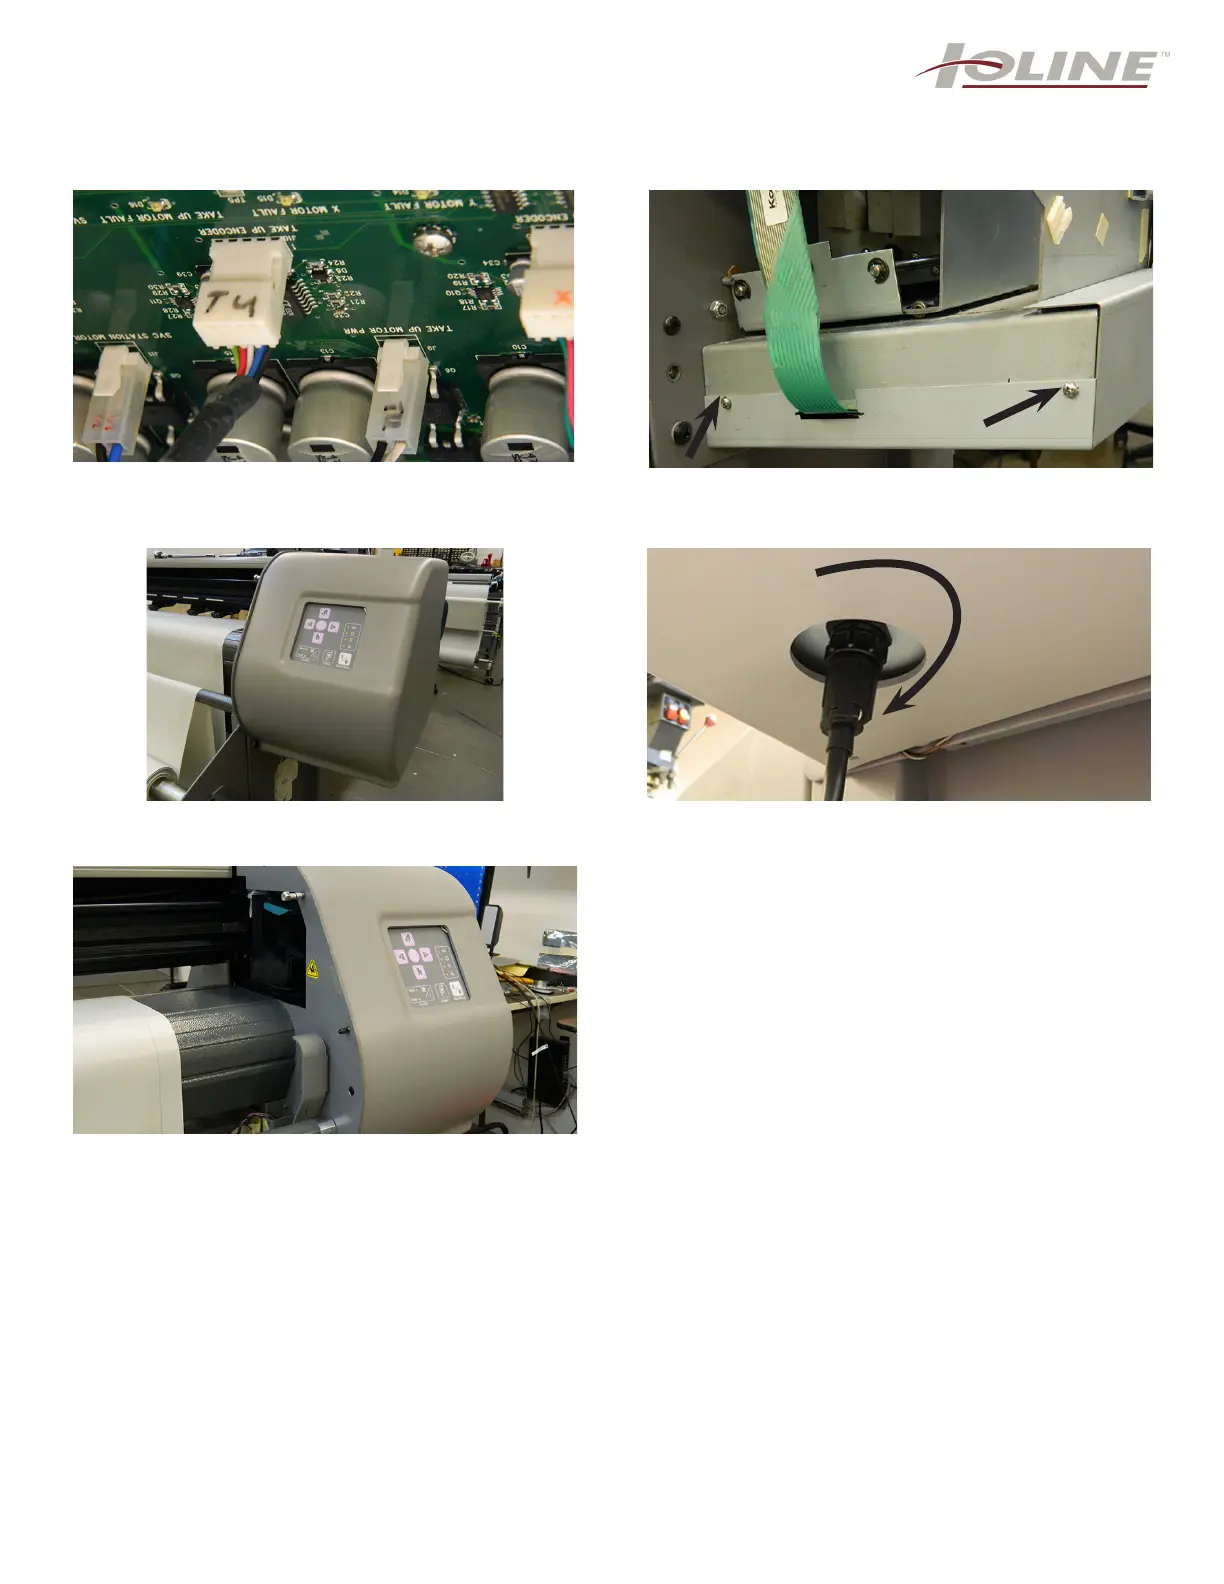
Step 17: While holding the metal cover in one hand,
you need to re-attach the 2 white connectors, the
take-up encoder and the take-up-motor as shown.
Step 18: Once the 2 connectors are placed in correctly,
you can place the metal cover on and screw back in
the 4 screws (2 are shown).
Step 19: Place back on the right end cover and attach
with the same 5 screws as before (step 3).
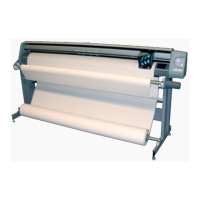
Step 20: You must re-attach the take-up motor cable.
Turn clockwise to tighten.
Step 21: Plug back in the power chord and communi-
cation cable. You are ready to resume printing.
...FINISHED