TIGER
LT
MANUAL Ion Science Ltd
Page 33 of 41
Maintenance
Press Enter again and the gas and concentration for Span 1 (previously set up in TIGER PC
LT
) are
displayed along with a 15 second countdown. Attach the ‘Span 1’ gas using the Calibration Adaptor
(861476) supplied in the Accessory Box (A-861267) (see ’Accessories’) and press Enter to start the Span 1
countdown. At the end of the count down a tick 'ü' will appear, indicating that the Span 1 has been
accepted. For two-point calibration, press Enter and the calibration is complete.
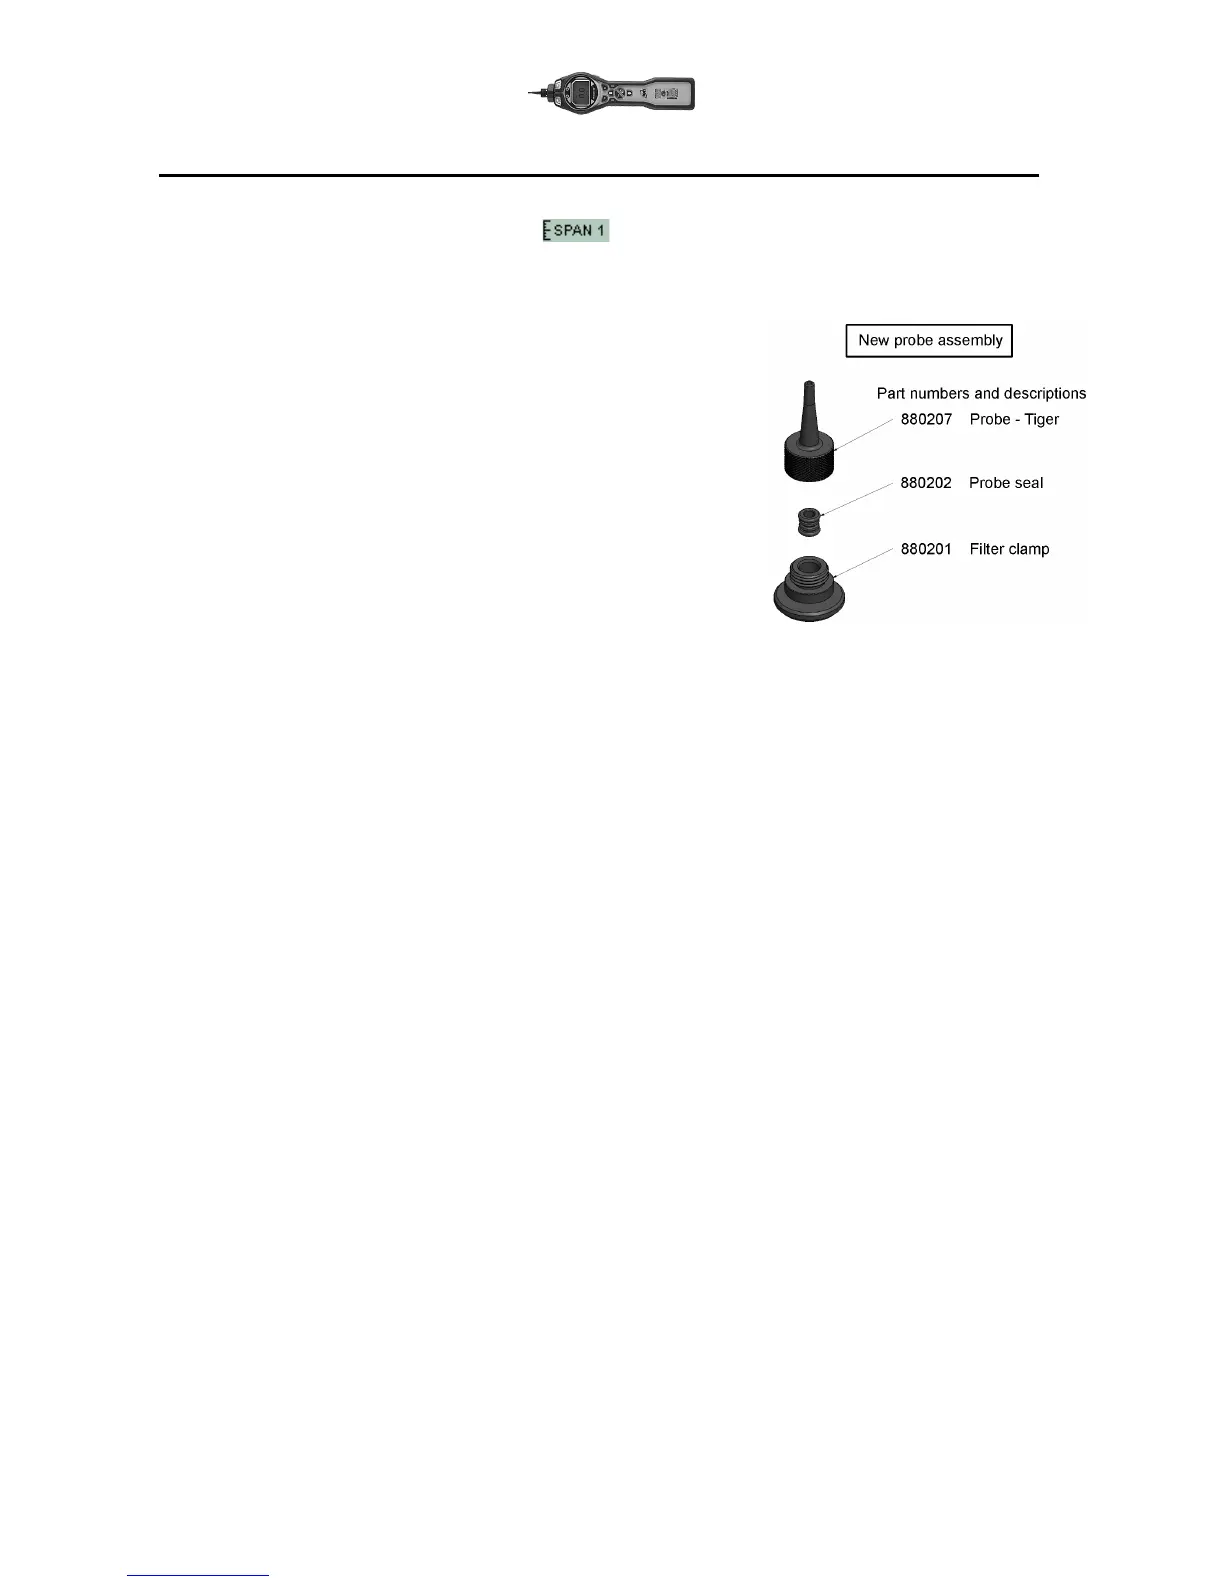
Inlet Nozzle (Part number: 880207) from January 2016
The Tiger inlet probe design was updated for a stronger design to
ensure a longer working life. Thes probes are supplied as standard on
Tiger instruments supplied from January 2016. These probes can be
uesd on older instruments however an alternative filter clamp and seal
are required. An upgraded kit is available.
Probe upgrade kit: A-880214
Inlet Nozzle (Part number: 861443) up to January 2016
Should the Inlet Nozzle become cantaminated or damaged, replacement Inlet Nozzles may be obtained from
your distributor or from Ion Science Ltd. Please note that a small O-Ring at the base of the Inlet Nozzle
ensures the Inlet Nozzle is sealed, this can bee seen in the transparent Filter Clamp when the Inlet Nozzle is
removed.
The Inlet Nozzle can be removed for cleaning or replacement by unscrewing it from the transparent Filter
Clamp.
Refit the Inlet Nozzle using fingers only, avoid using tools as this may damage the filter housing. To ensure
the assembly is sealed, place a finger over the Inlet Nozzle to block the flow while the instrument is running.
A flow alarm should occur if sealed correctly.
PTFE Filter Disc (861221)
The Filter Disc should be changed after every 100 hours of use. This interval should be shortened for dusty
or moisture laden environments or whenever the filter appears ‘dirty’ when viewed through the transparent
upper surface of the Filter Clamp. Filter Disc changing should be conducted in a suitably clean environment,
with clean hands and equipment to avoid contamination of the new Filter Disc.
To change the Filter Disc, unscrew the Filter Housing Cap, lift off the Filter Clamp and O-Ring and lift the
Filter Disc from the Instrument Body. Carefully place a new Filter Disc into the Instrument Body. Under no
circumstances should a Filter Disc be used once it has been removed. Replace the Filter Clamp,
ensuring the locating lugs are correctly positioned in the cut-outs in the instrument body and that the O-Ring
is correctly seated. Replace the Filter Housing Cap. Do not over-tighten.



 To Next Page