5
iOptron Corp. | 6E Gill Street | Woburn, MA 01801 USA | (781) 569-0200 | www.iOptron.com
(3) Use the Azimuth and Latitude Adj. Knobs (not
hand controller) to adjust the mount in both
directions and put the Polaris in the location on
thePolarScopeDial(sameasindicatedontheHC
LCD), as shown in the right side of the above
figures.
BrightStarPolarAlignment
Whenthepolestarisnotinsight,refertoonline
InstructionManualforPolarIterateAlign.
10. Manual Operation: The mount can now be used to
observeastronomicalobjectswiththeHC.Usearrow
keys(►,◄,▼,and▲)topointthetelescopetothe
desired object. Use the number keysto changethe
slewing speed. Press the STOP/0 button to start
tracking.
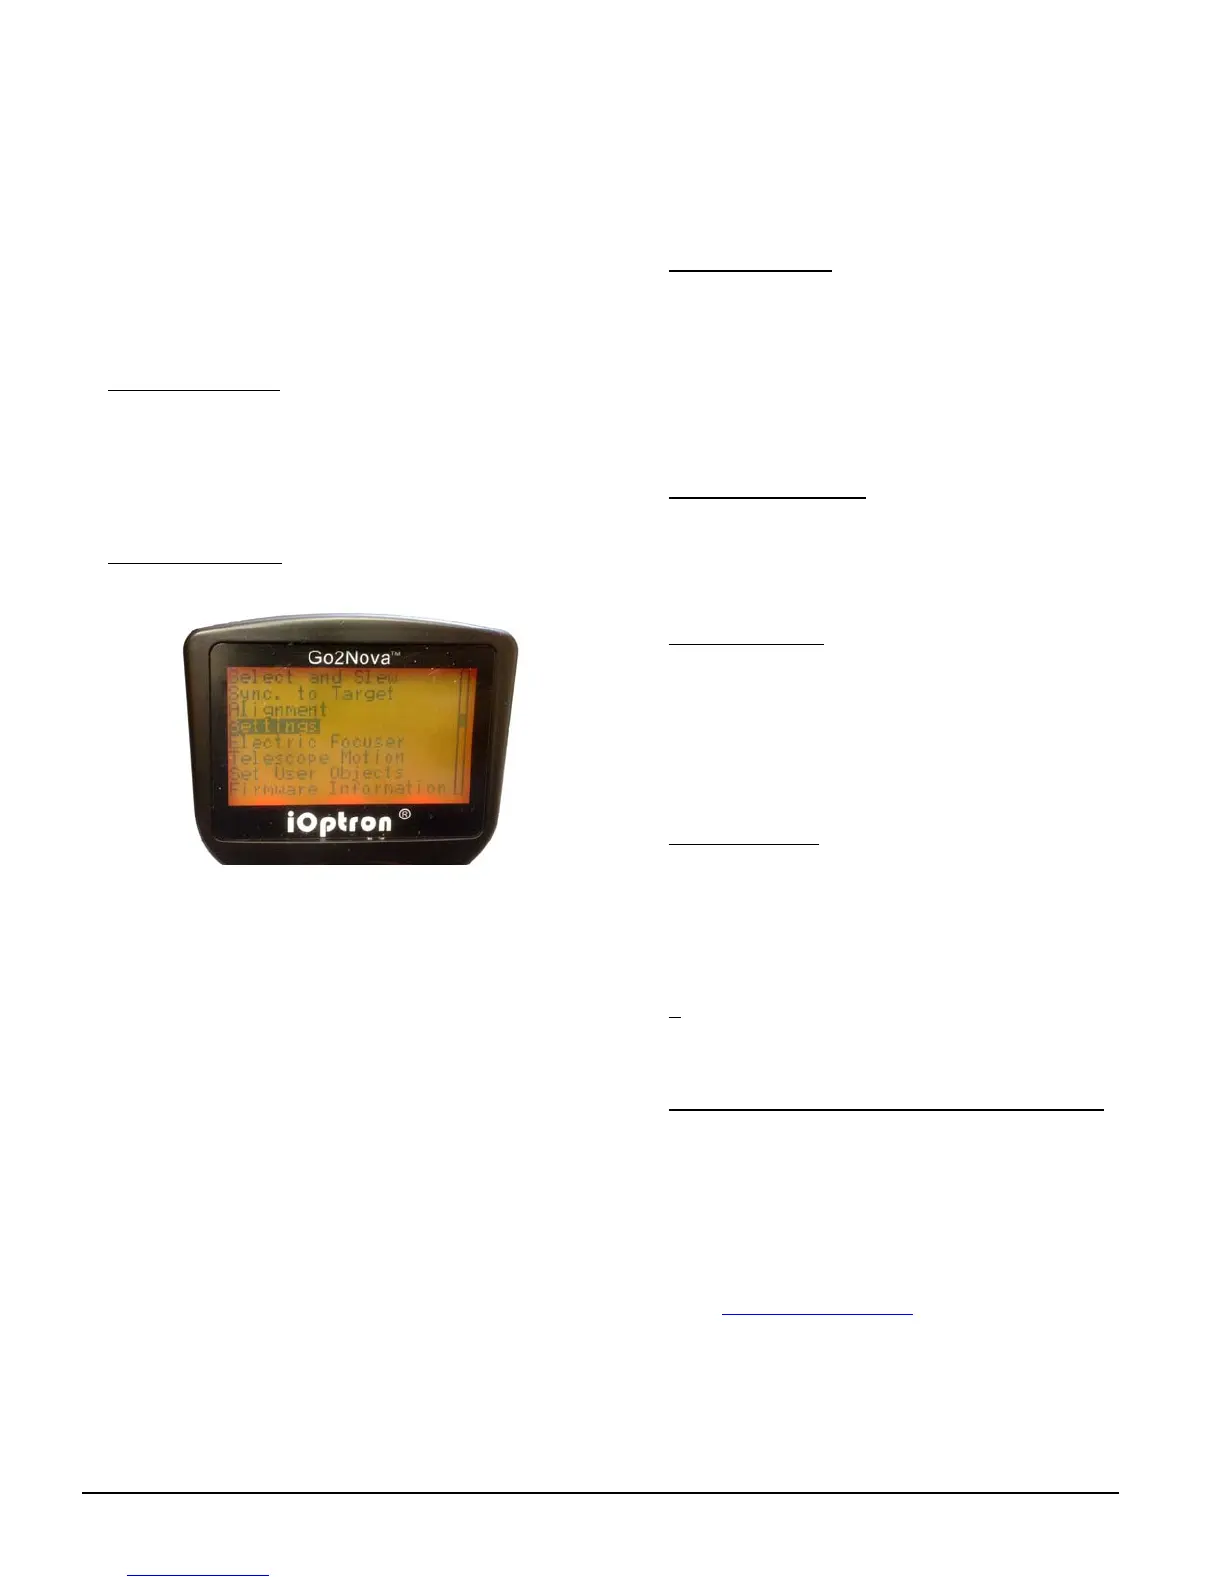
11. Setting Controller: Press the MENU button; then
“Settings”=>“SetTimeandSite”.
Before GPS pickup the signal (GPS OK), check for
Daylight Saving Time using arrow key to toggle
between“Y”and”N”.Enterthetimezoneoffsetto
theUTC;forexamples:
Bostonis“UTC‐300minutes”
LosAngelesis“UTC‐480minutes”
Romeis“UTC+060minutes”
Sydneyis“UTC+600minutes”
WaitingforthemounttopickuptheGPS(you’llhear
beep).IftheGPSOKedduringsetup,justpowercycle
themount.DoublechecktheHCdisplayanditshould
showcorrectlocaltime.
[TIPS: All time zones in N. America are “UTC ‐XXX
minutes”.Latitudeandlongitudecoordinatescanbe
obtained from GPS‐equipped devices (navigator,
phone), or from internet and entered manually, if
GPS can’t connected to the satellites or GPS
malfunctions.“W/E”=western/easternhemisphere;
“N/S” = northern/southern hemisphere. Use arrow
and number keys to enter location information and
currenttime.]
12. SetZeroPosition:SetthemounttoZEROpositionby
pressing MENU=>“Zero Position” => “Set Zero
Position”. Use the hand controller to, or manually
move the mount to zero position, i.e. telescope on
topofthemountadpointingtoNorthPolewithCW
shaftpointingtoground.PresstheENTERtoconfirm.
Check/SettheZeropositionbeforeeachobservation
session.
13. One Star Alignment:PerformaOne Star Alignto
correct the Zero Position discrepancy and improve
theGOTOaccuracy.TofurtherimprovetheGOTO
accuracy, refer to the full User’s Manual for more
details.
14. GotoanObject:ThemountisnowreadyforGOTO
andtrackingtargets.PressMENU,selectandENTER
“SelectandSlew”.Selectacategory(forexample,
“SolarSystem”),thenselectanobjectofinterest(for
example, “Moon”). Press ENTERandthetelescope
will slew to the object and automatically start
tracking.
15. Sync to Target: Iftheobjectisnotinthecenterof
the eyepiece, use this function to center and
synchronize the object to improve local GOTO
accuracy.PressMENUandselectandENTER“Syncto
Target”.Followtheonscreeninstructiontoperform
thesync.
[
TIP:Afterslewingtoanobject,alistofnearby
bright object(s) can be displayed by pressing “?”
button.]
16. Putting the mount back into the carrying case: Itis
recommended to return the mount to Zero Position
at the end of the observing session. Insert the SS
leverintotheRAlockingholeontheyoketolockthe
RA axis. Disengage the gear system for
transportation.Laythemountintothecarryingcase.
Use support@ioptron.com
for technical support.
 Loading...