5
iOptron Corp. | 6E Gill Street | Woburn, MA 01801 USA | (781) 569-0200 | support@ioptron.com | www.iOptron.com
11. Manual operation: Now the mount can be used to
observe astronomical objects with the HC. Use the
arrow keys (►,◄,▼, and▲) to point the telescope
to the desired object. Use the number keys to change
the slewing speed. Press the 0 button to start
tracking.
12. Go to an object: The mount is now ready for GOTO
and tracking targets. Press MENU, select and ENTER
Select and Slew. Select a category (e.g., Solar
System), then select an object of interest (e.g.,
Moon). Press ENTER and the telescope will slew to
the object and automatically start tracking.
[TIP: After slewing to an object, a list of nearby bright
object(s) can be displayed by pressing the ? button.]
13. Sync to Target: If the object is not in the center of
the eyepiece, use this function to center and
synchronize the object to improve local GOTO
accuracy. Press MENU and select and ENTER Sync to
Target. Follow the on-screen instruction to perform
the sync.
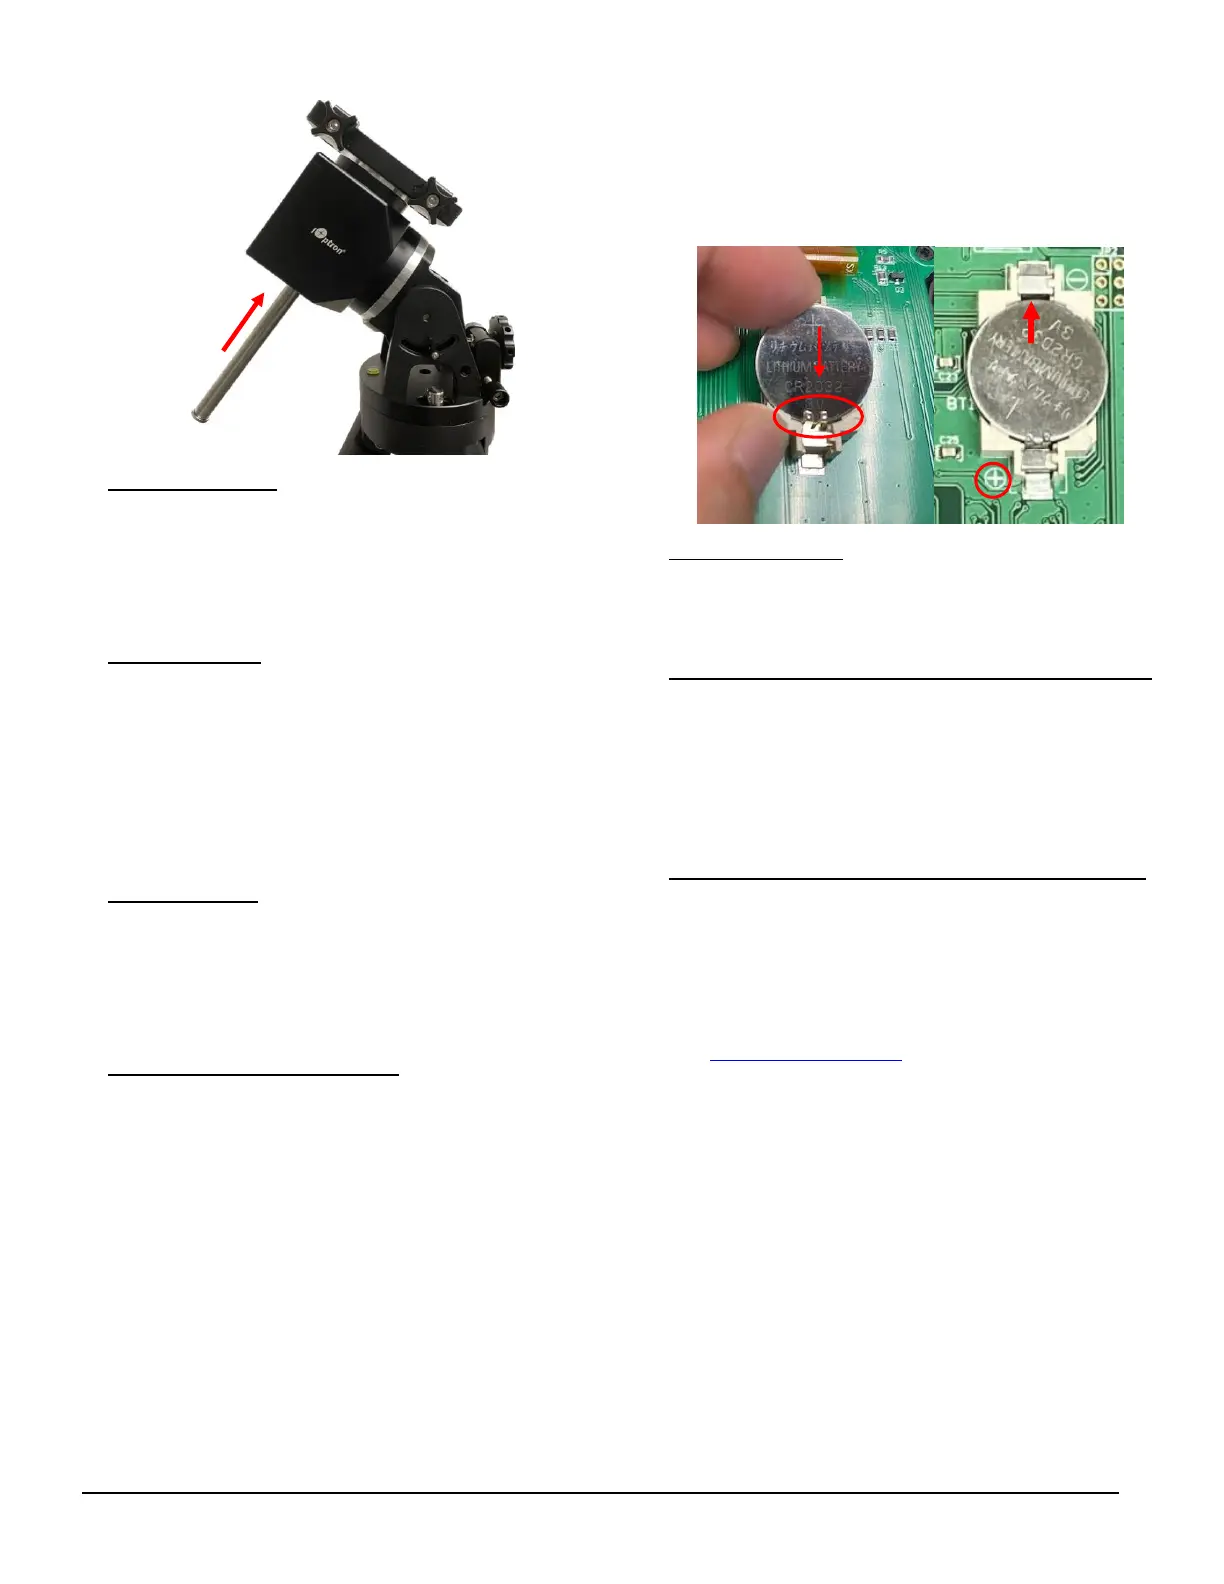
14. Install hand controller battery: The hand controller
uses a CR2032 button battery to keep the Real Time
Clock running. The HC is shipped without a battery
installed due to shipping restrictions. Open the HC
back cover. With battery + sign facing up, slide the
battery under two small metal hooks on the positive
side first. Then push the battery down to make a
good contact.
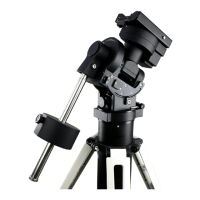
15. Customer cabling: An HAE69 mount is customer
cabling ready. There is a through hole from the center
of the dovetail saddle to the back of the RA axis.
Customers can thread their own cables if needed.
16. Mount control via a computer/SmartPhone/Tablet:
One can control the HAE mount via USB on an 8409
hand controller or a built-in Wi-Fi. It supports ASCOM
for Windows, third party INDI driver for MacOS or
Raspberry PI, iOptron Commander Lite or SkySafari
Pro for iOS/Android. Some software also has an
iOptron mount driver embedded.
17. Put the mount back into the package/carrying case:
It is recommended to return the mount to Zero
Position at the end of the observing session. Thread
the dovetail saddle locking screws all the way in. You
may need to adjust the latitude a little bit to fit the
mount into the carrying case.
Use support@ioptron.com for technical supports.
Rev. 1.0 May 2023
 Loading...