4
iOptron Corp. | 6E Gill Street | Woburn, MA 01801 USA | (781) 569-0200 | support@ioptron.com | www.iOptron.com
Rome is “UTC +060 minutes”
Sydney is “UTC +600 minutes”
Enter longitude and latitude coordinates according to
your GPS information. Toggle the Daylight Savings
Time (DST) between N(No) and Y(Yes) using the arrow
key. Move the cursor to the end of the screen to
select the Northern or Southern Hemisphere.
[TIPS: All time zones in N. America are “UTC -XXX
minutes”. Latitude and longitude coordinates can be
obtained from GPS-equipped devices (navigator,
phone), or from the internet, if you are entering them
manually. “W/E” = western/eastern hemisphere;
“N/S” = northern/southern hemisphere; and “d” =
degree; “m” = minute; and “s” = second. Use arrow
and number keys to enter location information.]
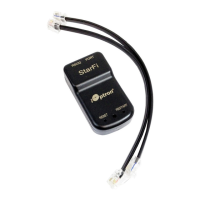
When iOptron Commander Lite is in action (WiFi
version ASCOM), one may easily import the GPS info
from a smartphone to the mount/hand controller.
There is no worry about lacking internet, WiFi, and
cell phone signals in rural areas; Commander Lite can
always get GPS info from a smartphone to the HAE
mount/hand controller, no dead corners.
9. Polar alignment: For an HAE mount without polar
scope or if the pole star is not in sight, you may use
two bright stars for coarse polar alignment.
(1) Level the mount and set it to the Zero Position.
Align the telescope to the R.A. axis of the mount. An
eyepiece with an illuminated crosshair is highly
recommended.
(2) Use the Hand Controller (MENU => “Alignment”
=> “Polar Iterate Align”) to display the azimuth and
altitude position of several bright stars near the
meridian. Select one that is visible at a high altitude
as Alignment Star A. Follow the HC instruction to
move Alignment Star A to the center of the eyepiece
using a combination of the Latitude Adjustment
Knob and the “◄” or “►” buttons. Press ENTER to
confirm when the star is centered. Next, select a
bright star that is close to the horizon as Alignment
Star B. Center it using the Azimuth Adjustment Knob
and the “◄” or “►” button. Press ENTER to confirm
the settings.
(3) The telescope will now slew back to Alignment
Star A. Repeat the steps above. The iteration can be
stopped when it is determined that the alignment
error has been minimized. Press the BACK button to
exit the alignment procedure.
Both Azi and Lat. Locking screws/knobs need to be
slightly loosened in order to adjust the mount. Make
sure to tighten them when done.
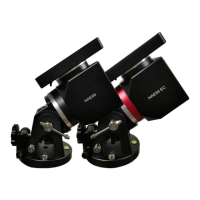
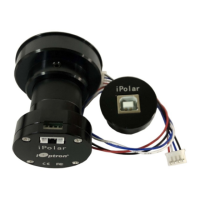
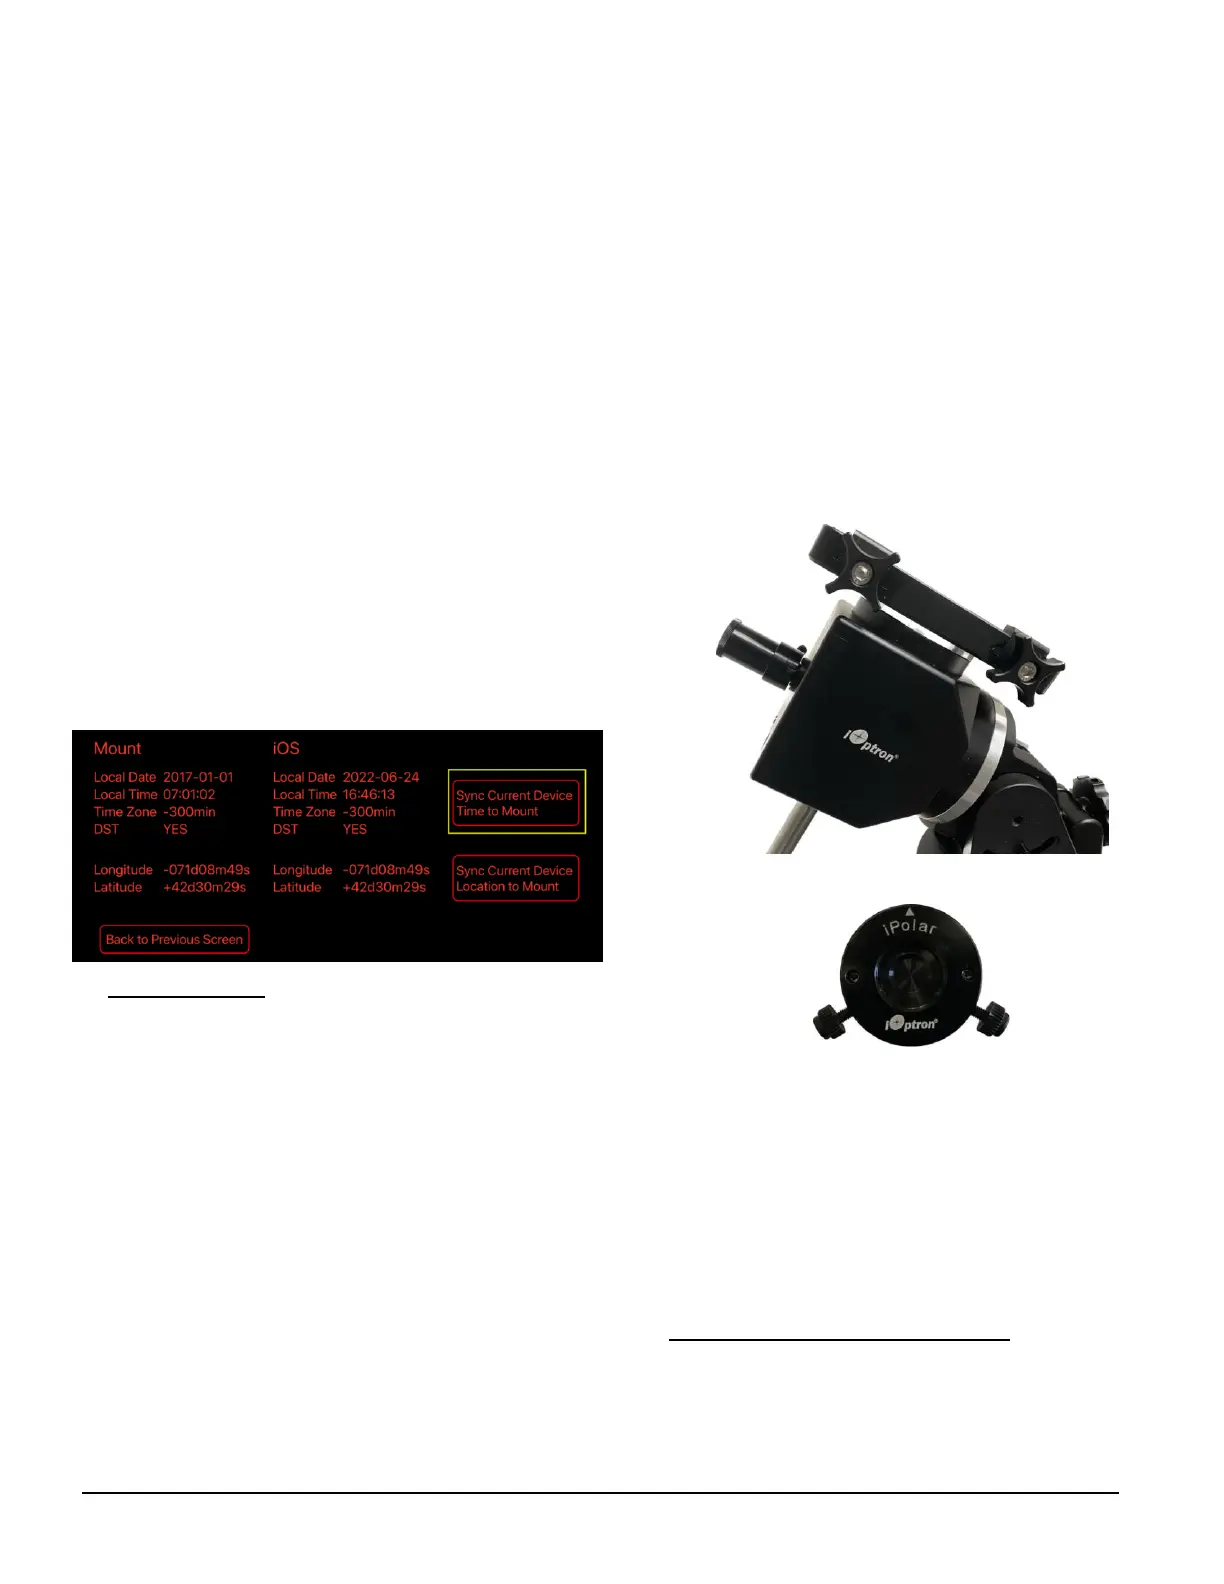
HAE may use an external iPolar
TM
electronic polar
scope. Just place the iPolar over the bubble level on
top of the mount and secure the thumb screws.
Make sure that the arrow key is facing upward:
Refer to the iPolar Operation Manual from iOptron’s
website to perform the polar alignment, or steps
briefly outlined below:
Download and install iPolar Software (first
time use);
Connect a miniUSB cable between the iPolar
USB port and a computer USB port;
Click Connect and start polar alignment by
following on screen instructions.
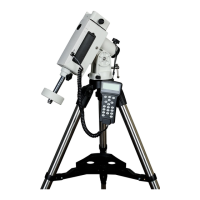
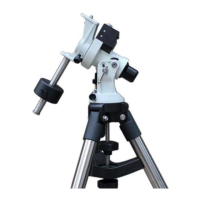
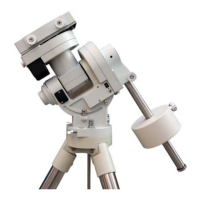
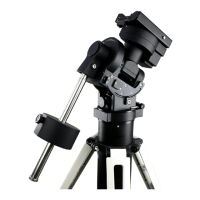
10. Install counterweight bar and CW: The mount is
designed to operate without a counterweight (CW). If
you want to use an optional CW, the CW shaft
mounting hole is 3/8”-16 threaded. Thread in a CW
shaft and install a 10 lbs CW.
 Loading...