10
(available as accessory, #3305) onto the Camera Mounting Block by threading it onto the Brass
Central Insert (Figure 16). Make sure they are tightened enough that there is no relative movement
between the mounting block and ball head. Reinstall the mounting block with ball head back to the
SkyTracker mount. Tighten the thumb screws to make sure that the mounting block will not slip.
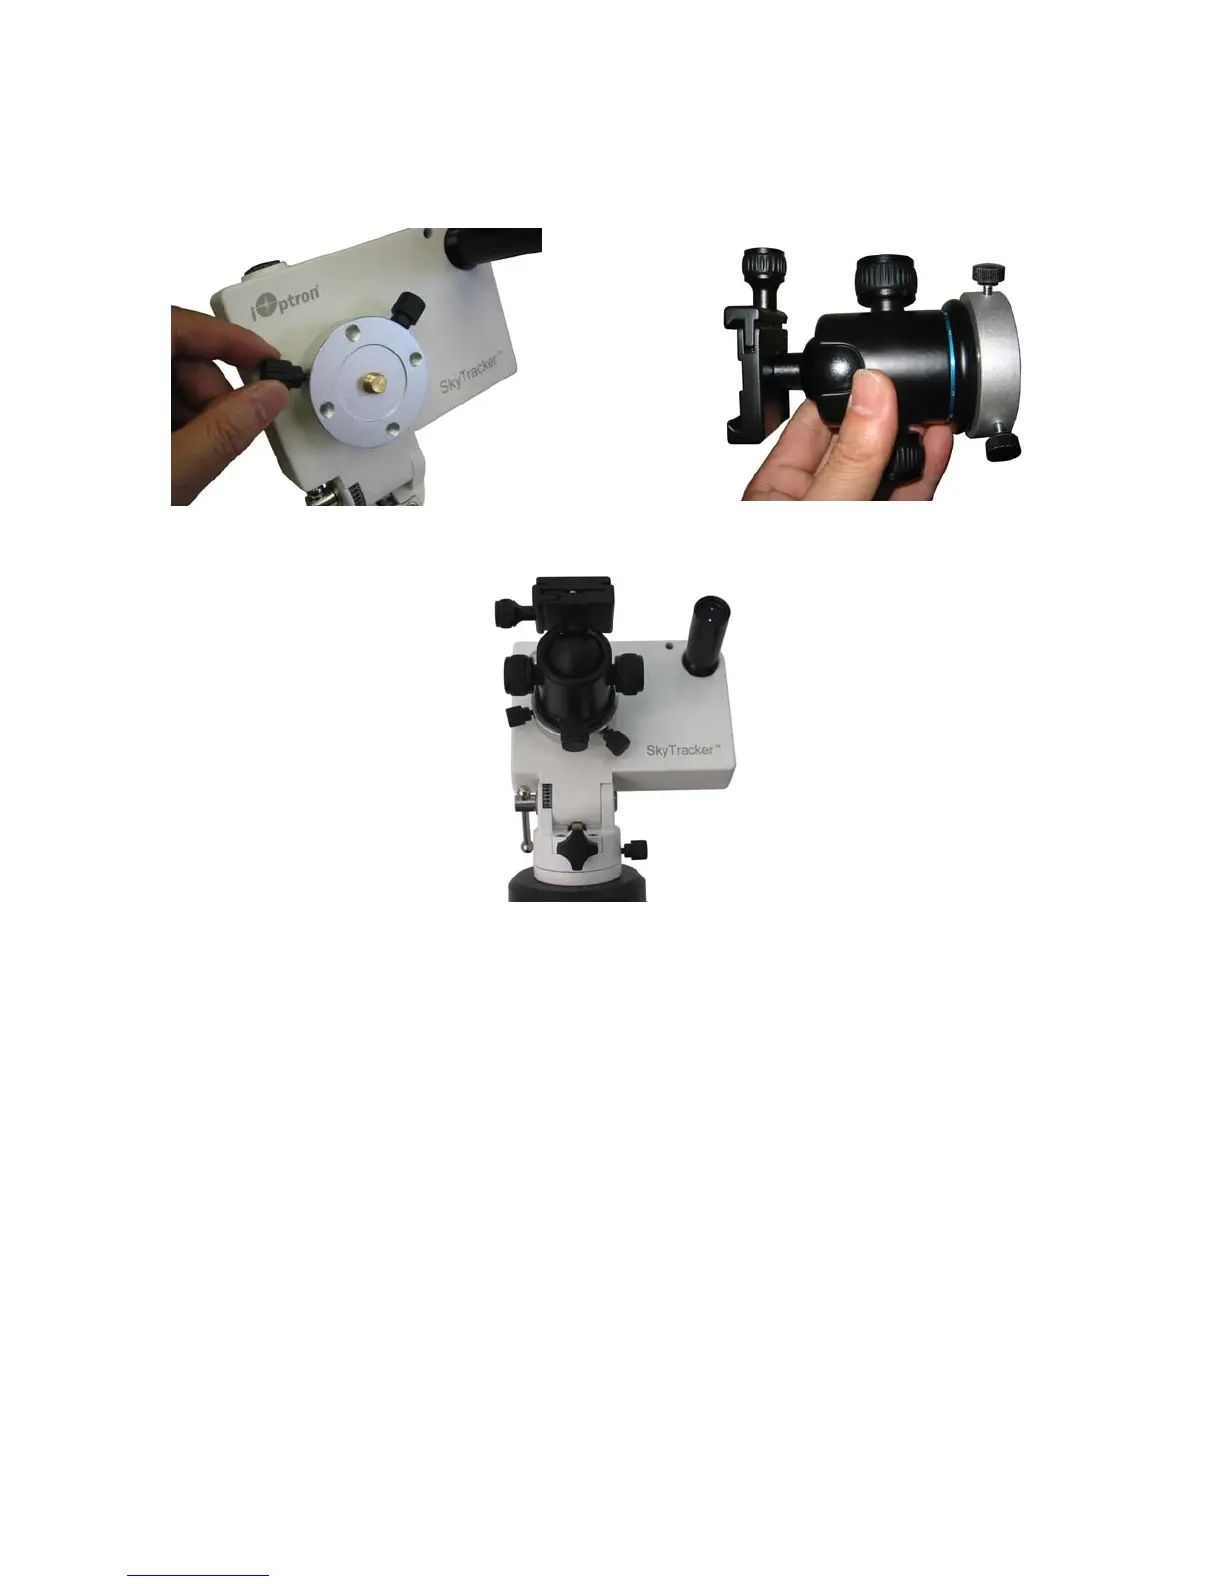
Figure 15. Remove camera mounting block
Figure 16. Install ball head
Figure 17. SkyTracker with Polar Scope and a ball head installed
STEP 7. Mount a camera and start SkyTracking
Install a DLSR camera onto the ball head and point the camera to the sky you are interested in.
Make sure all the screws/locks are tightened. Switch the N/S switch to N if you are located in Northern
Hemisphere and to S if you are in Southern Hemisphere. If you goal is only take the wide field image
of the sky and stars, set the tracking speed to 1X (celestial tracking speed). This will keep the star
rounded in your image, with a good polar alignment. If you would like to take the image of both the
starry sky and the night landscape at the same time, you need to set the tracking speed at 1/2X. This
will let you take clear images of both the sky and the land objects at a proper exposure.
Turn the power switch on and enjoy the SkyTracking.