2
iOptron Corp. | 6E Gill Street | Woburn, MA 01801 USA | (781) 569-0200 | Toll Free (866) 399-4587 | www.iOptron.com
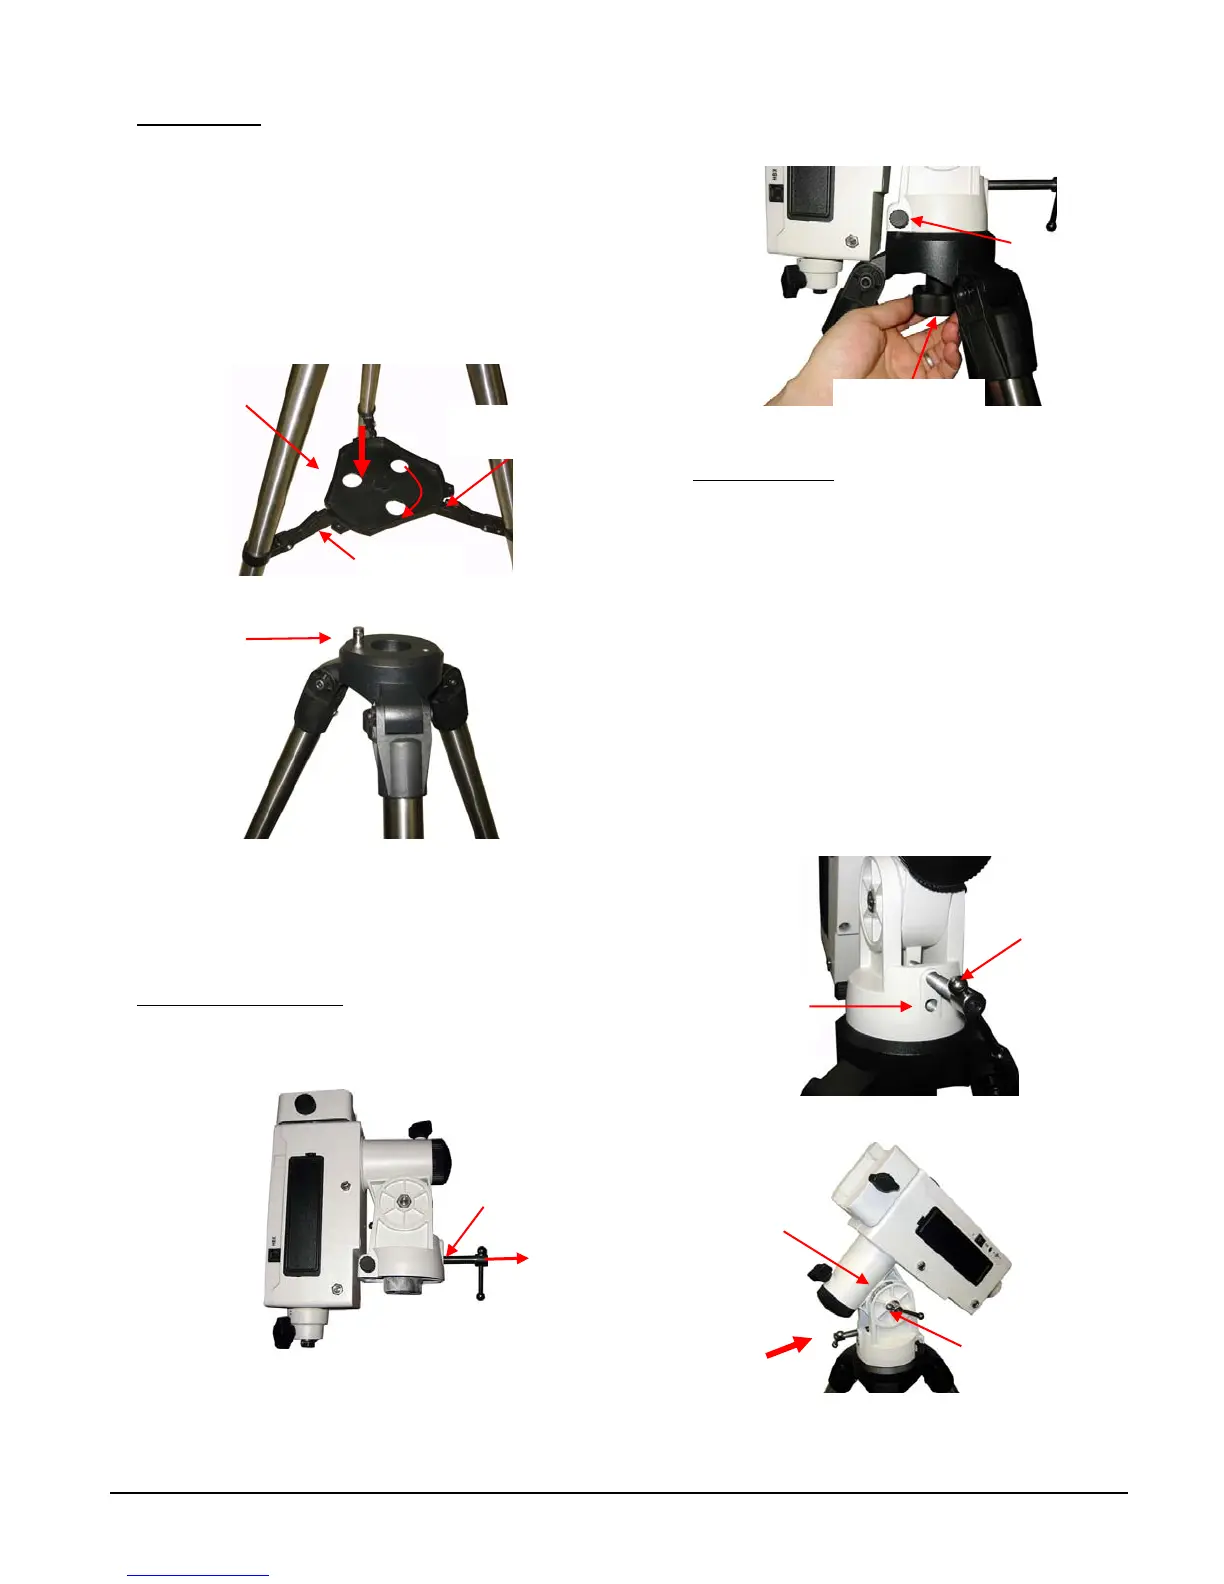
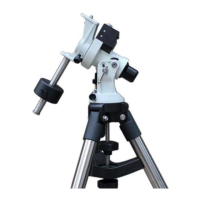
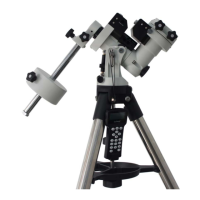
1. Setup tripod: Expand the tripod legs. Put the
AccessoryTrayontotheTripodSupportBracket.Slightly
pushdownAccessoryTraywhileturnit,until thetrayis
locked into the Tripod Support Bracket.
(Figure 1).
Adjustthetripodheightbyunlockingandre‐locking
the tripod leg screws (not shown) to a desired
height. Position the tripod so that the Alignment
Pegfacesnorth,ifyouareinNorthernHemisphere
(Figure2).
Figure1
Figure2
TheAlignmentPegmaybemovedtotheopposite
positionifusedatlatitudelowerthan20ºtoavoid
counterweightshitthetripodleg.
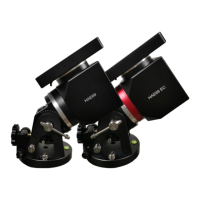
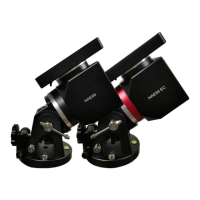
2. Attach the Mount
: Remove the Latitude
Adjustment Screw from its Storage Position (the
bottomthreadedhole)byunscrewingitalltheway
out(Figure3).
Figure3
Retract the Azimuth Adjustment Knobs to allow
enough clearance for the AlignmentPegseatingin
thehouse.Tighten theAzimuthLocktosecure the
mount(Figure4).
Figure4
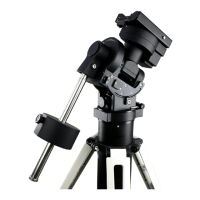
3. AdjustLatitude
:Thissteprequiresyoutoknowthe
latitudeofyourcurrentlocation.Itcanbeeasily
foundontheInternet,withyourGPSnavigatorora
GPScapablecellphone.Youwillhavetochangethis
latitudesettingevery timeyousignificantlychange
yournightskyviewinglocation.Thissettingdirectly
affectsthemount’strackingandGOTOaccuracy.
Thread in the Latitude Adjustment Screw into the
Adjustment Position (the upper threaded hole), a
threadedholeabovetheStoragePosition(Figure5).
LoosentheLatitudeClutchScrewandtunethe
Latitude Adjustment Screw to raise the mount
altitude (latitude) to your current latitude as
indicatedontheLatitudeDial,asshowninFigure6.
Figure 5
Figure 6
Tripod support
bracket
Accessory tray
Lock point
Alignment peg
Lat. ad
. scre
Azi. ad
. knob
X2
Azimuth lock
Adjustment
position
Storage
position
Latitude
clutch
Latitude dial