3
iOptron Corp. | 6E Gill Street | Woburn, MA 01801 USA | (781) 569-0200 | Toll Free (866) 399-4587 | www.iOptron.com
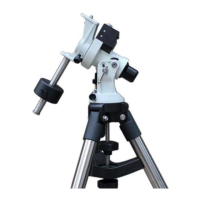
4. InstallCounterweight(CW):Themountcomeswith
one1kg(2.2lbs)counterweight.However,because
ofitsuniquedesign,noCWisneededifthepayload
islessthan4lbs.Themountandinstalledbatteries
willprovidebalancingweightneeded.Ifapayload
is greater than 8.8 lbs (4 kg, this value may vary
depends on the scope diameter), additional CW is
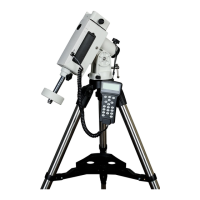
needed. The Counterweight Shaft is stored inside
themounthead.IfaCWisneeded,releasetheCW
ShaftLockingScrewtopullouttheshaft(Figure7).
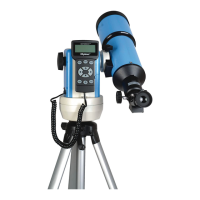
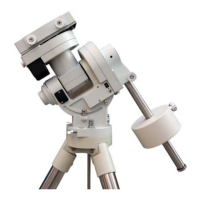
MountaCWontotheshaftandtightentheCW
LockingScrewtoholdtheCWinplace.Tightenthe
CWSafetyScrew(Figure8).
Figure7
Figure8
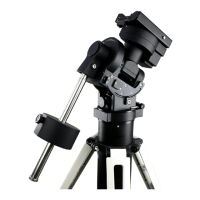
5. AttachandBalanceanOTA:
AfterattachinganOTA
andaccessoriestothemount,balancethemountin
bothR.A.andDECtoensureminimumstressonthe
mount.
CAUTION:ThetelescopemayswingwhentheR.A.
orDECclutchisreleased.Alwaysholdontothe
OTAbeforeyoureleasetheclutchtopreventit
fromswinging.Itcancausepersonalinjuryor
damagetotheequipment.
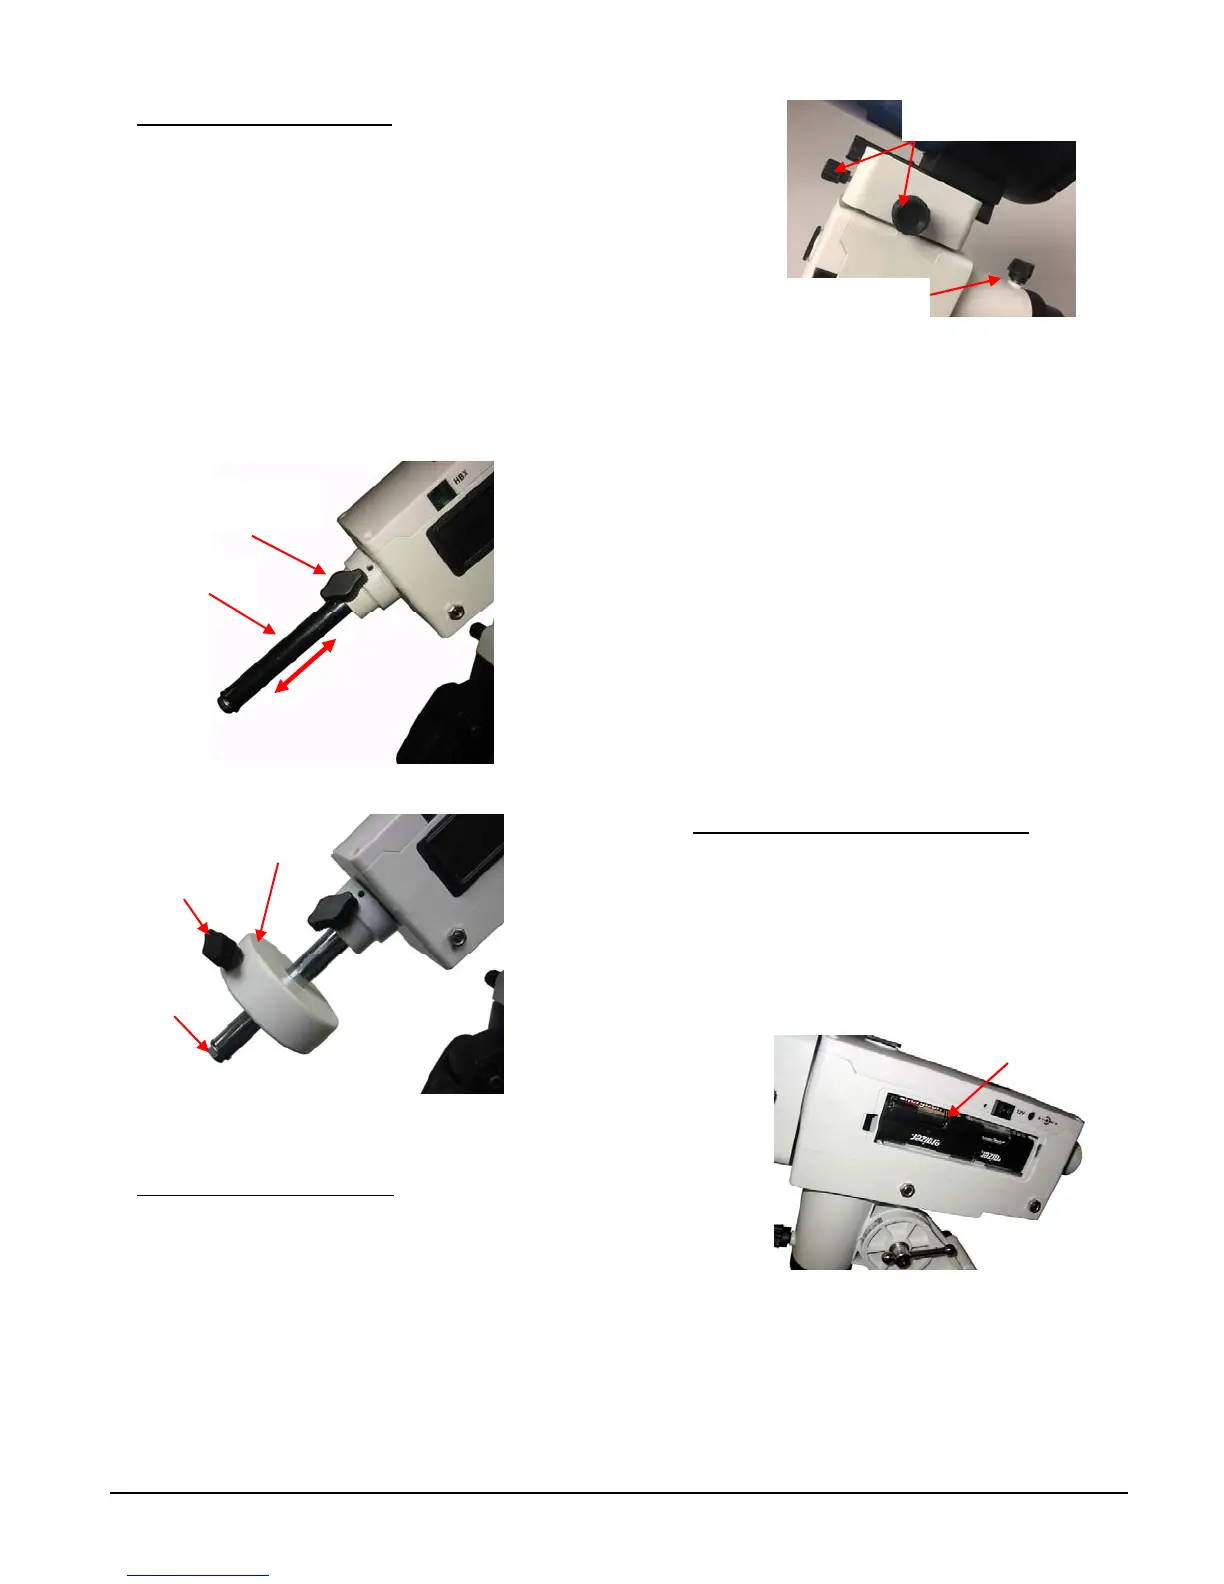
Figure9
Balance the mount in R.A. axis: Release the R.A.
ClutchandrotatetheR.A.axistoplacetheDECaxis
inthehorizontalposition.TheOTAcanbeoneither
side.IftheDECaxisstaysinthehorizontalposition,
itmeansthe R.A.axis isbalanced. Otherwise,you
mayadjustthelengthofCWshaft,orinstalland
adjust CW position to balance the mount in R.A.
axis. Remember to install the CW Safety Lock and
tightentheCWLockingScrew,ifaCWisinstalled.
BalancethemountinDEC.axis:Whilethemountis
at horizontal position, release the DEC Clutch
screws.IftheOTAdoesnotrotatealongtheDEC
axis,itisOK.Otherwisemovethescopebackor
forth to balance the OTA. Tighten the DEC Clutch
again.
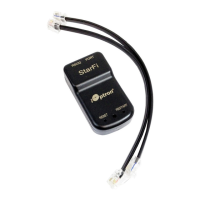
6. InstallBatteriesandConnectCables:
Therearetwo
battery compartments that each can hold 4 AA
batteries(Figure10).Lift thebattery cover. Carefully
pulloutthebatteryholderfromthecompartment.
Be sure not to accidentally disconnect the wires.
Insert4AAbatteriesintoeachholder.Replacethe
holderbackintothebatterycompartmentand
replacethelid.
Figure 10
Plug hand controller into the HBX port on the
mount (Figure 11). Turn on power and use four
Arrow keys (▲▼◄►) to rotate the mount Up,
Down, Left, and Right. Use the NUMBER key to
R.A. clutch screw
DEC clutch screws
CW shaft
lockin
scre
Retractable
CW shaft
CW safety
scre
CW locking
scre
Counterweight
Batter
holder
X2