5
iOptron Corp. | 6E Gill Street | Woburn, MA 01801 USA | (781) 569-0200 | Toll Free (866) 399-4587 | www.iOptron.com
telescope to the desired object. Use the number
keystochangetheslewingspeed.Press0buttonto
starttracking.
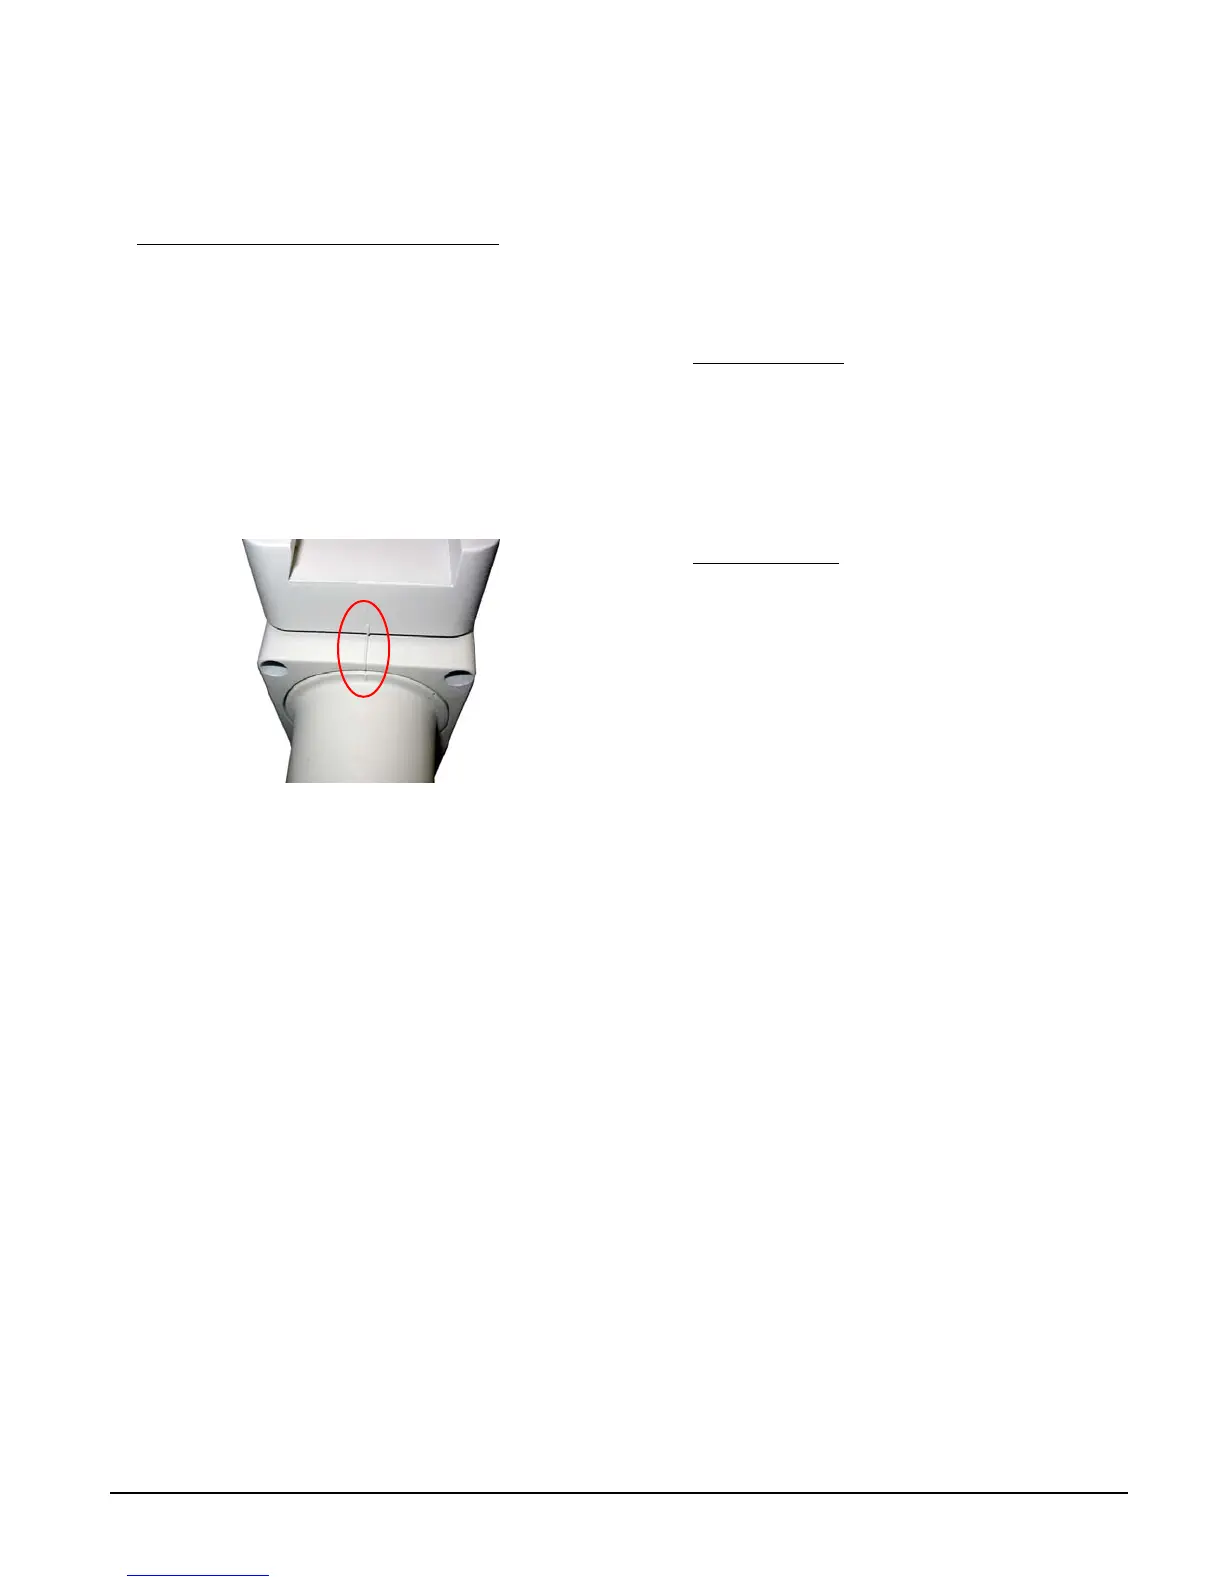
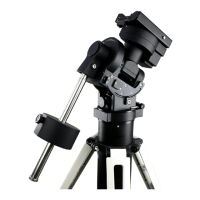
10. Zero Position andOne Star Alignment:
Afterpolar
alignmentandbalancingOTA,return themountto
Zero Position before performing Star Alignment.
TheZeroPositionisthepositionwiththeCWshaft
pointing toward the ground, OTA at the highest
positionwithitsaxisparalleltothepolaraxisand
theOTApointingtotheCelestialPole.
Loosen the DEC and R.A. Clutches to adjust the
mount to the Zero Position by align three marks
located on DEC unit, R.A. unit and mount,
respectively.Tightenthescrewsafteradjustment.
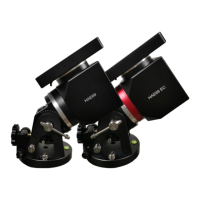
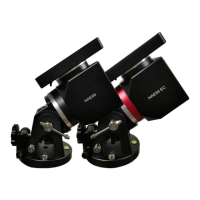
Figure 14
The default mount power on position is NOT
necessarythezeropositionforSmartEQPro+,
especiallyitisthefirsttimetousethemountorjust
performedfirmwareupgrade.SettheZeroPosition
by press MENU=>“Zero Position”=>“Set Zero
Position”. You should make sure the mount is at
ZEROpositionbypressMENU=>“ZeroPosition”=>
“Goto Zero Position”whenthemountispowered
on.
Perform a One Star AligntocorrecttheZero
Positiondiscrepancy.TofurtherimprovetheGOTO
accuracy, refer to the full User’s Manual for more
details.
11. GotoanObject:
ThemountisnowreadyforGOTO
and tracking targets. Press MENU, select and
ENTER “Select and Slew”. Select a category (for
example, “Solar System”),then select anobject of
interest (for example, “Moon”).PressENTER and
the telescope will slew to the object and
automaticallystarttracking.
12. SynctoTarget:
Iftheobjectisnotinthecenterof
the eyepiece, use this function to center and
synchronize the object to improve local GOTO
accuracy.PressMENUandselectandENTER“Sync
to Target”.Usearrowkeyscentertheobjectin
eyepiece. Press ENTERagaintocompletethis
function.
[TIP: After slewing to an object, a list of nearby
bright object(s) can be displayed by pressing “?”
button.]
Usesupport@ioptron.comfortechnicalsupports.