11
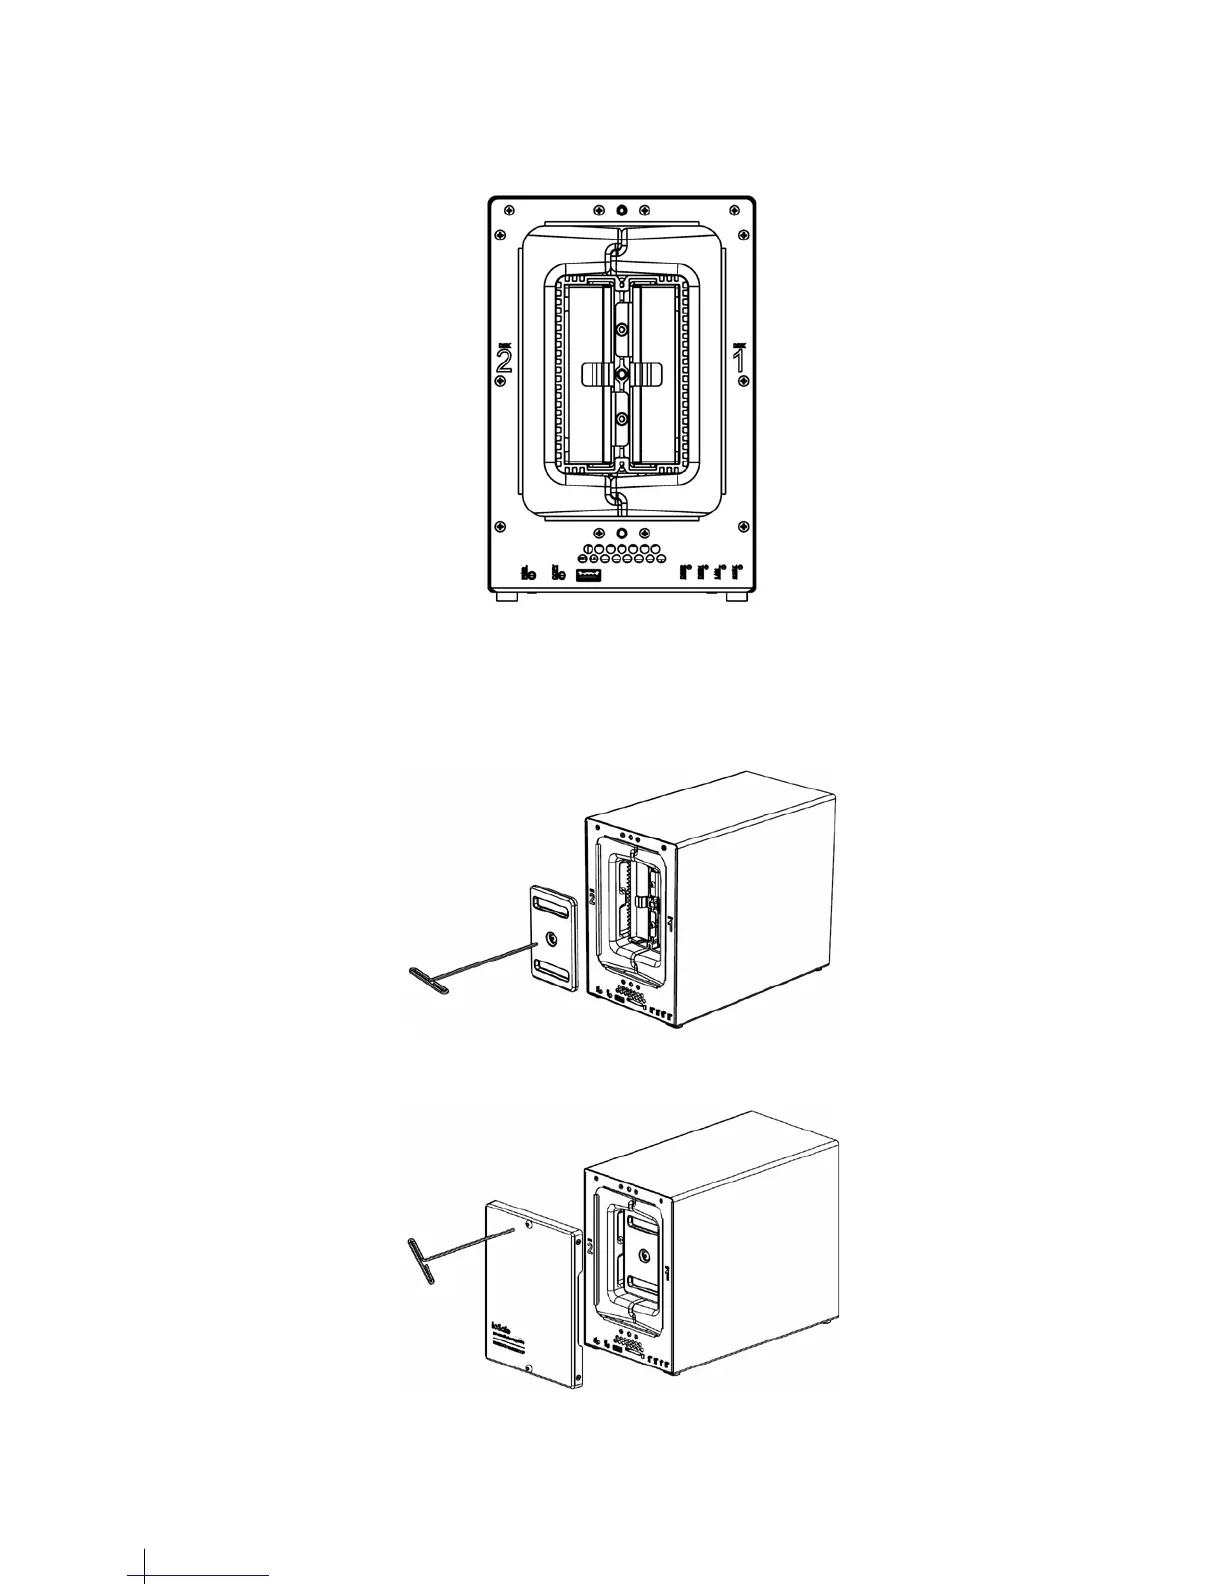
Note: If Drive replacement is required notice that Drive #2 is on the left and Drive #1 is on the right.
6 Replace the Waterproof Drive Cover and securely tighten using the supplied 3mm Hex Tool.
WARNING: BE SURE TO TIGHTEN THIS SCREW USING THE HEX TOOL. THE HEX TOOL IS DESIGNED TO
FLEX SLIGHTLY WHEN THE SCREW IS SUFFICIENTLY TIGHT AND THE WATERPROOF
GASKET IS COMPRESSED PROPERLY. AVOID USING TOOLS OTHER THAN THE SUPPLIED
HEX TOOL AS YOU COULD UNDER TIGHTEN OR BREAK THE SCREW.
7 Install the Front Cover to finish the installation and protect the drives from fire. Keep the hex tool nearby for future
use.