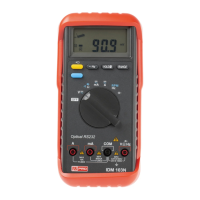
22
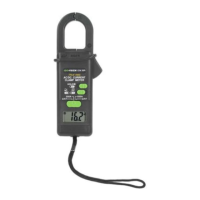
(5) Changing the fuses
To chan
e the fuses, see Fi
.2B and follow the instructions
iven below.
1. Carr
out steps 1 to 3 of the instructions for chan
in
the batter
.
2. Lift the printed circuit board out of the top half of the case. Do not remove an
of the screws from the printed circuit
board.
3. Remove the fault
fuse b
leverin
one end up out of the fuse holder and then pullin
the fuse out of the fuse
holder b
this end.
4. Fit a new fuse of the same size and ratin
s into the fuse holder. Make sure that the fuse is centered lon
itudinall
in the fuse holder.
5. Make sure that the bar of the rotar
switch in the top half of the case and the rotar
switch on the printed circuit
board are both in the "OFF" position. Important: The direction of the switch bar in the top half of the case and the
direction of the rotar
switch on the printed circuit board are not the same.
6. Fit the printed circuit board back into the top half of the case. See that all the seals are properl
seated and that
the
two hooked lu
s are correctl
en
a
ed in the top half of the case. Screw the three screws back in.
Fuse Specification
1A 10.5 x 35mm 600V fast HBC 100kA