Do you have a question about the Isotherm COMPACT CLASSIC and is the answer not in the manual?
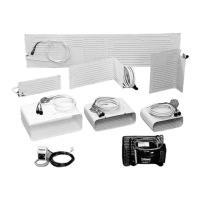
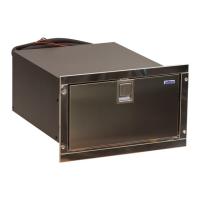
Position the compressor/condenser unit horizontally, allowing a 30° angle of heel for operation.
Connect the electronic unit directly to the battery or main switch using cables of correct dimensions.
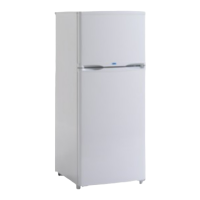
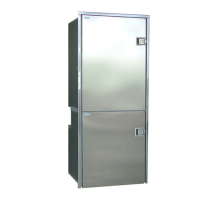
Position the evaporator unit high in the fridge and pass flextube/couplings through a drilled hole.
Connect capillary tube and main pipe, ensuring correct tightening of the couplings.
Install thermostat control box, connect sensor tube to evaporator using bracket or clip.
Turn thermostat knob clockwise to start compressor, fan, and evaporator frosting.
Clean condenser dust annually and defrost when evaporator has 4-5 mm frost layer.
Connect battery charger to battery, never directly to the electronic unit.
Check polarity, power supply, fuse, and battery condition for no operation.
Verify power supply, battery charge, and electronic unit for short compressor starts.
Check refrigerant, quick couplings, and pipe leaks for lack of refrigeration.
Improve ventilation, insulation, or check thermostat for insufficient cooling.
Check thermostat sensor mounting and switch-off function for over-cooling.
Verify fuse size (15A-12V/7.5A-24V) and the electronic unit for blown fuses.
Handle refrigerant circuit only via quick couplings. Ensure compressor ventilation is not blocked.
Connect chargers to battery. Use earth leak switch for shore power connection.
Dispose of unit via certified specialist for correct recycling of components and refrigerant.
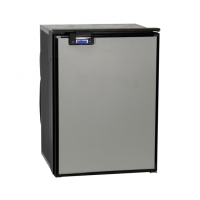
Details voltage, power consumption, compressor type, refrigerant, capacity, fuse, and battery protection.
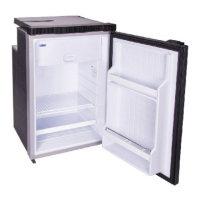
| Weight | 12 kg |
|---|---|
| Refrigerant | R134a |
| Voltage | 12/24V DC |
| Cooling System | Compressor |
| Capacity | 85 liters |