-11-
Diagram 9
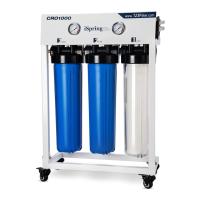
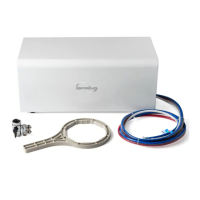
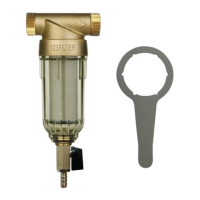
⑥ Pre-filter installation
First take the pre-filter out of the packaging, tear off the packaging of the filters in the order they should be
inserted, first is the 5 micron PP filter; second is the granular activated carbon filter, note that the rubber
pad must be installed on the top of the activated carbon filter; third is the CTO filter, note that the rubber
pad must be installed on the both ends of the CTO filter (See Diagram 10).
Diagram 10
3. Installation Notes
① When installing the water pipes, a drain stopper should not be installed. In addition, for the water pipe
bottom connector, the screw nut should have no wire teeth exposed.
② If the inlet water pipe is 9mm, ensure that the inlet water pipe and connector have 30-40cm of straight
piping to avoid burst pipe accidents caused by bending in the pipe.
③ If the power cord wiring needs to be longer, then according to the wiring requirements use a Φ8mm
pinched tube to wrap around the connection. Then, wrap insulating electrical tape around the outside.
Do not place it on the floor; it should be suspended in the air or in another place away from the ground.
④ When installing, if you need to make a hole in the wall, first make sure that there are no electricity or
water lines in the location you plan to drill.
 Loading...