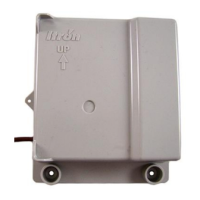
GE Dresser meter installation overview
Installing the 100G series remote ERT module to a GE Dresser meter involves the following
tasks.
1. Programming or verifying that the meter is set up to work with the 100G remote ERT
module.
• Programming may require a computer and communication cable.
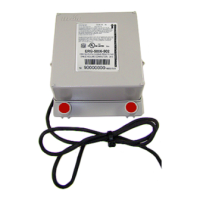
2. Wiring the GE-supplied cable to the ERT module or wiring the ERT module to the GE
device.
Wiring may require a wire stripper, flat-tip screwdriver, Torx T-15 screwdriver, and wire
crimper. Requirements are dependent on your installation.
3. If your installation uses a GE supplied cable, connect the cable to the meter. If your
installation requires wiring directly to the GE device, move to the next step.
4. Mounting the remote ERT module. For more information, see Mounting the 100G Series
Remote Gas ERT Module on page 8. Select the mounting option appropriate for your
installation.
• Wall mount on a sheet metal surface
• Pipe mount using the Itron pipe mount kit CFG-0005-003
• Custom GE Dresser mounting
◦ D800/D1000 mounting solution requires the following materials
▪ (1) 8-32 x ½" screw
▪ (2) 8-32 x ¾" screws
▪ (3) 8-32" Kep® nuts
5. Programming the 100G series remote ERT module. Programming requires an Itron
programming device (for example, an FC300SR). For programming information, see
100G Series Remote Module Programming on page 13. 100G series module
configuration with the meter is dependent on your system application. See the GE
Dresser meter product documentation for configuration information.
GE Oil and Gas custom mounting options
Specific product mounting instructions for GE D800/D1000 meters are included in the D800/
D1000 installation section.
Specific Meter Manufacturer Installation
100G Series Gas ERT Module Installation Guide, Remote Mount TDC-0824-017 33
Proprietary and Confidential
 Loading...