REV 7-16-20127
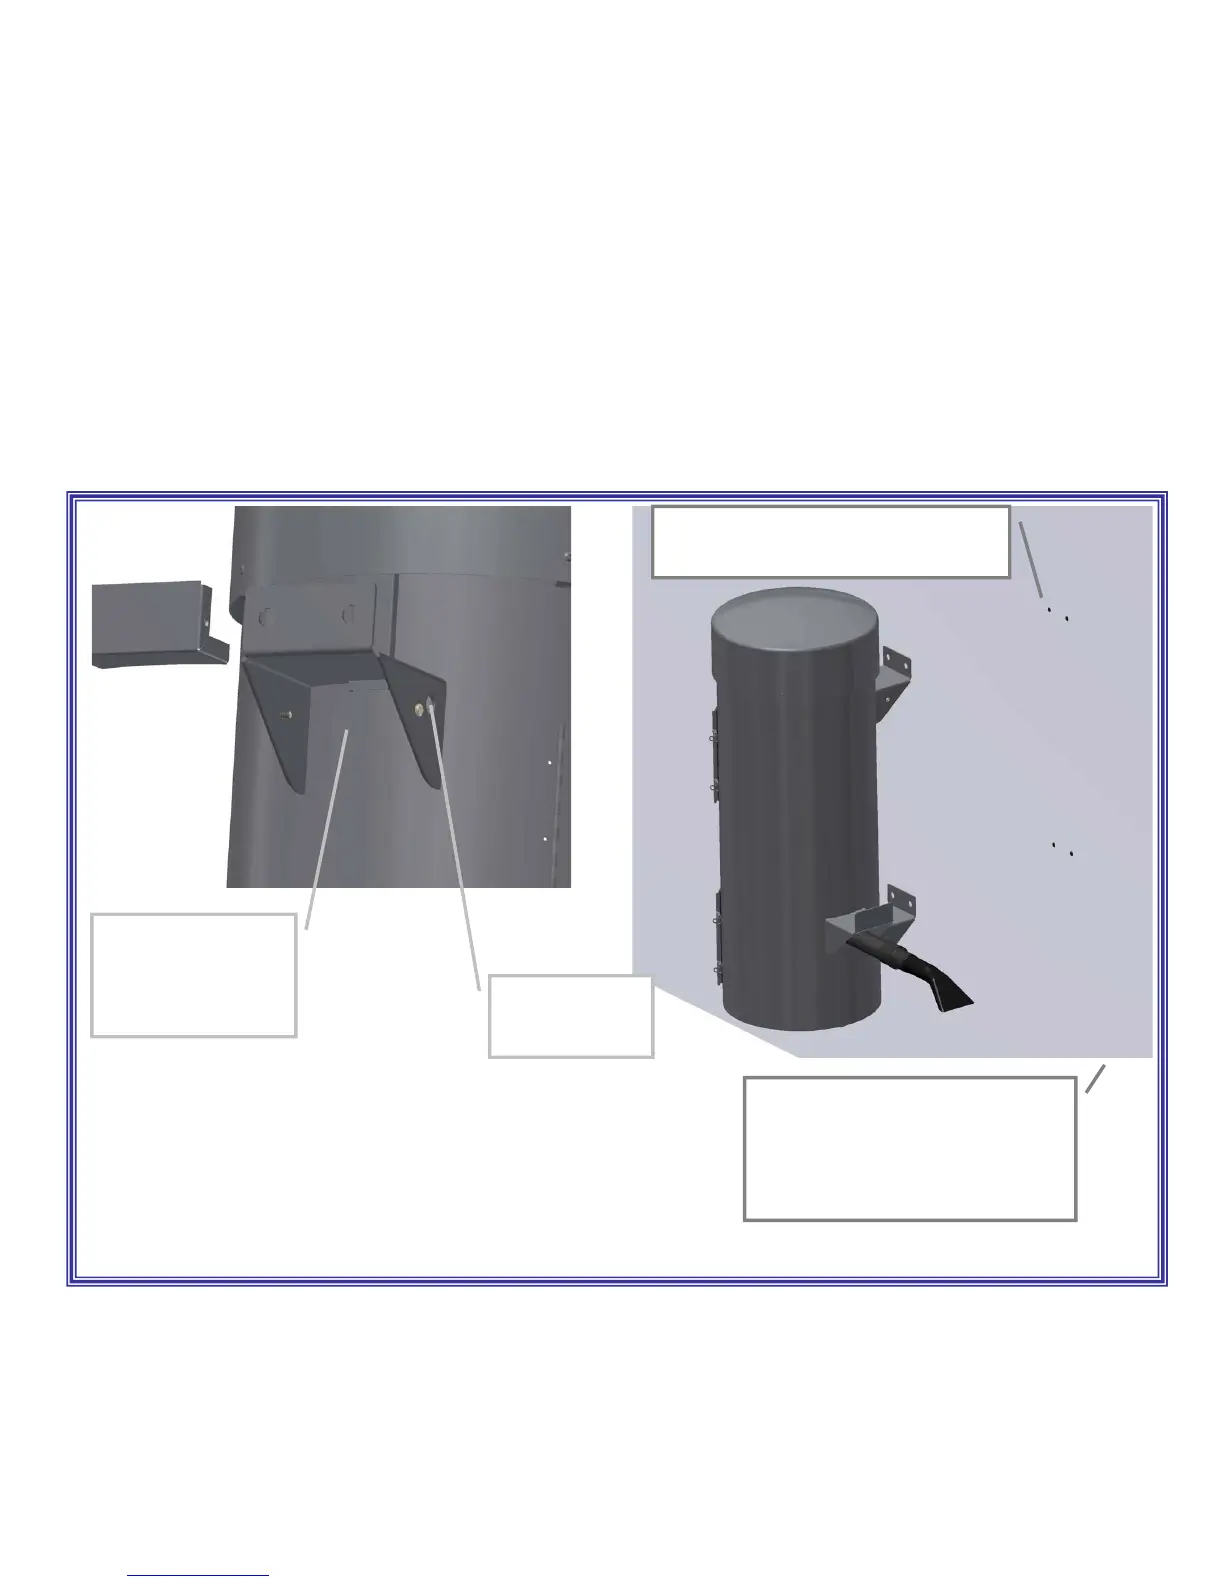
Once unit has been installed use 5871B8 cap plugs (supplied
with unit) to seal holes in canister bottom located in lower
cleanout door (see illustration on next page). Extra cap plugs
are included with the unit in case plug becomes damaged
during shipping removal. After cap plugs are installed, then
connect unit to power (see below illustration). NOTE: when
mounting unit, don't forget to allow clearance for clean-out
door to swing open.
Bring incoming
power through
this conduit hole.
Remove cover and tie
into factory electrical
here. Note: end user
must provide on/off
switch.
Drill 4 holes for support brackets, size
according to hardware – use 5/8 diameter
minimum for hardware.
Installation hardware needs to be
selected by the end user as installation
surfaces vary from concrete, to block, to
wood walls. Height to install to is also
up to the end user. Use at least two
people to lift during installation.
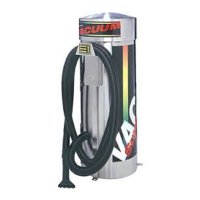
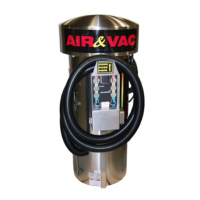
Wall mount model