11
Solenoid Valve
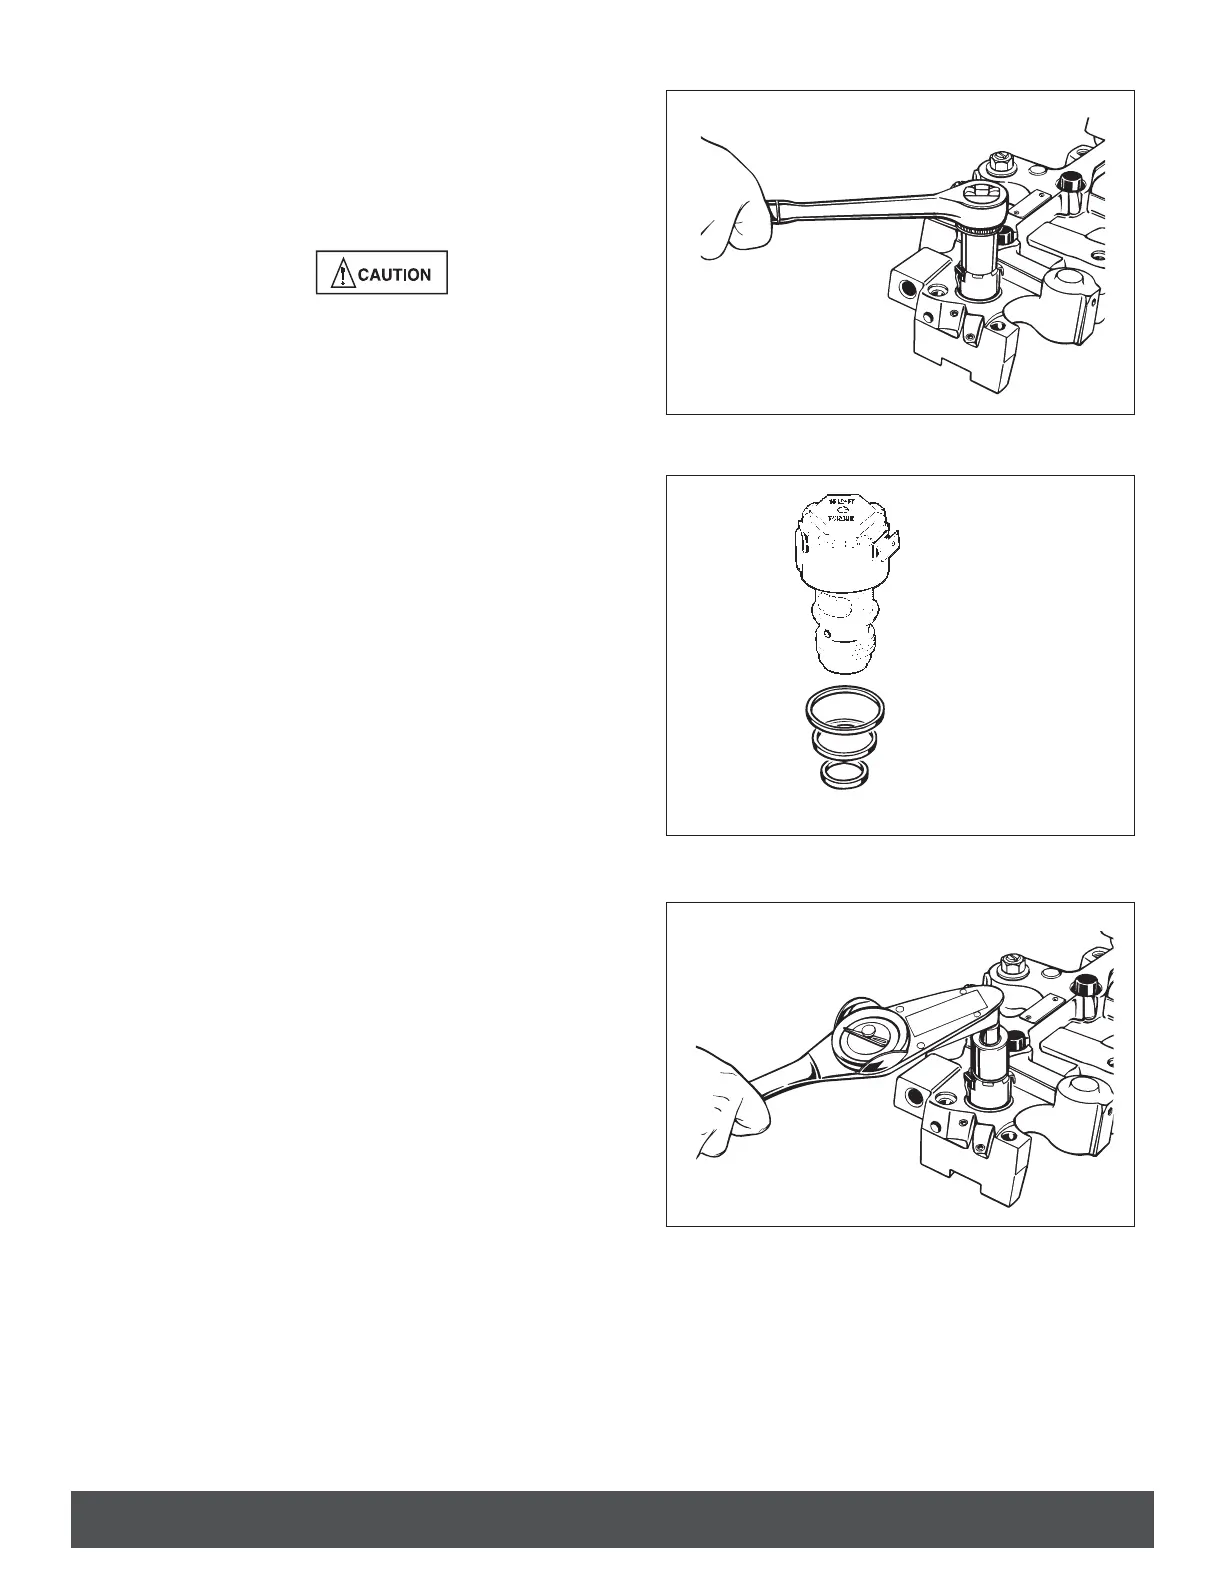
1. Disconnect the solenoid harness. Using a 3/4”
socket and extension, unscrew the solenoid
valve (see Fig. 17).
DO NOT DISASSEMBLE OR TAMPER WITH
THE SOLENOID VALVE. ENGINE DAMAGE
COULD RESULT.
2. Remove and discard the rubber seal rings (Fig.
18). If the lower ring stays in the bottom of the
housing solenoid bore, remove with a seal pick.
3. Wash out the solenoid valve with approved
cleaning solvent. Use a brush to clean the
oil screen. Clean and dry the valve with com-
pressed air. Replace oil screen, if necessary.
4. Clean out the solenoid valve bore in the hous-
ing. Use clean paper towels. Never use rags, as
they may leave lint and residue which can plug
the oil passageways.
5. Reinstall the solenoid using new seal rings.
Seat lower seal ring (ISL only) in the base of
the solenoid valve bore. Wipe clean lube oil into
and around the bore. Place upper and center
seal rings on the solenoid valve body.
6. Be sure the seals are seated properly and
carefully and screw the solenoid into the hous-
ing without unseating the seals. Torque the
valve to 20 N•m [15 lb.-ft] (see Fig. 19).
FIG. 19
FIG. 18
FIG. 17
Note: 490A only has two seal rings.
UPPER SEAL
LOWER SEAL
 Loading...