4
|
Thank you for choosing our STRADA Low-H
O
radiator. If installed and maintained correctly, it will
give you many years of ecient and safe heating.
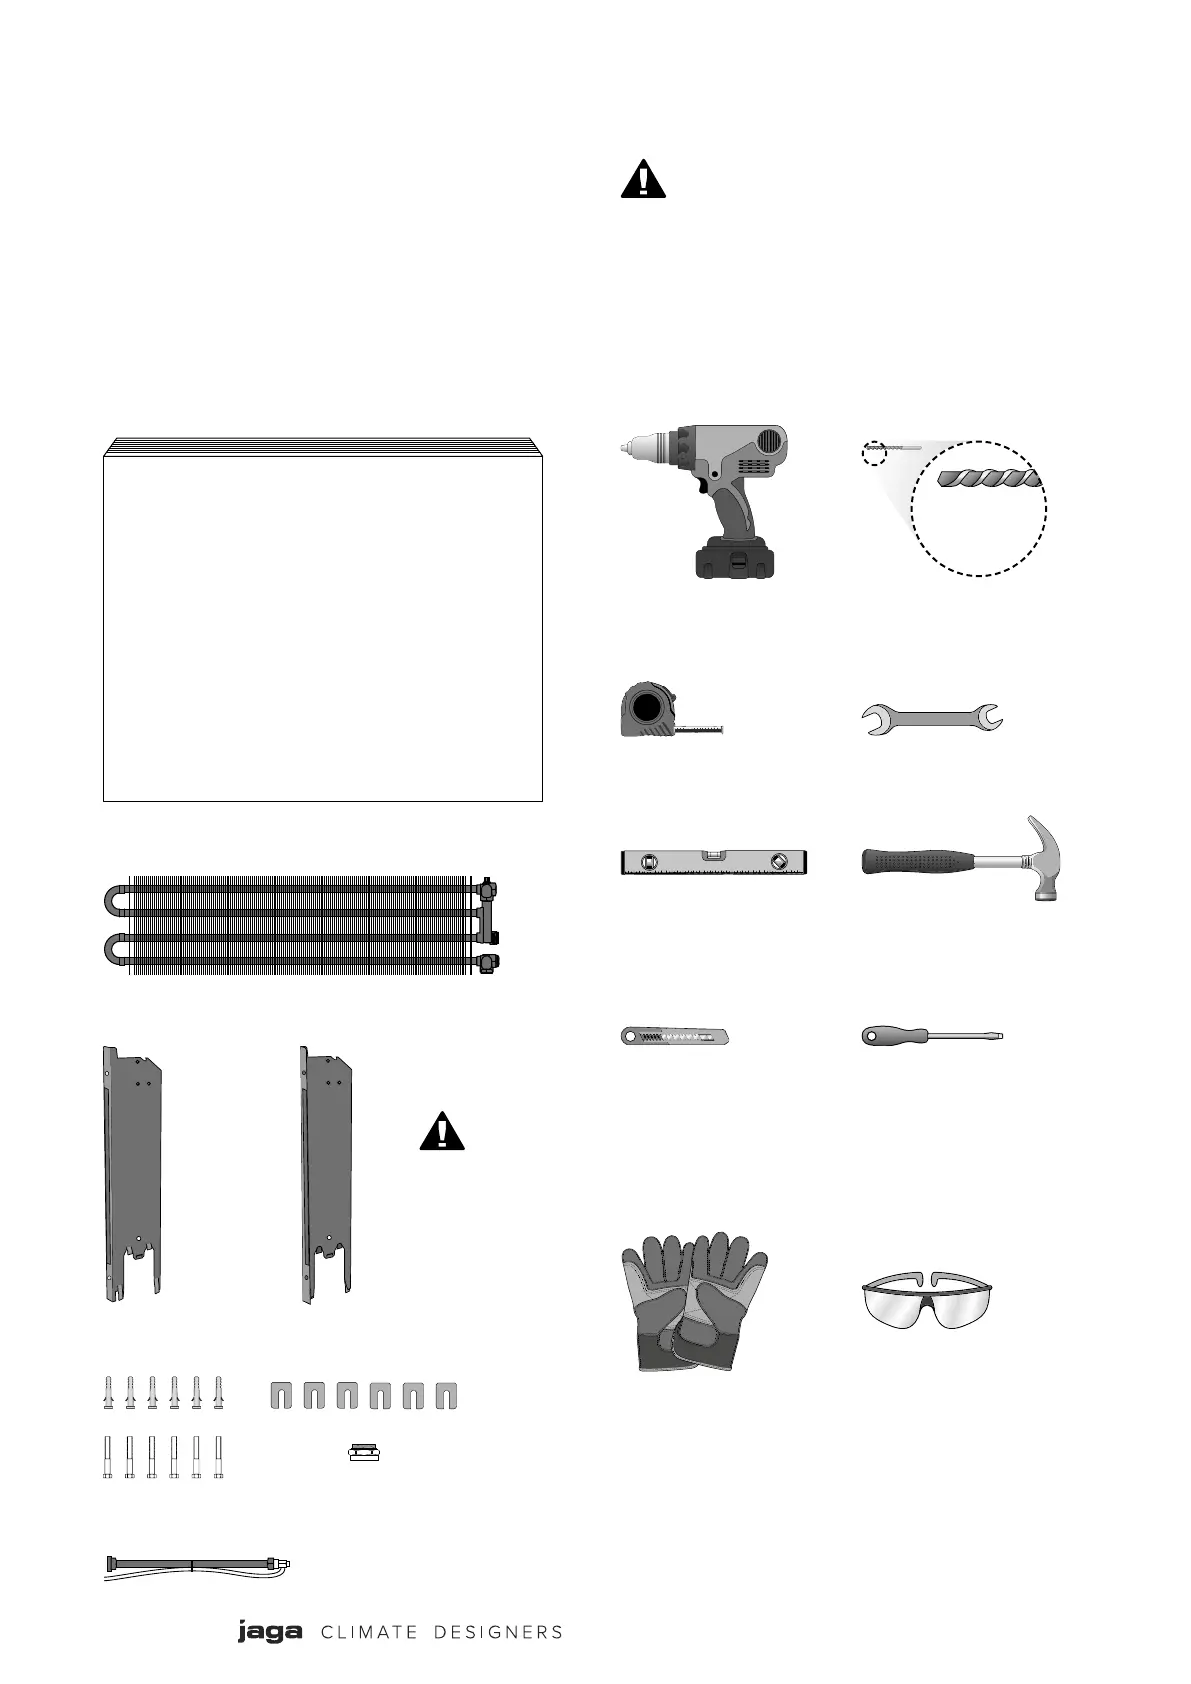
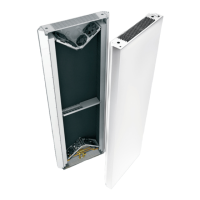
2. COMPONENT PARTS 3. TOOLS REQUIRED
Extended Air Vent
Heating Element
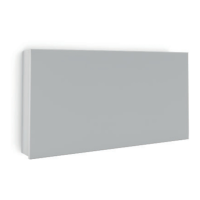
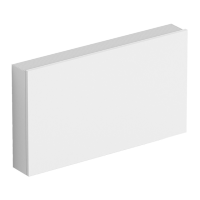
Casing
Tape Measure Spanner
(, and mm)
Personal Protection Equipment
(minimum requirement)
Gloves Safety Glasses
Fixing Pack
Drill mm Masonry Drill Bit
HammerSpirit Level
Knife Screwdriver (flat)
1. INTRODUCTION
The installation of STRADA Low-H
O
radiators should be in accordance with
these installation instructions and the work
completed by a competent person.
Left Hand Bracket Right Hand Bracket
For lengths mm
to mm, a third
bracket is supplied.
For lengths mm
and over, a fourth
bracket is supplied.