RAC Plus User’s Manual
3-6
3-7
Manual Calibration Procedure
It is very common to share one RAC on a plug-in basis between a number
of different vehicles that have been equipped to accept the instrument.
Installing additional vehicle kits on other vehicles is an inexpensive and
cost effective means to greatly expand your measuring capabilities. Obvi-
ously, each vehicle so equipped would have to be calibrated and the number
recorded.
The RAC Plus has the unique ability to store in memory four (4) different
vehicle numbers and their associated calibration numbers. If you are moving
the RAC from vehicle to vehicle you will need to enter the correct vehicle
(unit) number prior to measuring with that vehicle. The following procedure
assumes the calibration number for a particular vehicle has already been
determined and is stored in memory.
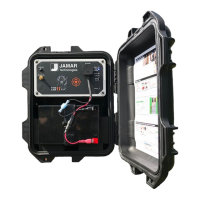
Step 1
Slide the ON/OFF switch to ON. The
RAC Plus will complete a brief Self
Test during which a tone will sound
and the active calibration number will
be displayed in D-1 while the vehicle
number is displayed in D-2. After the
self test, 0 is shown in D-1 (0.000 if the
mile or meter unit of measurements is
selected) while CH is shown in D-2.
Step 2
Press the Menu key, the #2 key and
Enter. You can then select the vehicle
number for the calibration that you
wish to change by using the 1 through
4 numeric keys. If all you want to do
is change the active vehicle number,
press Enter and go to Step 5. If you want to change the calibration factor,
proceed to Step 3.
Fig. 3.7
Calibration Display on Start-up
Fig. 3.8
Vehicle Number Selection