7
7 Setting the date and time
Setting the current time and the date
1.
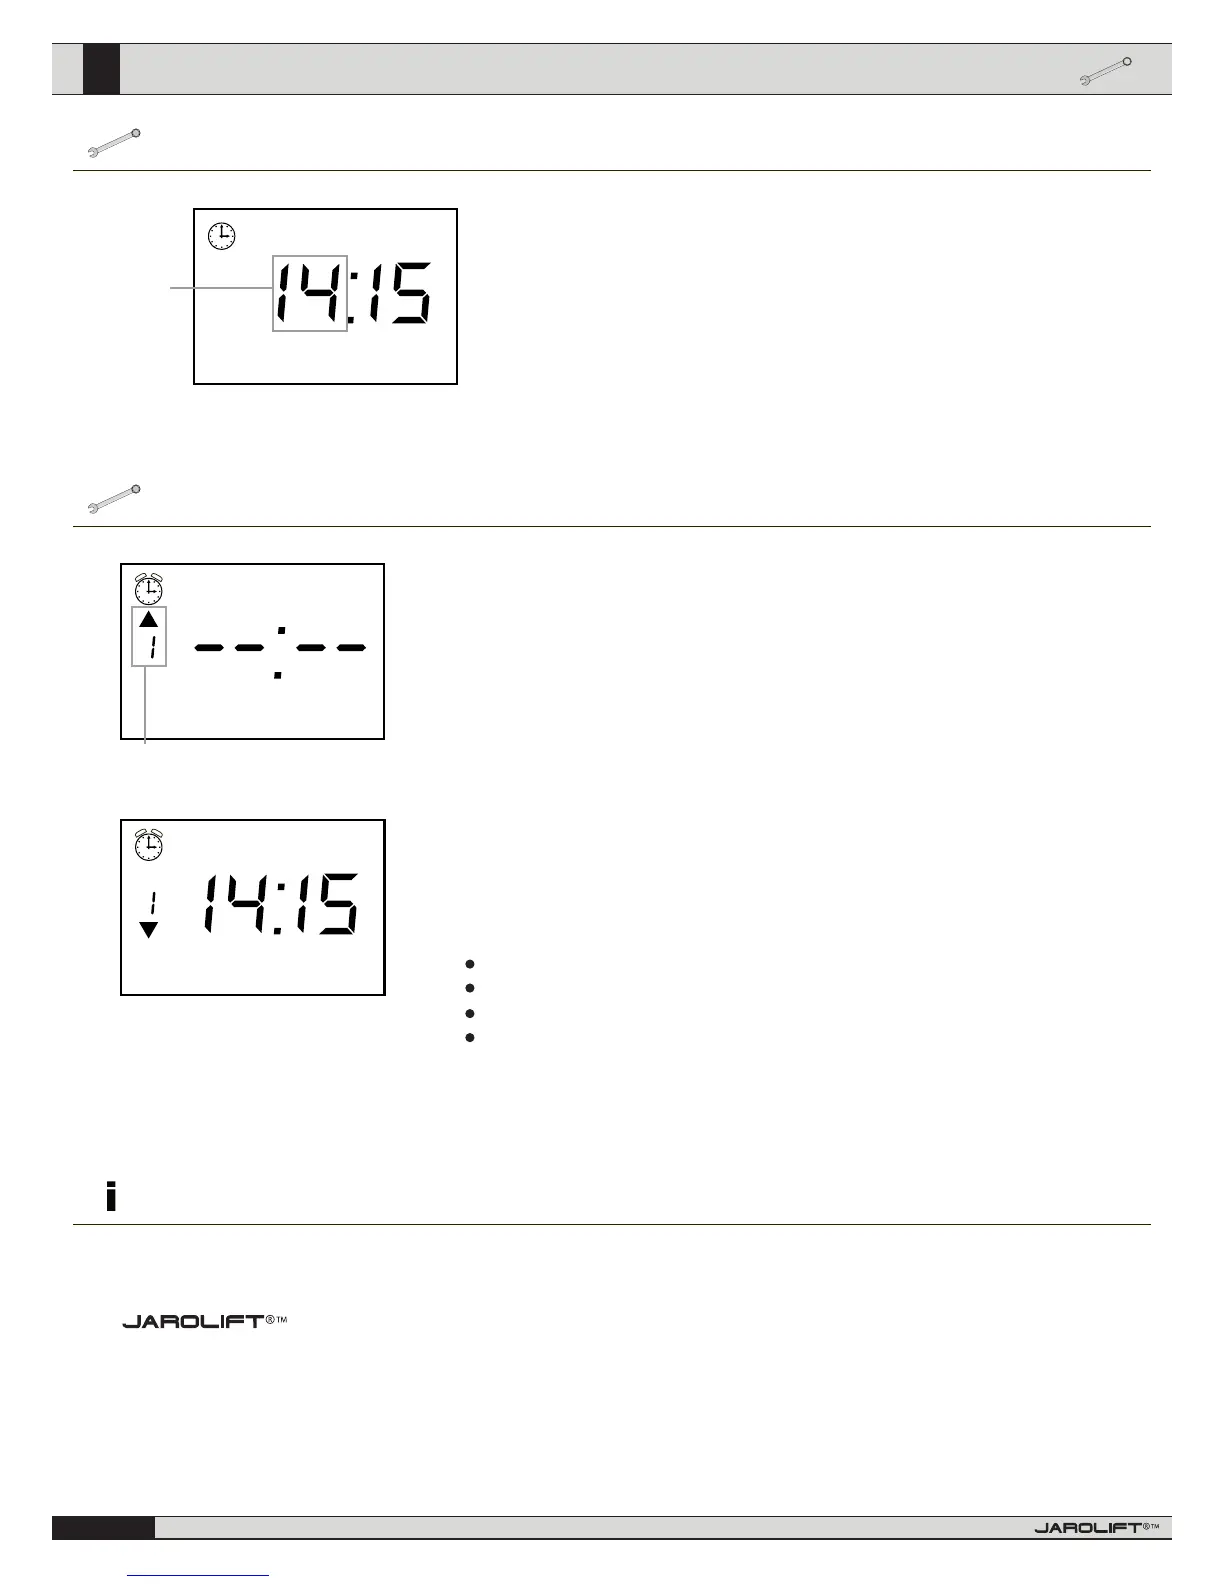
First, go to the main menu and press the K1 button (for description, see page 4). In the up-
per left-hand corner, the symbol of an alarm clock is shown and the hour display blinks.
2.
Use the UP/DOWN arrow key to set the time; press the K1 button to conrm the input.
3.
Now the minute display ashes. Follow the procedure as described in point 2. Follow the
same steps when selecting the weekday.
Please note the abbreviations reect the English names for the days of the week
(Su=Sunday, Mo=Monday, Tu=Tuesday, We=Wednesday, Th = Thursday, Fr= Friday, Sa =
Saturday)
4.
Once you have completed the settings, press the STOP button. This completes the pro-
gramming mode and the device goes back to the main menu.
Setting the UP and DOWN cycle times.
1.
Go to the main menu and press the K2 button in order to access the operating schedule menu. An
alarm clock is now shown in the upper left-hand corner of the display. You can program up to 8 UP
and 8 DOWN cycle times.
2.
Toggle through the individual memory positions by pressing the K2 button. (The arrows on the left-
hand side of the display indicate whether the cycle time refers to the OPEN or CLOSE timing).
This display (-- : --) indicates that the memory position is inactive and the cycle time will not be acti-
vated. If a time is displayed already, continue with step 4; otherwise continue with step 3.
Speicherplatz 1 für die Auahrzeit
3.
In order to re-activate the deactivated memory position, press the K3 button. In order to deactivate
the memory position again, press the K3 button until the time (-- : --) is displayed.
4.
Now, press the K1 button to set the time. The hour display ashes now and can be adjusted with the
UP/DOWN button. Press the K1 button again to switch to the minute setting mode. You can use also
the Up/Down arrow key to adjust the minutes here.
5.
After pressing the K1 button again, you access the “Weekday” setting mode. Here you can dene to
which weekday(s) the previously adjusted time applies. Use the UP/DOWN arrow key to select the
desired setting.
You may select between:
Contact information
an individual weekday = e.g. “Tu” for Tuesday
shortened working week = Mo Tu We Th Fr (Monday to Friday)
total working week = Mo Tu We Th Fr Sa (Monday to Saturday)
entire week = Su Mo Tu We Th Fr Sa (Sunday to Saturday)
6.
If you are satised with your settings, press the K2 button again in order to switch to the next me-
mory position and start from the beginning; or press the STOP button to leave the programming
process. In order to make changes to the cycle time you have just selected, press the K1 button.
is a registered brand of
Schoenberger Germany Enterprises GmbH & Co.KG
Zechstraße 1-7
82069 Hohenschäftlarn - Germany
Tel.: 08178 / 932 932
Fax.: 08178 / 932 970 20
info@jarolift.de
www.jarolift.de
If you have any concerns about our product or your unit is faulty, please contact us in writing or send an email to the following address:
We reserve the right to make technical changes,
and accept no liability for printing errors and other
errors.
ashes
We
Su Mo Tu We Th Fr Sa
 Loading...