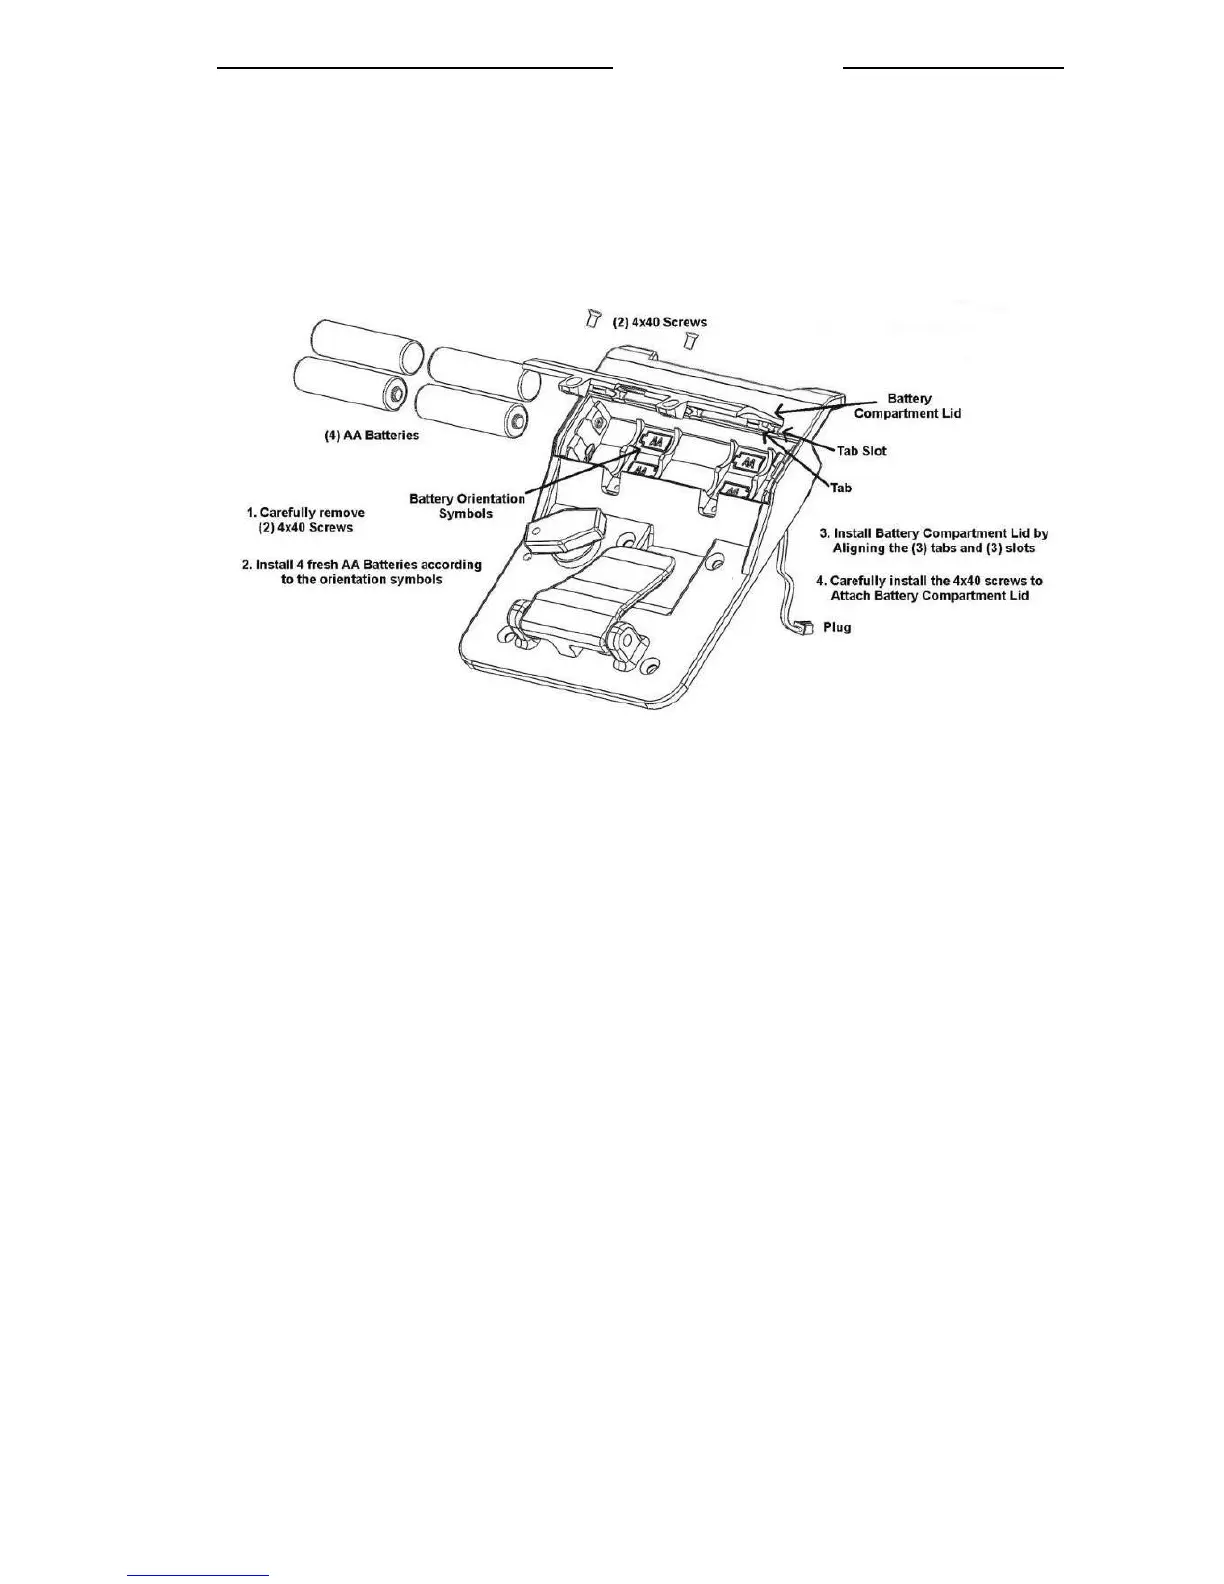
2. Install the AA batteries in accordance with the orientation symbols shown in the
Battery Compartment. The batteries will fit tightly.
3. Install Battery Compartment Lid by aligning the (3) tabs on the lid with the (3)
slots on the Inside Plate Assembly. These tabs act as a hinge for closing the
Battery Compartment Lid.
4. Install the (2) 4x40 screws back to attach the Battery Compartment Lid to the
Inside Plate Assembly.
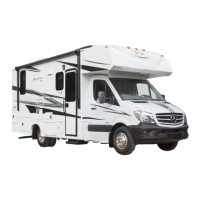
CAMPSITE HOOK-UP
Refer to Electrical System section before connecting the shore line power cord (when
using full hook-up) OR before starting the generator (if so equipped) or operating the
vehicle on 12-volt power when dry camping.
Refer to Fuel & LP System section before using the LP system. Open the LP gas tank
valve (if so equipped) slowly. There may be air in the lines and five to thirty seconds
of time is needed to bleed air before LP vapor fills the lines.
Refer to Plumbing Systems section before connecting the fresh water supply or
turning ON the water pump or water heater.
When using full hook-up, connect the sewer hose to the campsite sewer hook-up.
If applicable, start the refrigerator and the cooling or heating system.
NOTE: For extended dry camping, management of all your resources is essential.
Check your battery levels and conserve battery power, use it sparingly.
LEVELING THE RV
Now that you have parked your RV, you need to ensure it is level. Leveling is very
important. A level RV is more comfortable for sleeping and walking.
The refrigerator is designed to operate when level for best performance due to the
absorption system. The water drainage systems are designed with proper slope and must be
level for proper operation. The appliances perform best when level.
REAR BACKUP CAMERA PREP (IF SO EQUIPPED)
Your recreation vehicle has been pre-wired to allow installation of a (customer supplied &
customer installed) rear backup camera. Wiring is in place to install the camera at the rear
of the vehicle, and has been routed to the master bedroom to allow a hookup for the
camera monitor.
4-7