CHAPTER 4
THE SYSTEMS
PLUMBING SYSTEM
Fresh Water
1. A five-gallon portable water container is lo-
cated inside the cabinet nearest the sink. A 3/8"
non-pressure hose is attached to the container.
2. A ten gallon water tank is is permanently in-
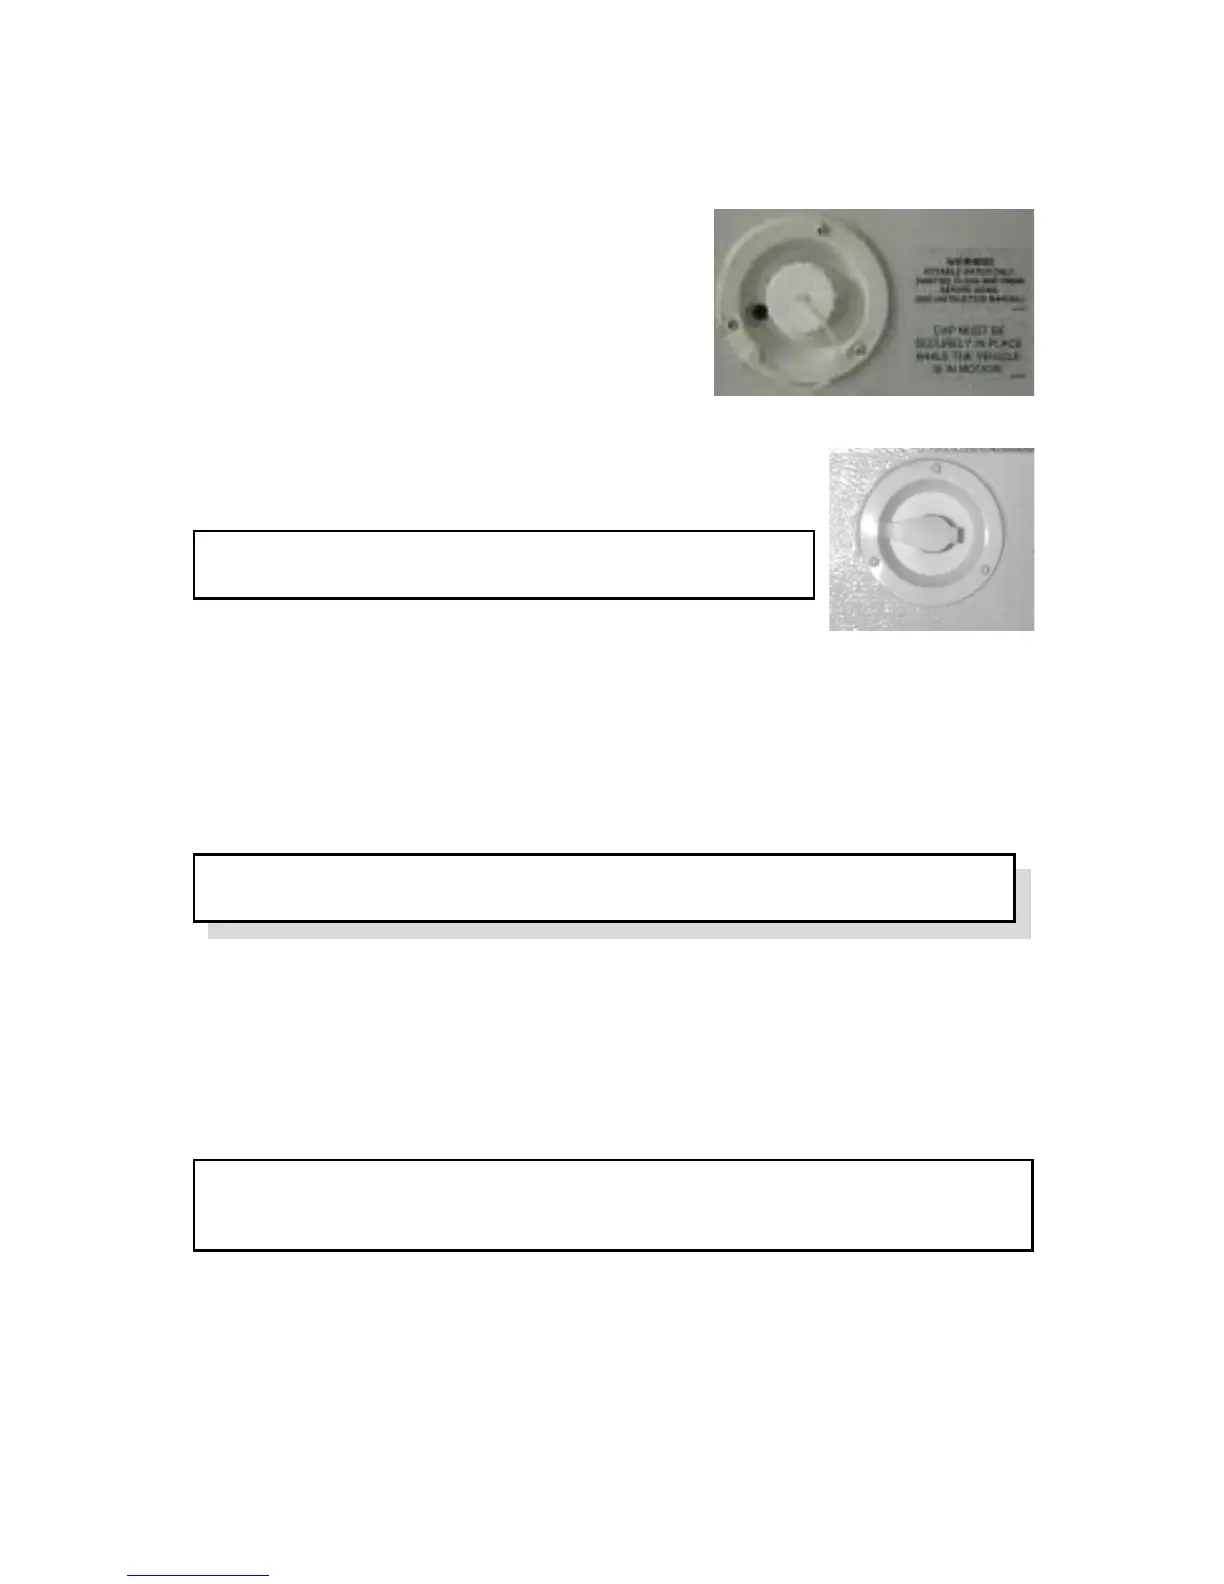
stalled in your camper. To fill the tank, open
the lid as shown. (Fig. 4-1) Insert or hold the water hose and
fill to the desired capacity. The tank has an overflow outlet,
but care must be taken to not overfill it.
CAUTION: Overfilling the container can potentially
pressurize it and cause leakage.
3. Water may be received into the system through a direct
hookup, referred to as “city water connection,” (Fig. 4-2)
when attached to entry supply and water hose.
4. Operation of hand pump:
Tank Water - place handle into vertical position, using short strokes. Allow 10-20
seconds to prime pump and fill the water lines before filling sink.
City Water - move handle down slowly to open “CW” valve. Hold in this position
for quick use. Press down completely to lock for continuous water flow.
WARNING: Handle should be in the TANK WATER position when
connecting city water to avoid city water spill.
Depress handle while traveling. Spout will swivel over 90° for your convenience. The
spout is NOT a handle.
WATER PRESSURE REGULATOR
Due to the possible existence of high pressure in some campgrounds (80 pounds per
square inch (psi) and higher) you may wish to use a removable water pressure regulator.
Water systems in RVs are tested at 100 psi as specified by RVIA codes.
CAUTION: Not using a water pressure regulator when using the city water
connection may cause the o-rings to blow. It is advisable to always utilize a water
pressure regulator with the city water connection.
Fig. 4-1
Fig. 4-2
31