18) Now it is time to re-assemble the camera. Attach the grey lcd holder back onto the main
board.
19) Insert the LCD ribbon cable back into the connector and latch both ends. Place the lcd back
into the holder. Make sure you clean the display!
20) Install the switch board and screw down
21) Install the main board assembly back into the case and screw down. Be sure you install the
USB cover onto the main board before re-installing the main board.
22) Install the SD card cover back into the case.
23) Install the speaker back into the mounts.
24) Install the battery contact board back into the case holder.
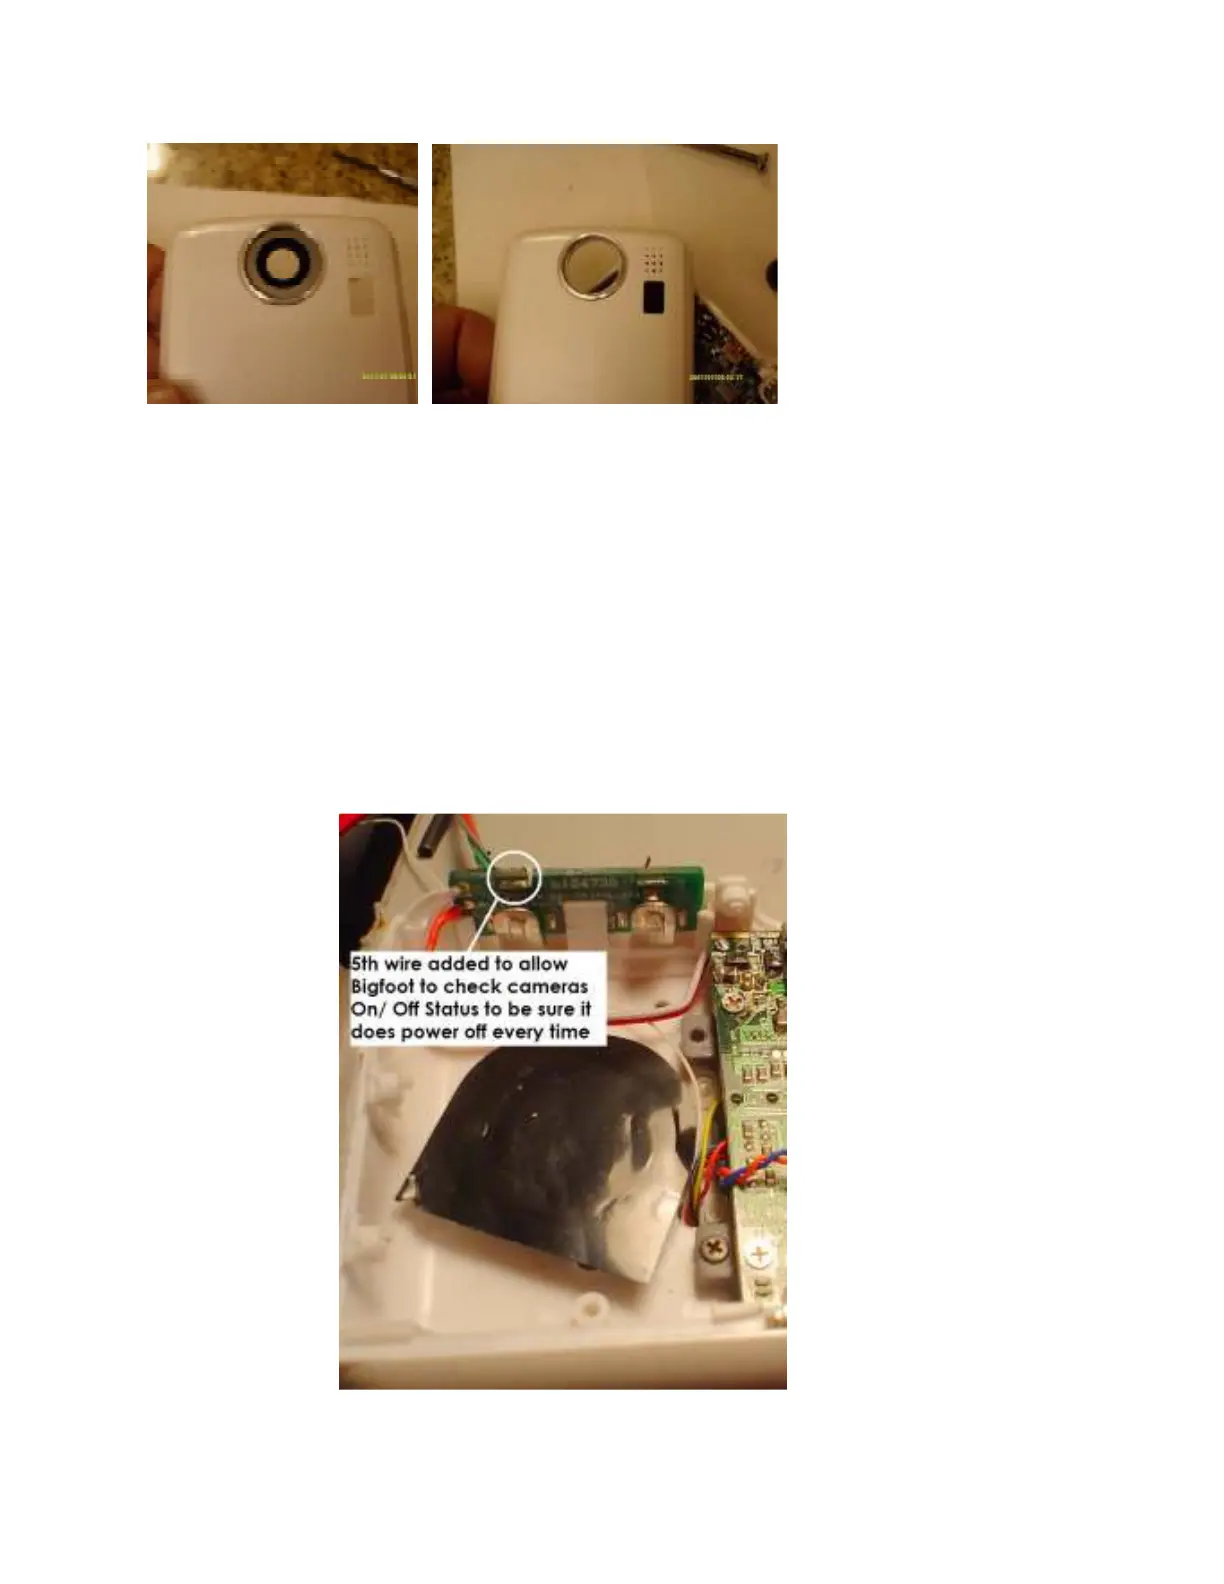
25) Now we need to add the 5
th
wire This is critical to the proper operation of the Jazz camera
You will solder this 5
th
wire to the Jazz Battery negative contact terminal

 Loading...