ENGLISH USER MANUAL
JB SYSTEMS
®
10/16 COB-4BAR
Press the ENTER button
The bar will ask you to confirm. Use the DOWN and UP buttons to select YES.
Press the ENTER button to confirm your choice.
2. Set the correct DMX address:
See previous chapter HOW TO SETUP to set the DMX address
If you use the LEDCON-02 in 4CH mode you have to select DMX address 001
If you use the LEDCON-02 in 8CH mode and you want to use the bar for the first 4 channels (first
4-bar) you have also to select DMX address 001
If you use the LEDCON-02 in 8CH mode and you want to use the bar for the last 4 channels
(second 4-bar) you have to select DMX address 017
For instructions on how to use the LEDCON-02 Mk2: please check the user manual of this
controller.
Important notes:
The COB-4BAR is only compatible with LEDCON-02 Mk2, not with the LEDCON-02 !
While used with the LEDCON-02 Mk2, the 2 power outputs (12+13) cannot be controlled, they will
be on all the time!
E. Controlled by the LEDCON-XL:
On the Ledcon-XL itself, you will have to set the UNIT ID for each of the 4 projectors of the 4-bar to
RGB
Follow the steps below to configure the COB-4BAR
1. Select the specific LEDCON-XL setup in the default modes:
Press the MODE button until DEFAULTS is shown on the display.
Press the ENTER button to go into the Defaults mode.
Use the DOWN and UP buttons till LEDCON-XL appears on the display
Press the ENTER button
The bar will ask you to confirm. Use the DOWN and UP buttons to select YES.
Press the ENTER button to confirm your choice.
2. Set the correct DMX address:
See previous chapter HOW TO SETUP to set the DMX address
If you use the LEDCON-XL in 4CH mode you have to select DMX address 001
If you use the LEDCON-XL in 8CH mode and you want to use the bar for the first 4 channels (first
4-bar) you have also to select DMX address 001
If you use the LEDCON-XL in 8CH mode and you want to use the bar for the last 4 channels
(second 4-bar) you have to select DMX address 033
For instructions on how to use the LEDCON-XL: please check the user manual of this controller.
While used with the LEDCON-XL, the 2 power outputs (12+13) cannot be controlled, they will be
on all the time!
F. Controlled by the optional foot controller:
To be able to use the foot controller, you need to enable this option in the 4BAR:
Press the MODE button until SLAVE & FOOT CONTROL is shown on the display.
Press the ENTER button to confirm.
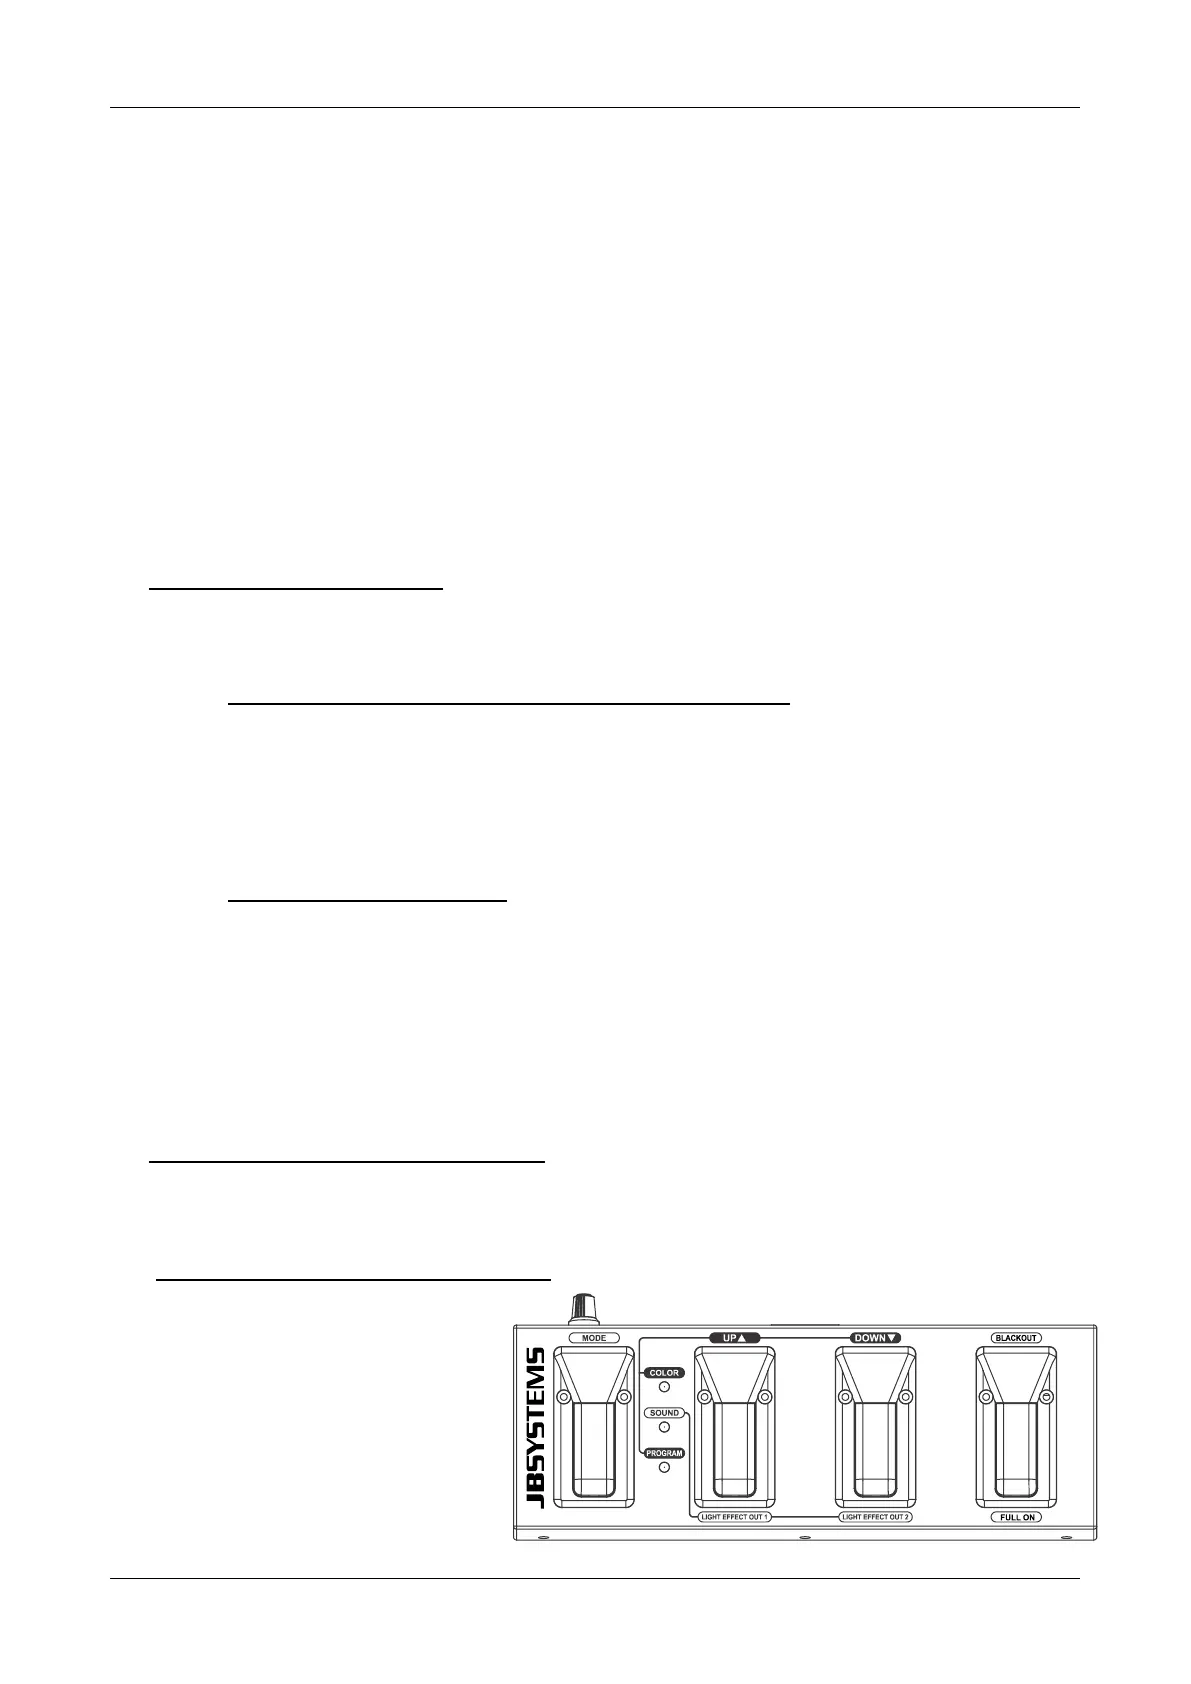
General description of the foot controller:
ROTARY Knob: is used to set the
sensitivity of the build-in microphone
for the sound controlled mode.
MODE Switch: is used to select one
of the 3 different working modes:
COLOR, SOUND, PROGRAM
UP & DOWN Switches: are used to
select the different program options
BLACKOUT Switch: is used to
switch the LEDs off/on or to select
the Full On function.

 Loading...