3
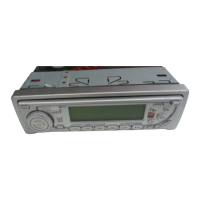
Installing and Removing the Faceplate
1. To remove the face plate:
a. When the unit needs service, press this SVC button to remove front panel.
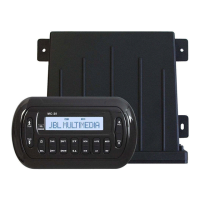
b. The faceplate cable will also need to be unplugged from the black command
module.
2. To replace front panel - see following Place:
Latch hook in opening on left side of mounting base. Align front panel
with mounting base. Snap right side of front panel onto mounting base.
Press until you hear click
Mounting base
Release button
Latch hook
Front panel
10
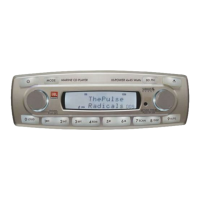
1. Select the Radio -> CDC by pressing the "MODE" button (4) .
* The CD changer must be connected, if you want to operate CD function.
2. By pressing preset button (11) or (12), choose the DISC that you would like to play.
(This button works when you install the CD changer to the radio unit. CDC is option.)
3. Play / Pause (7)
Push to pause and push again to resume play.
4. Intro Scan (8)
Press this button to hear the first 10 seconds of each track on the disc.
Press this button again to restore the player to its normal play mode.
5. Repeat play button (9)
While playing a desired track, press the RPT button to play the track repeatedly.
Press the RPT button again to return to normal play mode.
6. Random play button (10)
Press the RDM button to play all tracks on a CD disc in a random sequence.
Press the RDM button again to return the player to normal mode.
7. Track Tuning (15)
Search the tracks on the DISC with the TUNE (15) button clockwise or counter-
clockwise. If you press and hold turn to the button continuously, the track goes fast
- forward or rewind .
Operating the CD changer (CD changer purchased separately)
12
4
2
3
6
1
13
14
17
15
18
7
8
9
10
11
16
5
MARINE
19