Do you have a question about the JBL MR-17.3 and is the answer not in the manual?
Instructions to access the SIRIUS satellite radio mode from any other mode or directly.
Method to enter a specific channel number directly while in SIRIUS mode.
Procedure to display the unit's SIRIUS ID number for subscription purposes.
Steps to switch between music categories or genre groups in SIRIUS mode.
Instructions for saving up to 20 SIRIUS channels into memory for quick access.
How to cycle through displaying song title, artist, and composer information.
Guide to locking specific SIRIUS channels and managing the parental code.
Procedure to change the existing parental lock out code to a new 4-digit code.
Common causes and solutions for radio interference issues.
Troubleshooting steps for distorted audio playback.
Important considerations for connecting amplifiers and preventing damage.
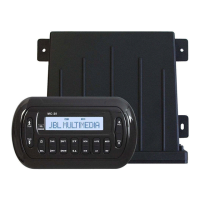
Instructions for securely attaching the detachable faceplate to the radio unit.
Step-by-step guide for safely detaching the front faceplate from the unit.
Information on using the microprocessor reset button and its effects.
Important cautions regarding the reset button and connector pin cleanliness.
Procedure for inserting a CD into the player and its automatic playback.
How to select the CD changer function using the MODE button.
Controls for starting, pausing, and resuming CD playback.
Function to preview the first 10 seconds of each track on a CD.
How to repeat a specific track or return to normal playback mode.
Function to play all tracks on a CD in a random sequence.
Using buttons to search for specific tracks on the CD.
Ensuring proper ground connection for optimal performance and safety.
Crucial warning about the unit's compatibility with negative ground systems.
Guidelines for safely connecting speaker and power cables, including battery disconnection.
General precautions to consider before installing the unit in a boat.
Recommendation for adjusting the unit's mounting angle for optimal use.
Visual guide illustrating the process of mounting the unit in a cabinet.
Instructions for attaching the trim ring to the radio after installation.
How to use manual and seek tuning functions for radio stations.
Process for manually storing radio stations into memory presets.
Using the Auto store function to automatically save strong radio stations.
How to scan for strong radio stations for previewing.
Initiating a scan of previously stored radio stations.
Selecting the radio reception area (USA or EUR).
Choosing digital sound processing modes like flat, classic, pop, or rock.
Reference to changing the password for security features.
Adjusting master volume, bass, treble, balance, and fader settings.
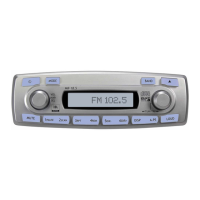
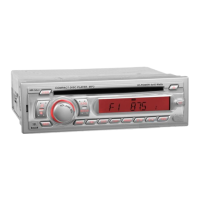
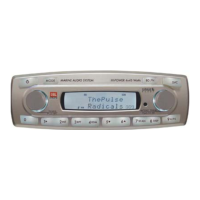
Function of the MODE button to select between Radio, CD, CDC, SIRIUS, or AUX-IN.
Function of the BD/FN button to select radio bands (FM1-FM3, AM1-AM2).
Function of the SHIFT/SCROLL button, primarily for SIRIUS mode.
Procedure for setting the current time on the unit.
Activating the loudness feature to enhance bass and treble at low volumes.
Guidance on how to replace a blown fuse and troubleshooting internal malfunctions.
Safety warning regarding the use of the specified amperage fuse.
Function of the power button to turn the unit on and off.
Using the SELECT button to control volume, bass, treble, balance, and fader.
Function of the MODE button to select between different sources.
Function of the SH.SR button for SIRIUS mode operations.
Function of the BD/FN button for band selection.
Functions of CD play/pause and radio preset 1 buttons.
Functions of CD intro scan and radio preset 2 buttons.
Functions of CD repeat track and radio preset 3 buttons.
Functions of CD random play and radio preset 4 buttons.
Functions of CD changer disc down and radio preset 5 buttons.
Functions of CD changer disc up and radio preset 6 buttons.
Function of the MUTE button to temporarily silence audio output.
Function of the LOUD button for enhancing low-frequency response.
Button used to release and open the front panel.
Buttons for tuning radio frequencies and changing CD tracks.
Function of the SCAN button for previewing stations or tracks.
Function of the DISP button to control information displayed on the screen.
Function of the A.PS button for scanning preset stations.
How to turn the unit on and off using the power button.
Using SEL for audio controls and special functions like Beep, I-Vol, Area, and DSP.
| Impedance | 4 ohms |
|---|---|
| Woofer Material | Polypropylene |
| Waterproof | Yes |
| UV Resistant | Yes |
| Woofer Size | 6.5 inches |
| Frequency Response | 50 Hz - 20 kHz |