Precautions and maintenance
12
1. Reset function
A microprocessor reset button has been provided to facilitate manual resetting of
the internal microprocessor. In the unlikely event that the player fails to operate
correctly refer to step 2 below.
Note: It will be necessary to re-enter the radio preset memories as these will have
been erased when the microprocessor is reset. After resetting the player,
ensure all functions are operating correctly.
2. Caution
RESET :
- Simply press the reset button.
- Pressing BD/FN and MODE buttons at the same time for about 3 seconds will also
reset the unit.
CONNECTOR PINS : Always keep connector pin clean.
If the PIN connector looks dirty, use cotton tips to clean it, so as to avoid any
unexpected malfunction caused by dirt.
1
2
CD DISC SLOT
1
1
2
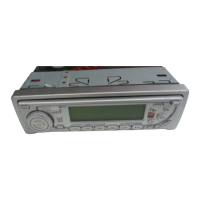
FRONT PANEL
CD Eject button
EJ
3
Carrying Case
Front Panel
4. Keep the detachable front panel in the protective case provided.
2. Grip the release section and pull the front panel forward.
- Be careful not to grip the front panel display too tightly or to drop the panel.
3. Close the inner cover.
- After removing the front panel, be sure to close the inner cover to prevent dirt,
dust or other foreign matter from entering the CD slot.
Installing and Removing the Detachable Face
Inner Cover
Release section
Front Panel
To Install / attach the faceplate:
Place the detachable face plate on the
radio one side at a time so that the
grooved edge of the face plate lines up
directly with the connecting piece on
the radio. The face plate should fit easily
inside the plastic trim. When the face
plate is securely in place, a distinct
“click” will be heard, indicating that it is
locked correctly in place.
To remove the face plate:
1. Press Release button, then the front panel will open (fold down).
Close Up of Side View
8
.
DI
S
9
.
A
.
P
S
7.SCN
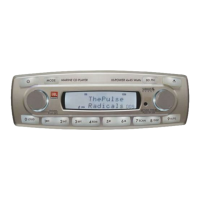
4x45Watts
0. LD
MUT
6
MARINE
Release button