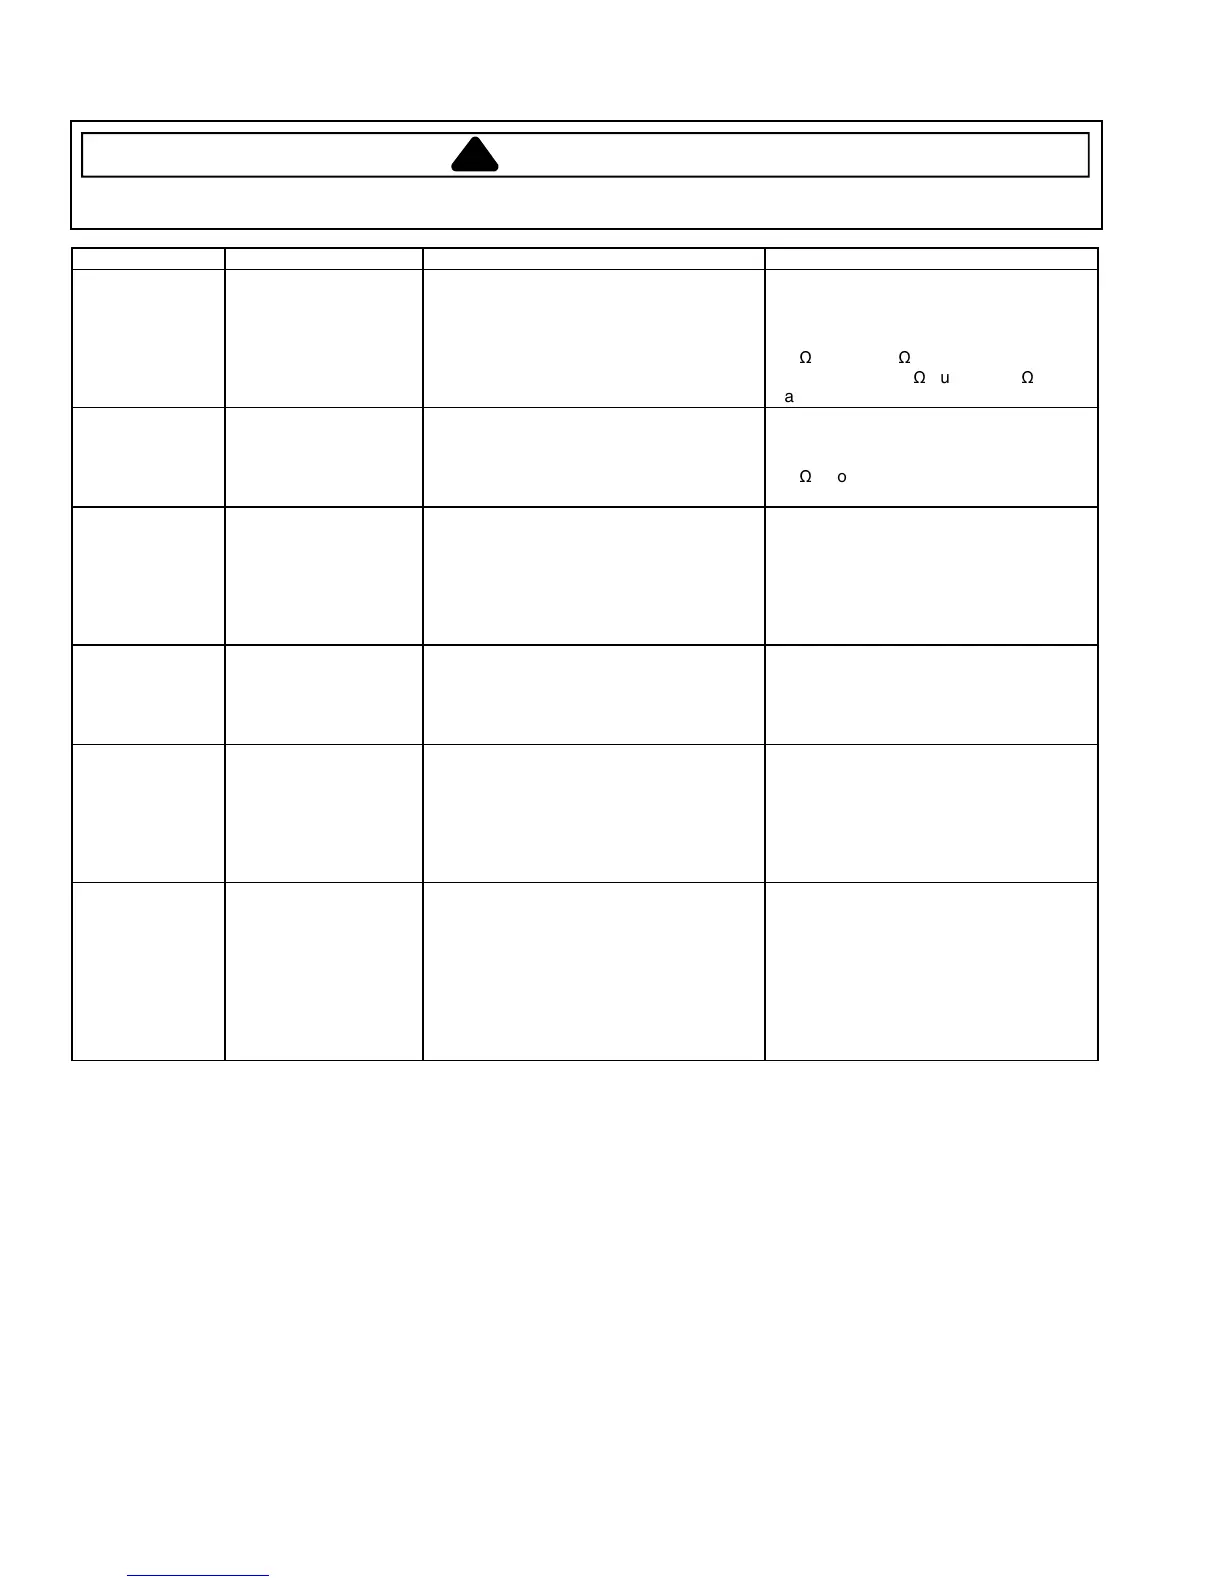
Testing Procedures
!
WARNING
To avoid risk of electrical shock, personal injury or death; disconnect power to vent hood before servicing, unless
testing requires power.
12 16023510
©2004 Maytag Services
Model Numbers Component Test Procedure Results
JXT8030ADS,
JXT8036ADS,
JXT8042ADS,
JXT8136ADS,
JXT8142ADS,
JXT5830AD*,
JXT5836AD*
Blower Motor Check input voltage by placing leads on
screws in green connector, black wire
terminal (input voltage) and white wire
terminal (neutral)..........................................
Measure resistance......................................
120 VAC
12
Ω
(if under 3
Ω
, motor windings
shorted. If over 3
Ω
but under 7
Ω
,
capacitor shorted.)
JXT9030CDP,
JXT9036CDP,
JXT9048CDP,
JXT9130CDP,
JXT9136CDP
Blower Motor Check input voltage by placing leads on
light blue wire terminal (input voltage) and
black wire terminal (neutral) .........................
Measure resistance......................................
120 VAC
16
Ω
through both motors
JXT8030ADS,
JXT8036ADS,
JXT8042ADS,
JXT8136ADS,
JXT8142ADS,
JXT5830AD*,
JXT5836AD*
Control Board Measure input voltage by placing leads on
screws in green connector, black wire
terminal (input voltage) and white wire
terminal (neutral)..........................................
120 VAC
JXT9030CDP,
JXT9036CDP,
JXT9048CDP,
JXT9130CDP,
JXT9136CDP
Control Board Measure input voltage by placing meter
leads on black/white wire (input voltage)
and white wire (neutral)................................
120 VAC
JXT8030ADS,
JXT8036ADS,
JXT8042ADS,
JXT8136ADS,
JXT8142ADS,
JXT5830AD*,
JXT5836AD*
Control Panel Measure input voltage by placing leads on
screws in green connector, black wire
terminal (input voltage) and white wire
terminal (neutral)..........................................
120 VAC, if not, replace Control Panel
JXT9030CDP,
JXT9036CDP,
JXT9048CDP,
JXT9130CDP,
JXT9136CDP
Touch Pad
Pin 1 = Black wire,
Pin 2 = Brown wire,
Pin 3 = Red wire,
Pin 4 = Orange wire,
Pin 5 = Yellow wire,
Pin 6 = Green wire,
Pin 7 = Blue wire,
Pin 8 = Violet wire
Remove multi-colored display cable from
control board, place meter leads on the
applicable pins, press the applicable pad
and measure resistance.
Pins 2 & 5, turn on Light On/Off..................
Pins 2 & 6, turn on Fan On/Off ....................
Pins 3 & 5, press & hold Fan Speed +.........
Pins 3 & 6, press & hold Fan Speed -..........
Pins 4 & 5, press & hold Delay Off ..............
Continuity
Continuity
Continuity
Continuity
Continuity
 Loading...