8
The front rail must be low enough to clear the miter
gauge slot, and parallel to the table top:
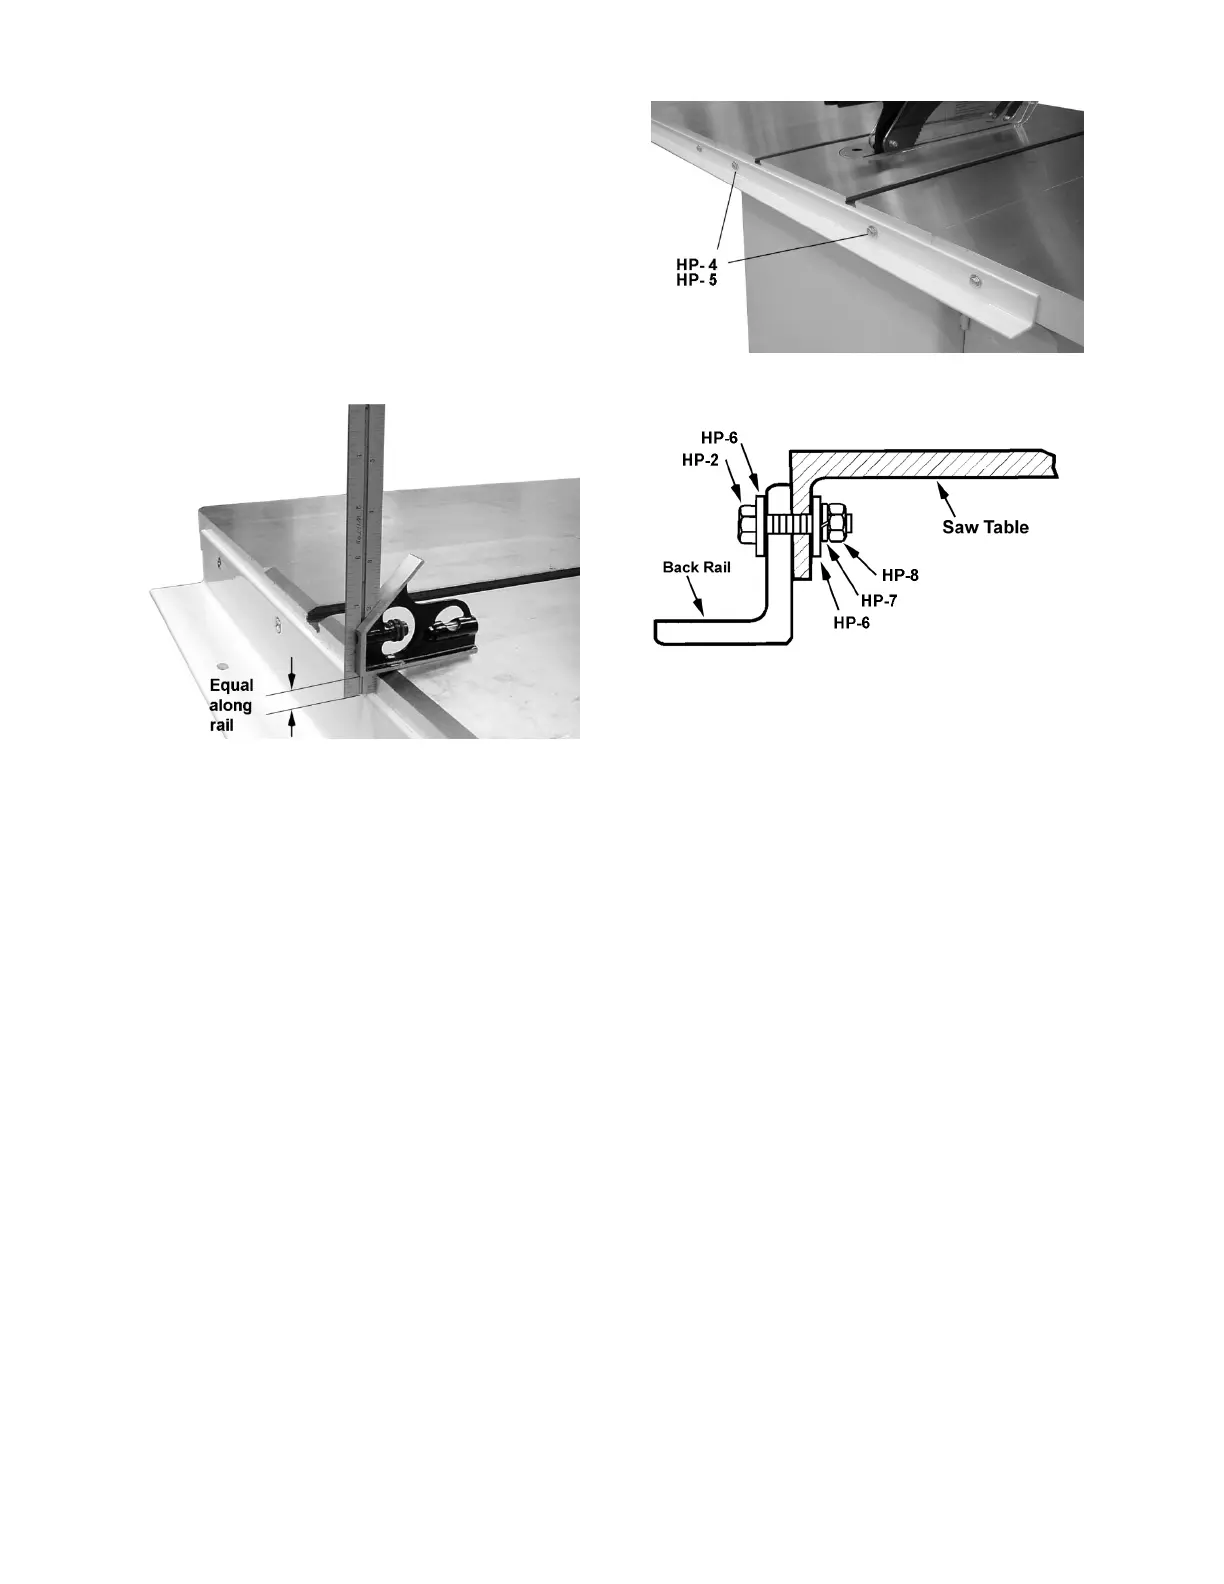
1. Place an adjustable square on the table as
shown in Figure 3.
37. Check height of front rail at several locations
along the surface of the saw table. The front
rail must be parallel with table top.
38. When front rail has been correctly positioned,
use a screwdriver and 7/16" wrench to tighten
nuts securely. However, do not tighten
hardware for the farthest left hole; it should
remain loose to accommodate switch
installation (below).
Figure 3
6.4 Switch installation
At this time refer to your JTAS-12DX Table Saw
manual and mount the switch as described in the
Installing Switch section. The switch should be
mounted before the guide tube installation
described later in this manual.
6.5 Back rail installation
1. Locate the back rail which is 2" x 2" with holes
running along one side only. Height of back rail
when attached to the saw is not critical.
39. Align holes in back rail to holes in table top.
40. Secure back rail to pre-tapped holes in saw
table with two 5/16 screws and flat washers
(HP-4/5), as shown in Figure 4. Tighten screws
securely with 1/2" wrench.
41. Secure remainder of back rail with 1/4 screws,
flat washers, lock washers, and hex nuts (HP-
2/6/7/8) as shown in Figure 5.
42. Tighten all nuts.
Figure 4
Figure 5
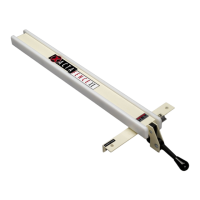
6.6 Guide tube
Important: Before proceeding with guide tube
installation, the table saw switch should already be
installed. If not, refer to the Switch Installation
section in your JTAS-12-DX Saw manual.
Referring to Figure 6:
The guide tube (A) is placed on top of front rail (B)
and is mounted with scale facing toward operator.
1. Align holes in bottom of guide tube with holes
in front rail. When properly positioned, the
guide tube should extend beyond the front rail
about 6" in both directions.
43. Fasten guide tube (A) to front rail (B) from
beneath, with seven 1/4" screws, lock
washers, and flat washers (HP-3/6/7). Finger-
tighten only until all screws are inserted.
44. Tighten all screws with a 7/16" wrench.