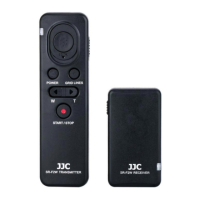
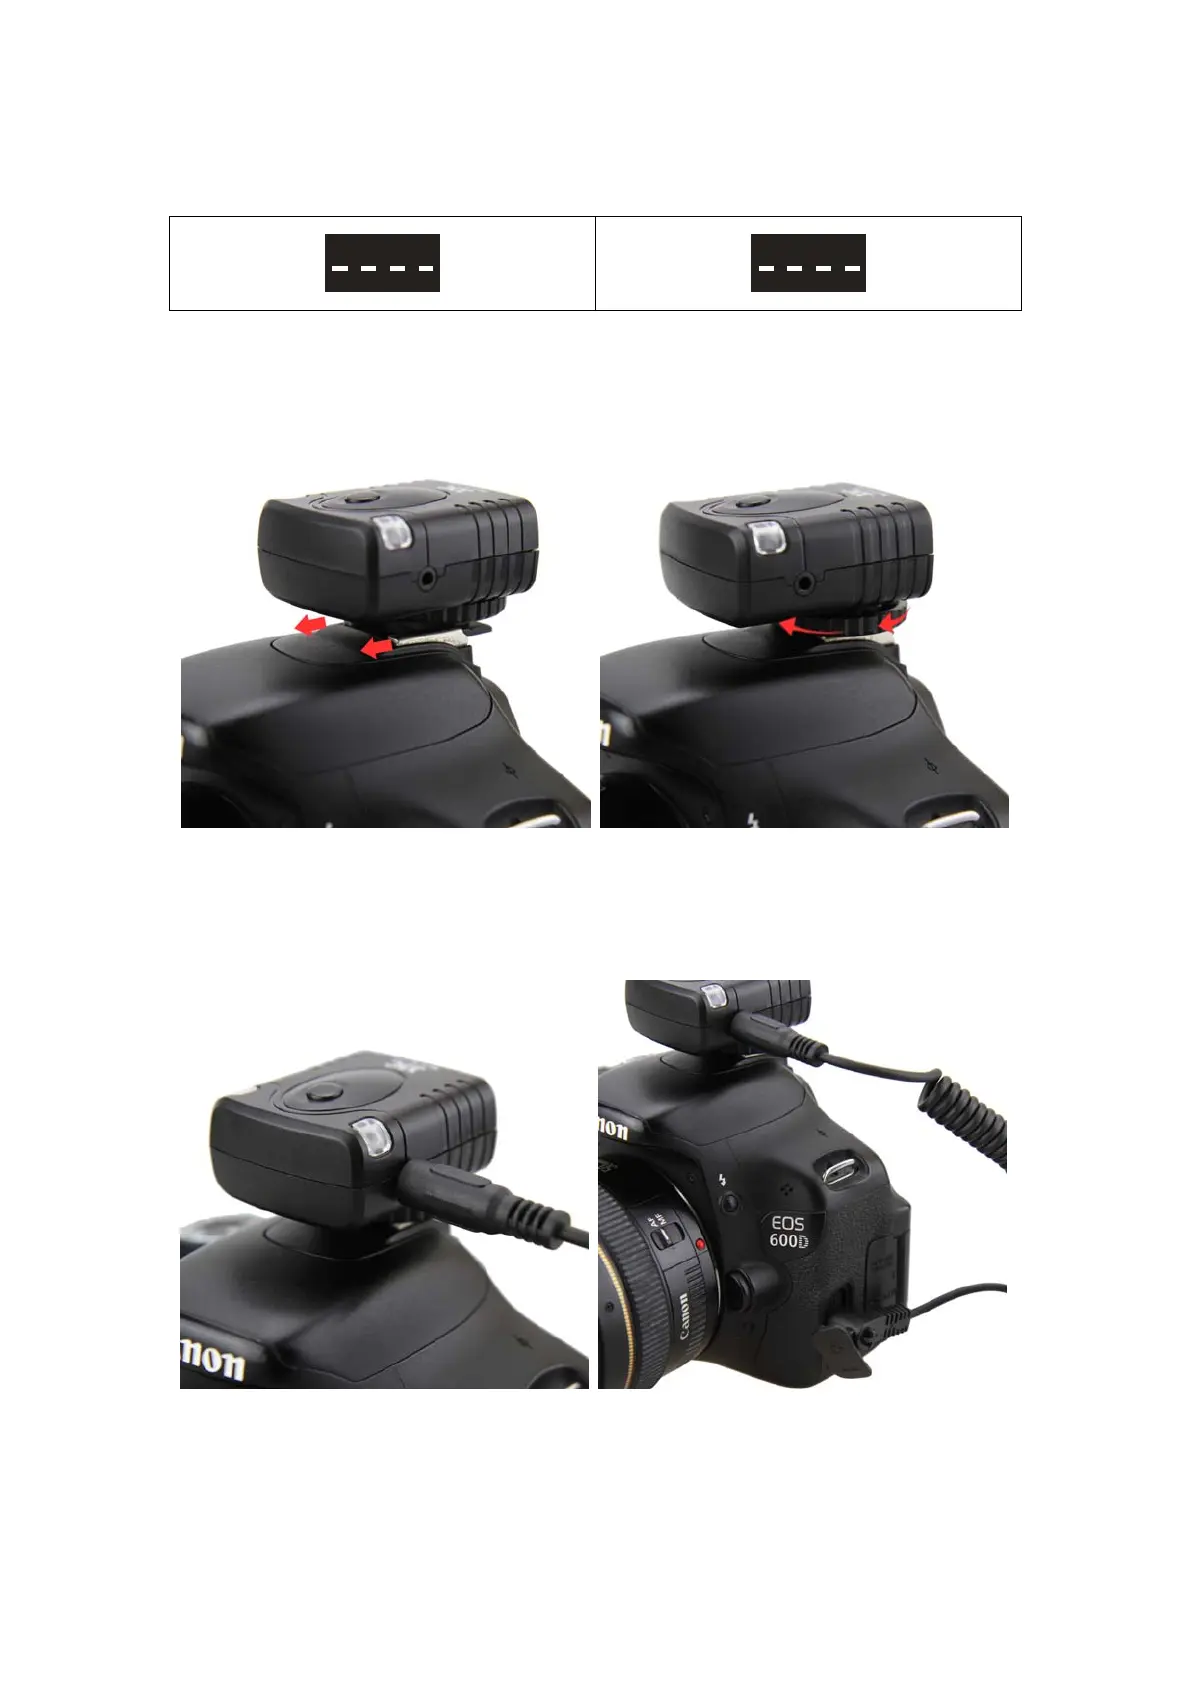
Attach the Set to Camera
1. Turn OFF the power of the camera before attaching the receiver to camera.
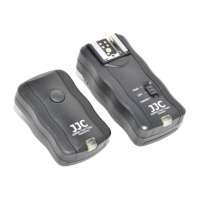
2. Please make sure the transmitter and receiver are at the same code setting. There
are 16 channels available.
1 2 3 4
ON DIP
1 2 3 4
ON DIP
3. Slide the receiver gently into your camera hot shoe as the picture shown below. Then
rotate the hot shoe lock nut clockwise to tight the receiver on your camera hot shoe.
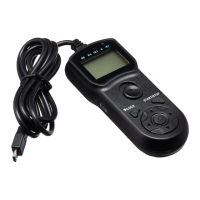
4. Plug the end of the connecting cord as the picture shown left into the receiver, then
plug the other end to the camera remote socket (the appearance of this end for
different cameras may varies).
Note: Please remember not to connect the cable round the wrong way. For any JJC
connecting cord , please always keep in mind that the end as the picture shown left should
be plugged to receiver while the other end is for the camera remote socket.
 Loading...